Tag Archives: winter

Food Envy

Katsudon

A bad and all the same wonderful thing about watching anime is all the food. You agree? Just think about all the delicious looking pictures: Simplified just enough so you will recognise the dish, but the colours beautiful and bright, every little detail a perfect masterpiece, and you can nearly smell the rising steam. Equally awful is watching the characters indulge in said dish with their beaming eyes and an excited “oishii!“ that in bad times nearly makes me swoon.

Yes, whilst watching anime it’s easy catch food envy. The praised Katsudon (pork cutlet rice bowl) in the latest hype “Yuri!!! on Ice“ is another example out of many. Luckily you can make it yourself at home. Easy and good. It might not look quite picture-perfect as on TV, but the flavour will make up for it. 

Katsudon

Katsudon — Pork Cutlet Bowl

Ingredients for 2 generous portions

  • 2 pork cutlets without bone
  • 3 eggs
  • 1 tbsp potato starch or flour
  • panko or bread crumbs
  • 1 tbsp oil for frying
  • 1 onion, cut into rings
  • 1 spring onion, peeled and cut into rings
  • 2 tbsp soy sauce
  • 1 tbsp mirin
  • 2 servings of freshly steamed rice

Crack one egg onto a plate and mix it thoroughly. Put the starch on a second plate and the panko on a third. Mix the soy sauce and mirin in a bowl. Wash the pork cutlets, pat dry them dry with kitchen paper and crumb it. For that turn it first in the starch, then in the egg mixture and finally in the panko.

Heat the oil in a pan. Put in the cutlets and fry them on medium heat for 5 minutes. Flip them over and fry for another 5 minutes.

Get the pork out of the pan, and get in the onion and the white part of the spring onion. Fry for about one minute then add the soy sauce and mirin mixture. Cook for another 3 minutes.

Cut the pork into bite-sized stripes. Roughly mix the remaining two eggs. Put the cutlets back into the pan and pour the eggs over it. Cover the pan with a lid and let it cook for about two more minutes until the egg just has solidified.

Divide the rice onto two bowls, cover with the pork and finish with the remaining, green part of the spring onions and some sesame if you like. Enjoy.

Chasing Autumn

deer*photo from unsplash

There’s this thing about autumn that keeps on fascinating me more and more with every year. It isn’t only the relief the change of temperature brings. It’s the colours that shimmer golden, orange, red, and green in the warm sunlight. It’s the warmth that rears up again from deep inside. The earthy scents in the air. The rustling of foliage in the woods. The soothing mist. The snuggling into warmer, soft clothing without really needing a thick, constricting jacket yet. The anticipation of coming home after being outside to drink a cup of comforting tea.

And it’s the return of venison dishes. I’m looking forward to them every year, waiting for them to supply my palate with strong flavours and my soul with a good, better, alternative to the usual choices of beef, pork, and poultry.

And since autumn nudges us to return to the homely tasks, to withdraw a bit and tend to our inner self, to prepare for the scarce winter times, to stock up the pantry with precious treasures, and to conserve the last glimpses of warmth and bustling summer life…making sausages is suggested, isn’t it?

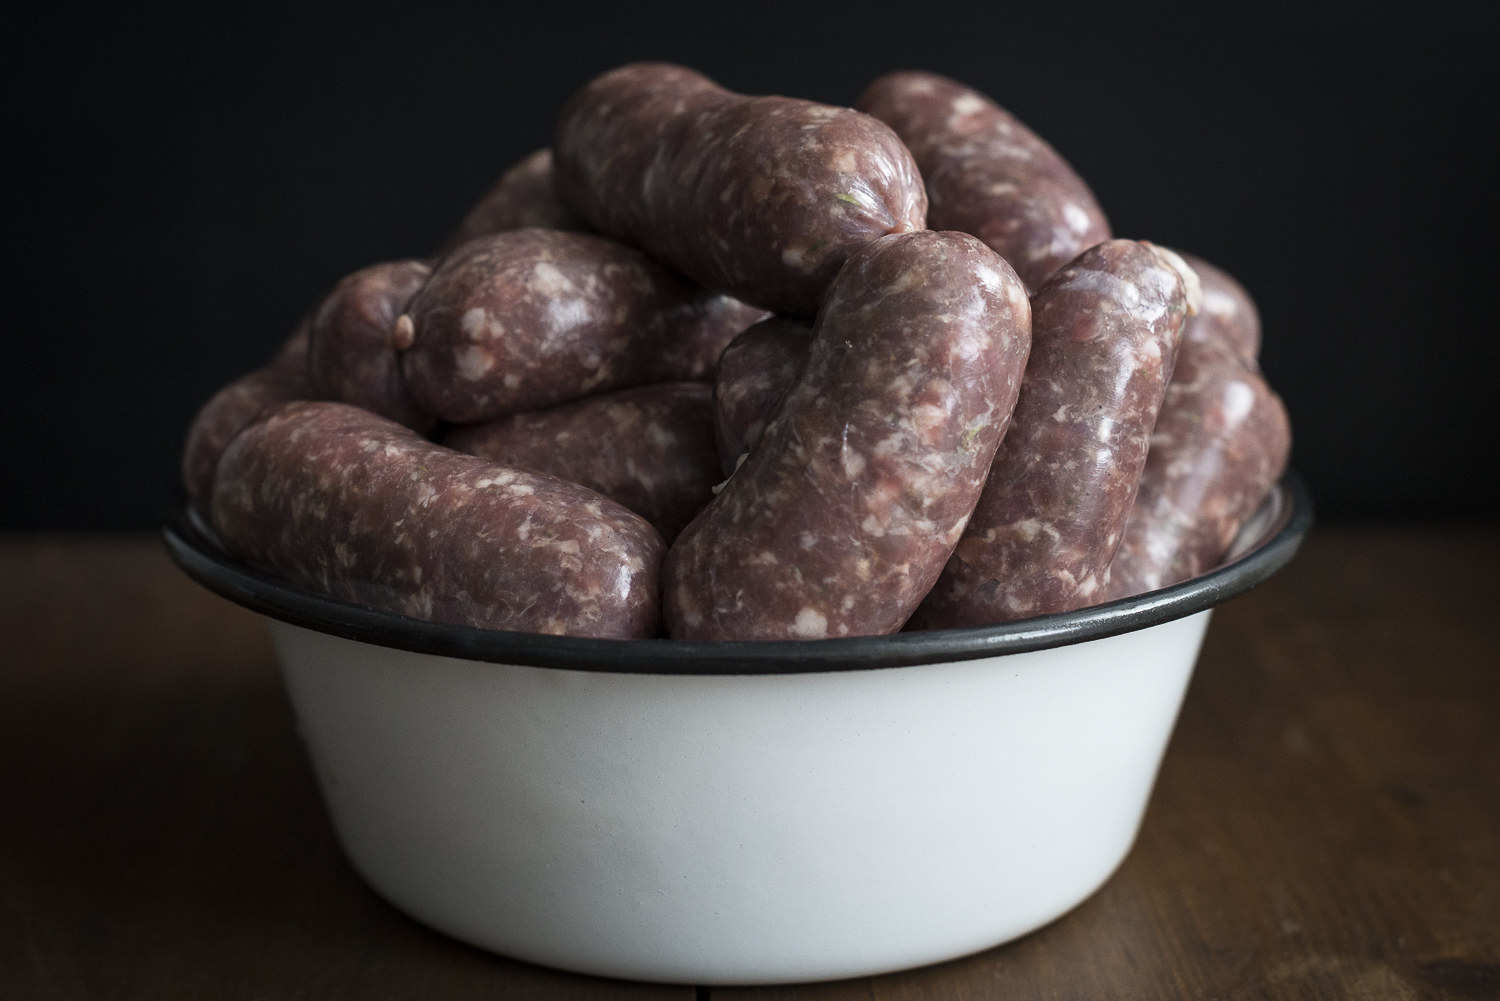
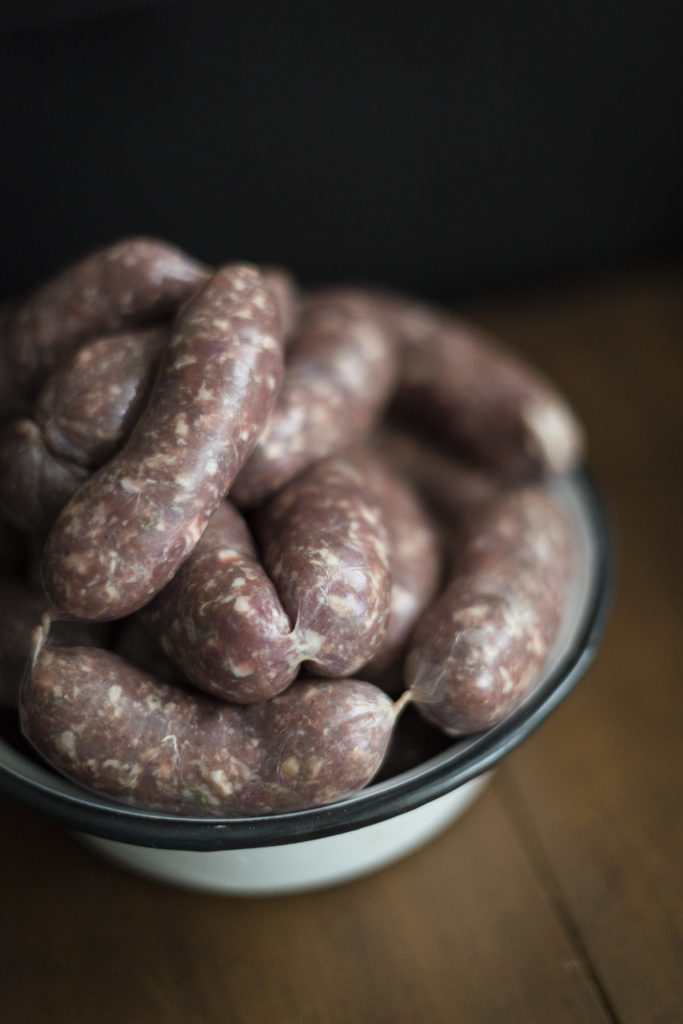
Venison Sausages

Homemade Venison Sausages

ingredients for nearly 2 kg 

  • 1,25 kg of red venison* without bone, shoulder or haunch for example
  • 600 g pork belly
  • 10 g salt
  • 8 g pepper, freshly ground
  • 1/2 tsp nutmeg, freshly ground
  • 1/2 tsp porcini powder
  • 5 g fresh thyme leaves
  • 2 juniper berries, freshly ground
  • 3 m sausage casings

*personally, I prefer deer and stag, but you could also use any other red venison meat you can find, like moose or reindeer.

Be sure that your tools are perfectly clean and the ingredients are properly cooled. Best cool your tools as well to obviate the meath going bad during the process. Best would be if you insert breaks after every meat grinding step to properly clean your tools and cool everything down again. For example pack everything into your freezer for half an hour. 

Venison Sausages

Soak the sausage casings in water.

Cut the venison and pork belly into bite-sized chunks and grind it through the coarse plate of your meat grinder.

Mix the meat with all the spices and grind it through the coarse plate a second time.

Mix it all with your hands for at least 2 minutes until it’s nearly emulsifying.

To check if you’ve got the flavour right heat up a pan with a little bit of oil and fry a teaspoon full of your sausage filling until it’s cooked through. Adjust the seasoning to your liking.

Get the casings out of the water and put it onto the horn of the sausage filler. Start to get the meat though the filler and when it is just about to come out of the horn stop the machine and make a knot into the end of the casing. Fill up the casings rather loosely until all the filling is through.

Make a knot in the other end of the casings and start to to twist portions (video). Store the sausages in the fridge for one day and/or pack them into a freezer to store them for hungry times.

Venison Sausages

Against the Loss of Appetite

Udon with Pork Belly

It happens to the best of us. A—hopefully temporary—period of tiredness. A time of “ehhh!”, listlessness or mopishness. A state that tells us there is something bothering us and we should listen to what is going on inside: Is it caused by outside influences? Is it ourselves? Is it simply a sign of being stressed out? Is it a health-issue? It is important to talk about this in an environment where social media, society, and advertisement suggest that life has to be perfect all the time and we with it. Always glorious. Always happy times. A constant state of elation. Because, spoiler alert? Life isn’t like that. It is okay, normal, important, to have days like these. Or weeks. Or even months.

During these times we need soulfood. It has to be made quickly. Easily. Almost without effort. Because—let’s be honest—especially in times like these we want it that way. Uncomplicated. We need these “almost no recipe” recipes. These “please don’t let me stand in the kitchen for too long” dishes. These “I’ll cook you every day, because everything else would be too bothersome” favourites. These “I just want to munch happily and feel good” meals, that go best with a glass of wine or a beer or a comforting pot of tea.

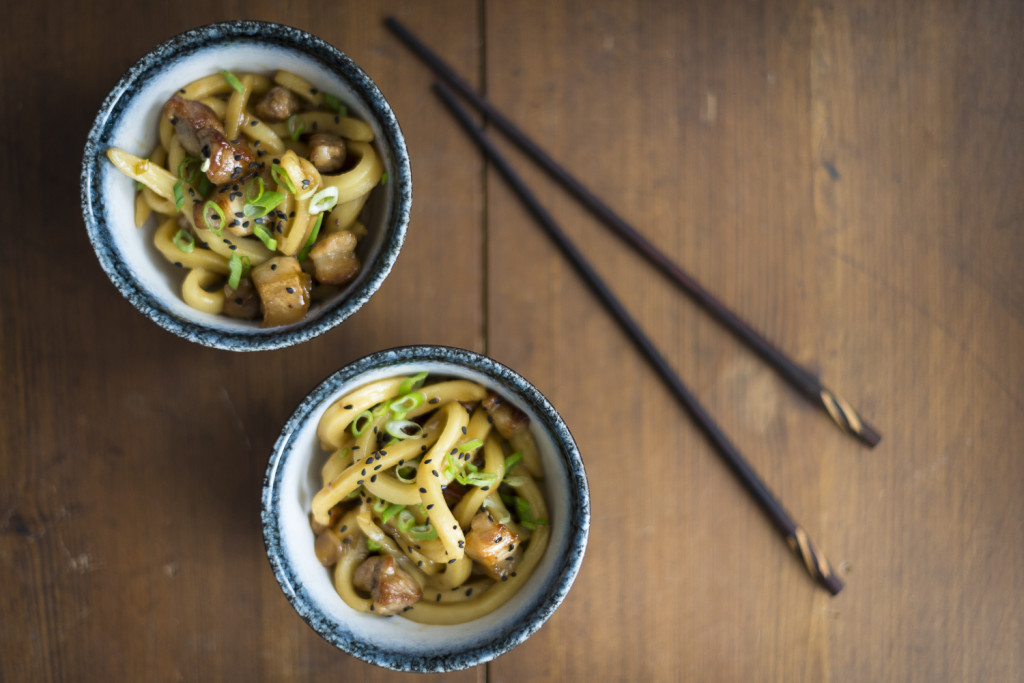
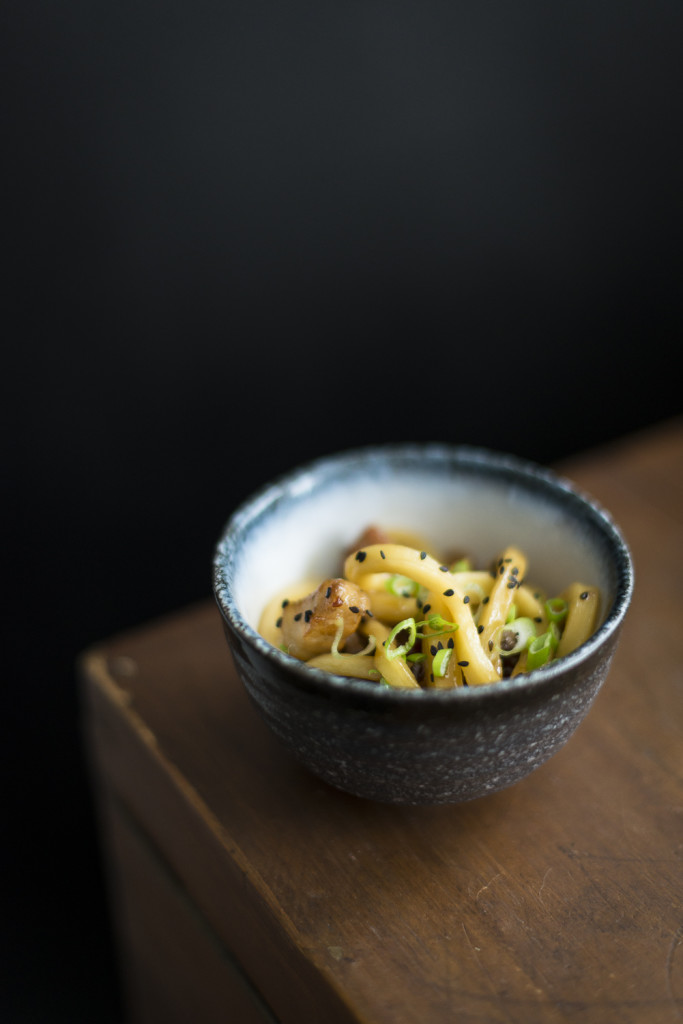
So what about udon noodles, quickly cooked and mixed with stir-fried pork belly? The noodles make happy just by being noodles and are always joyful to eat. The limes give a certain freshness and flavour, the pork is comforting, and the hot and sweet sauce will make us smile again. Of course you could make the udon on your own. But hey! There’s no need to always do everything from scratch when you can have it easy just as well. It’s alright. Live a little!

Udon

Udon Noodles with Pork Belly in Lime and Honey Sauce

Ingredients for 2 portions

  • 2 portions of udon noodles*
  • 200 g pork belly without bones, cut into 1-3 cm big dice
  • 2 spring onions, washed and chopped
  • 1 tbsp sesame oil
  • juice of 2 limes
  • 2 tbsp honey
  • 2 tbsp soy sauce
  • 1 tbsp mirin
  • some chili flakes
  • 1 tsp sesame

*The recipe for homemade udon noodles is below

Bring a pot of unsalted water to a boil, add the noodles and cook according to instructions. Drain them into a sieve and wash with cold tap water to rinse off additional starch and to stop the cooking process. Drain well and gently mix with a tbsp of oil.

Pour the sesame oil into a pan and heat it up on medium to high heat. Mix the lime juice, honey, soy sauce and mirin. Put the pork into the pan and fry it until it looks nice and crispy all around. Shake the pan or stir every now and then. Add the white parts of the spring onions, the chili flakes, and the sauce and let it cook until it is reduced to a creamy consistency. Put the noodles into the pan, give it a good shake and divide the dish onto bowls. Sprinkle with the green part of the spring onions and some sesame. Serve hot and enjoy.

Udon with Pork Belly


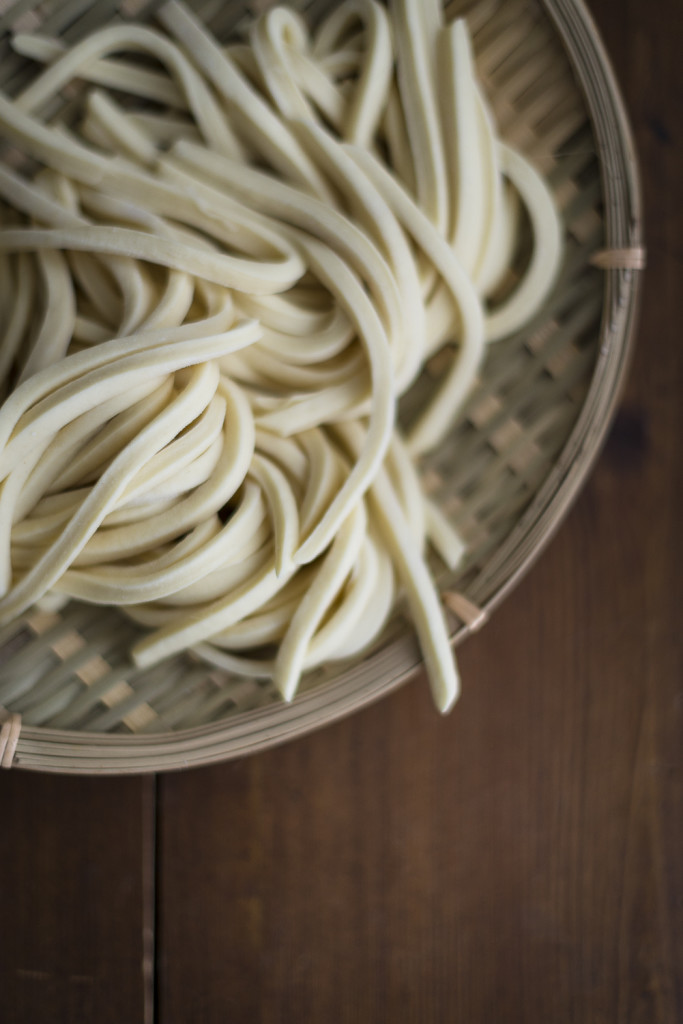
Homemade Udon Noodles

Ingredients for 2 portions

For the udon noodles*:

  • 250 g wheat flour
  • 125 ml water
  • 12 g salt
  • some rice flour for rolling out
  • 1 tsp sesame oil

*If you don’t want to make the udon on your own you can buy them just as well, of course. Personally, I prefer the precooked ones to the dried version.

For the udon noodles knead the wheat flour with the water and the salt into a firm, smooth dough that’s neither wet nor too dry. Cover it and let it rest for an hour. Put the dough into a big plastic bag and put it into the floor to knead it with your feet for at least 5 minutes. Put it onto your work surface and roll it out until it is about 3 mm thick. Dust with a little bit of rice flour and cut it into 3 mm thick strings. Bring a pot of unsalted water to a boil, add the noodles and cook for 3-5 minutes. Drain them into a sieve and wash with cold tap water to rinse off additional starch and to stop the cooking process. Drain well and gently mix with a tbsp of sesame oil.

Stored in a closed container and in the fridge the udon noodles will be good to eat for about two days.

There’s Nothing to Fear Under a Blanket

Decke*photo source: unsplash

Blankets are something wonderful. Something brave. In the twinkling of an eye they can transform you into a superhero: Wrap it around your shoulders and you are ready to hunt evil; even if it’s only a fly buzzing around.

And if you’ve got enough of fighting: Soft and gentle as they are, all they want is a cuddle. To warm you and caress your soul. Wrap it over your desk and you’ve got your own, secret hideout place. Like back then when we were little. With a torchlight and the favourite book…what bad could possibly happen like this?

Of course you can always go the easiest way: Simply lay down on the couch and pull the blanket over your own head. It is nice down there, isn’t it? Safe and warm. Hidden from the world like this nobody will ever be able to see you. And—even better sometimes—you won’t be able to see anyone else either. And sometimes that all we need.

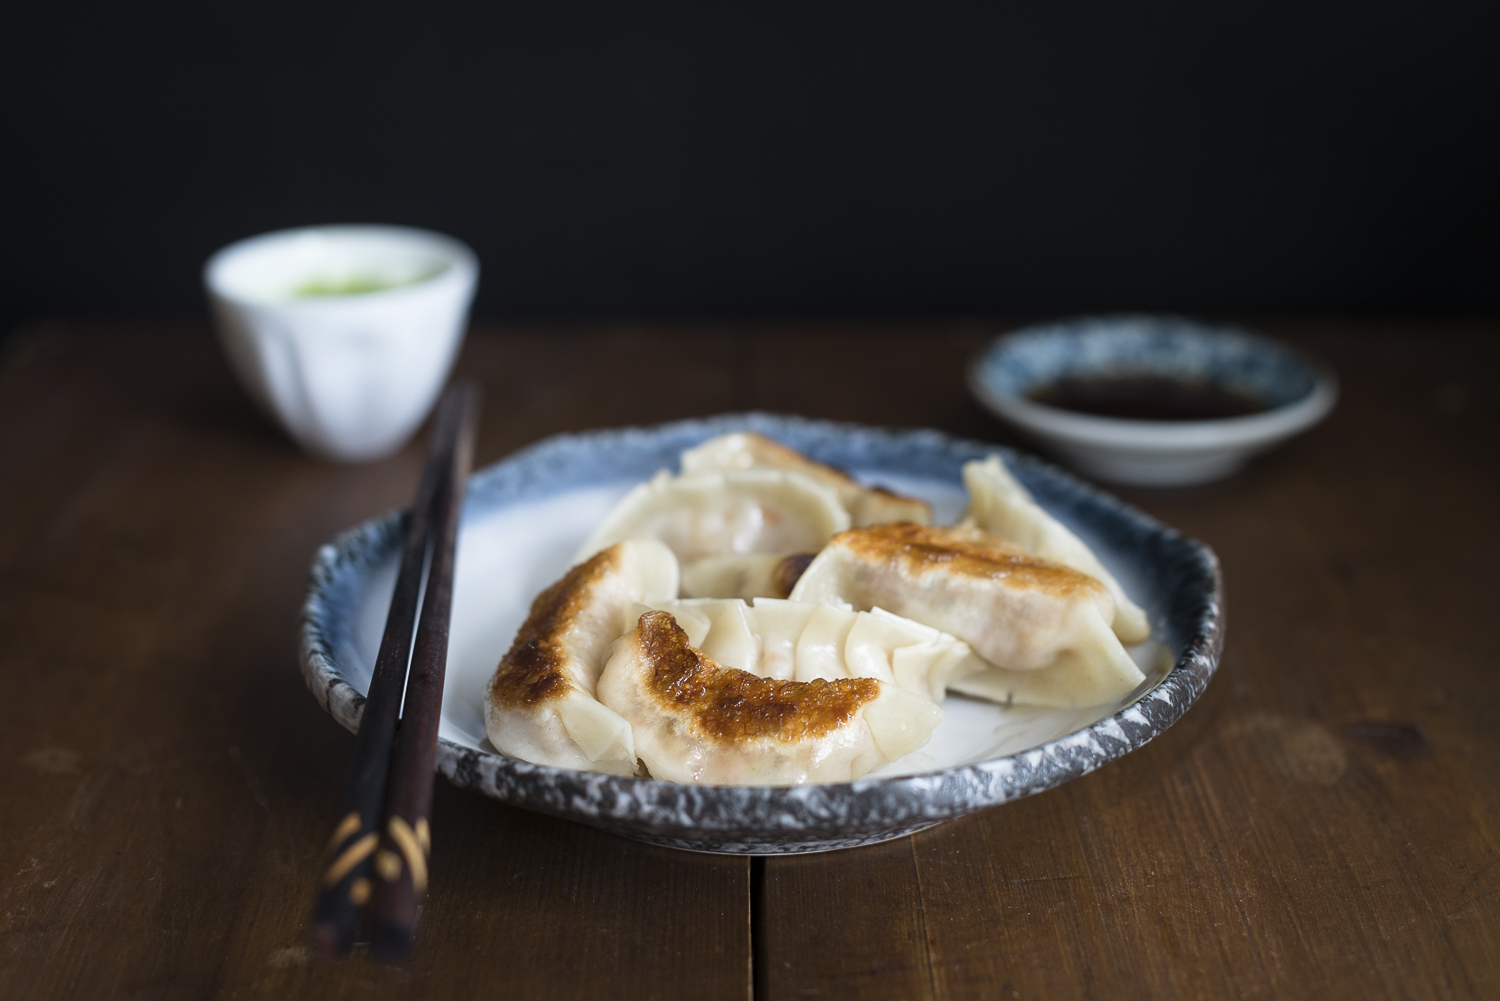
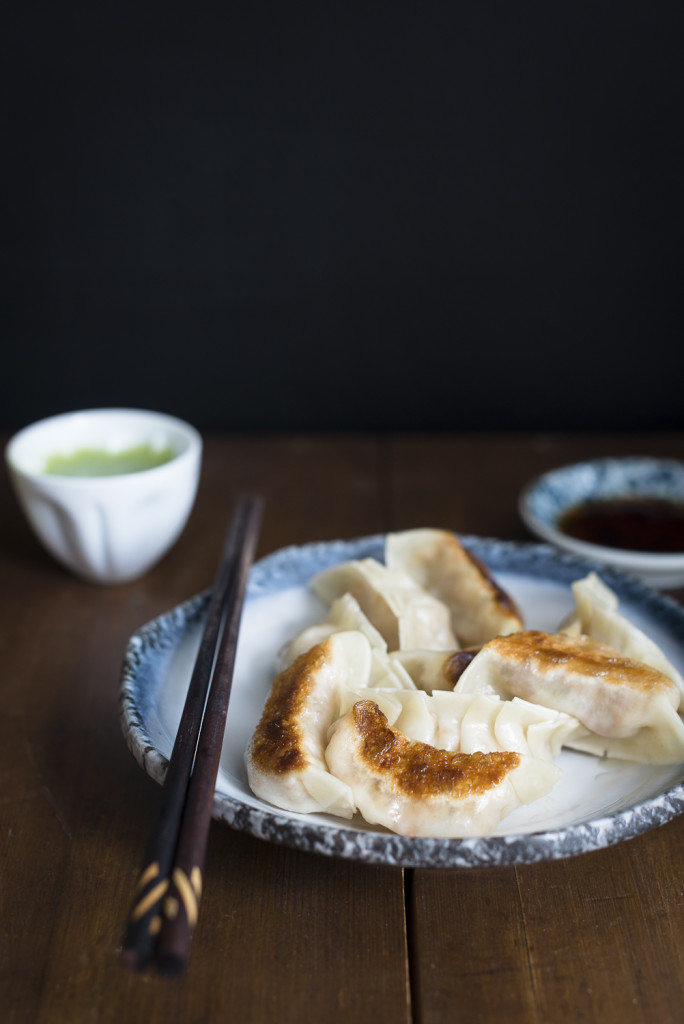
Shrimps, as I’ve come to hear, like to hide just as well. Under a blanket of noodle dough for example. Package by package is wrapped, fried in a pan until it is crispy, then shortly steamed and done is the favourite dish. For that I’ll even leave my own blanket for a while. Even if it is just for a short time.

Shrimp Gyouza

Shrimp Gyouza

Ingredients for 15 dumplings

For the filling:

  • 150 cooked und peeled shrimps, finely chopped
  • 1 small spring onion, washed and finely chopped
  • 1 small clove of garlic, peeled and finely chopped
  • a piece of ginger (as big as the garlic), peeled and finely chopped
  • 1 tbsp soy sauce
  • 1 tbsp sake or sherry
  • 1 tbsp potato starch

For the gyouza:

  • 15 gyouza wrappers (from the Asian shop)

For the dip:

  • 1 tbsp rice vinegar
  • 3 tbsp soy sauce
  • some chili oil

Additionally:

  • 1 tbsp vegetable oil

Get the package with the gyouza wrapper out of the fridge to let them defrost at room temperature for about 1 hour.

Mix the chopped shrimps spring onions, garlic and ginger with the soy sauce, sake and potato starch. Put about 1 tsp of filling onto 1 gyouza wrapper and fold it in the gyouza style.

Heat up the oil in a pan. Put in the gyouza and fry them at medium heat for about 5 minutes. Switch down the temperature to low, add a splash of water and cover the pan with a lid. Steam for 3-5 minutes.

Mix the ingredients for the dip, fill it into small bowls (like for soy sauce) and serve with the warm gyouza.

Summertime Happiness

Being outside. Throwing your arms up in the air. Simply because you can.

Sunbathing. A book to that?

Dancing in the warm rain. And finally being barefooted again.

Counting the stars, whilst thriving in the coolness of the night.

Celebrating simplicity. Complicated can come back later.

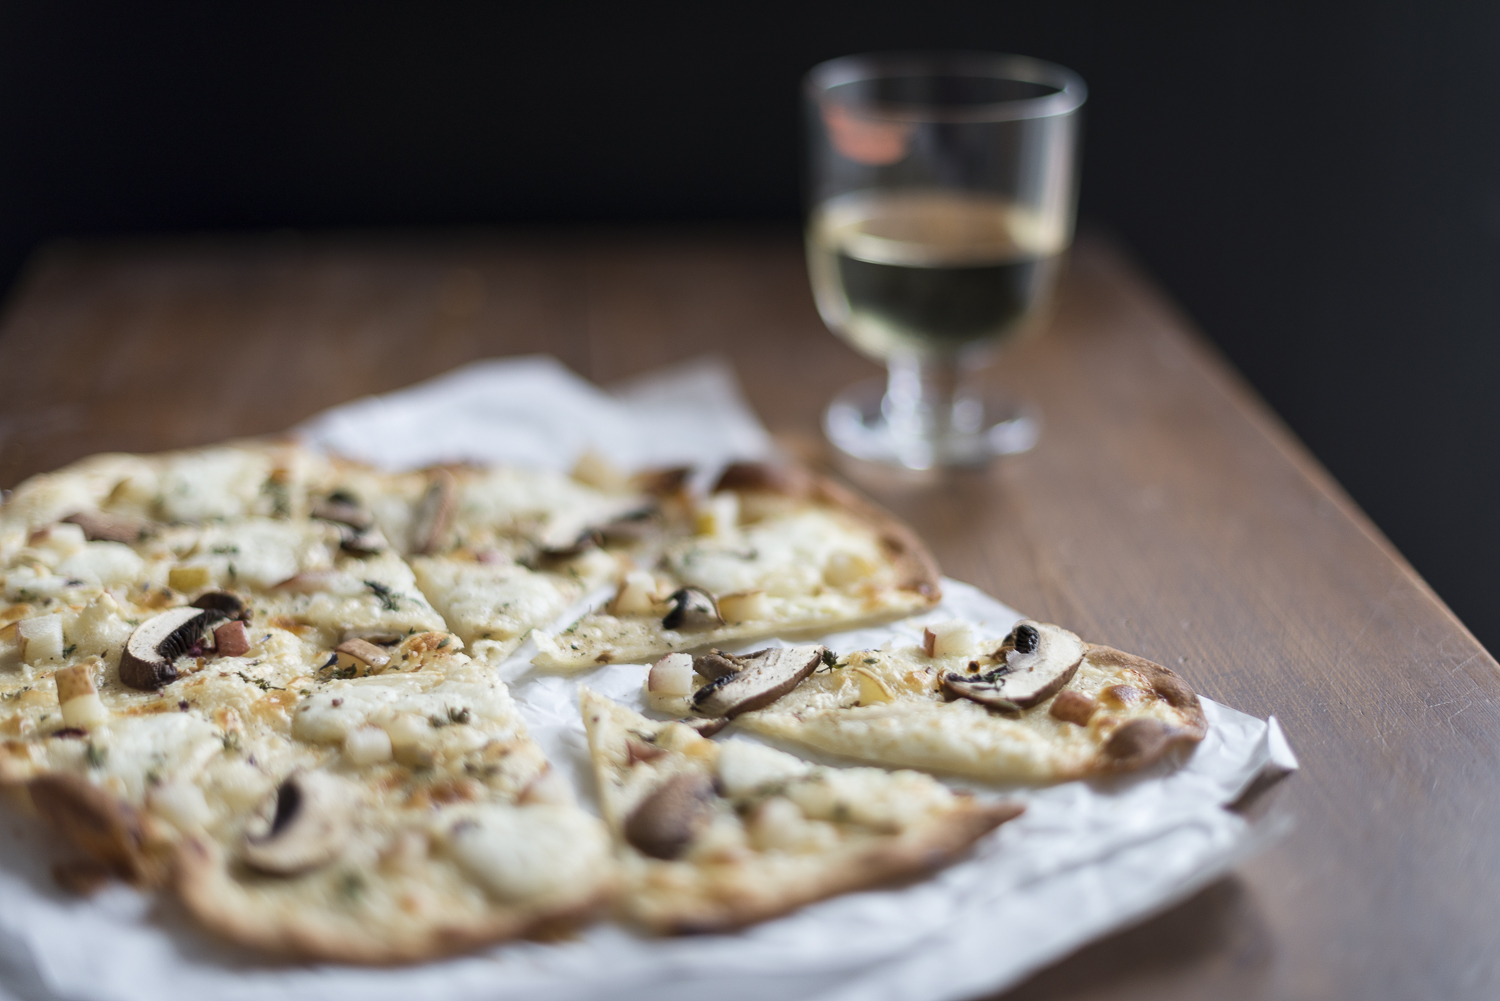
Even more sun! And noshing tarte flambee.

Tarte Flambee Goat Cheese

Tarte Flambee with Goat Cheese, Pear, and Mushrooms

Ingredients for 2 portions

For the dough:

  • 185 g wheat flour
  • 90 ml soda water
  • 2 tbsp peanut oil
  • 1/2 tsp salt

For the topping:

  • 150 g soft goat cheese
  • 2-3 tbsp sour cream
  • 1/2 pear
  • 2-3 champignons or other mushrooms
  • some fresh thyme

Knead the ingredients for the dough until it is smooth and soft. Cover the bowl and let it rest for 1-2 hours if you’ve got the time (the resting isn’t really necessary but it will be better with it in the end).

Preheat the oven to 250°C.

Cut the pear into small dices. Cut the mushrooms and the cheese into slices. Divide the dough into two halves and roll out each of them very thinly, until you almost can see through. Put each of them onto a baking tray with baking paper. Spread half of the sour cream thinly onto each tarte and scatter half the remaining ingredients onto each tarte as well. Bake for 5-10 minutes until the dough is crispy. Serve hot.

Searching for the Sun

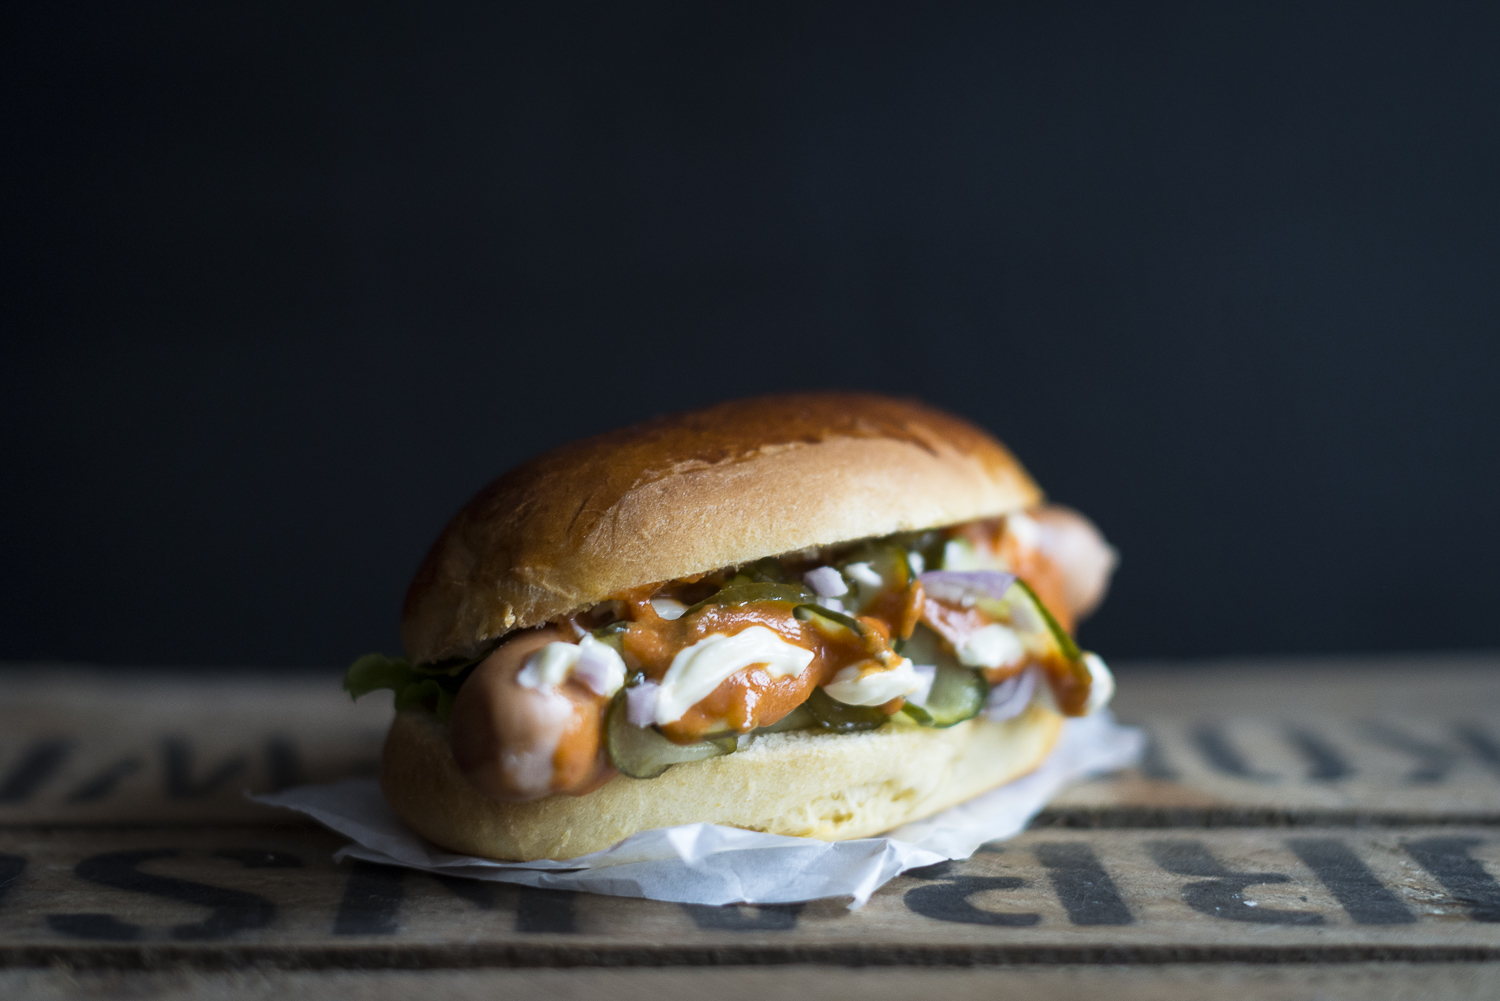
Classic Hot Dog - Birds

Misery is here. It’s creeping through locked windows and doors, sneaking up on us like an unwelcome guest. It is carried by dark, thick clouds that keep denying us a lasting glimpse of the wonderful spring sun.

You almost tend to get hermitical. Not being able to spend your time under a blue sky for weeks when this–spring–usually is the one time of the year that urges you to spend your free time outside. To get yourself some energy. To soak up joy. And sooner or later you are simply displeased with everything. Including (let’s be honest here) with yourself.

So, distraction is what we need from all this shit. A new book. Tying knots into the socks of your most favourite person. A bunch of flower to brighten up the greyness. Tickling each other’s ears (or one’s own). Making plans for a trip. A Sunday, dedicated simply to soul food.

And because the weather outside truly is dreary, we’ll make the hot dog almost completely on our own. It is definitely worth the trouble anyway. And when you bite into that self-baked brioche roll, rejoice in the homemade ketchup, and you can’t even decide on which side of the filled bread you want to stop the dripping content first… you will smile again. I promise.

Classic Hot Dog

Hot Dogs

Ingredients for 6 hot dogs
the brioche rolls are our own, the rest is after a recipe out of Stevan Paul’s „Auf die Hand“

For the ketchup:

  • 100 g onions
  • 2 tbs oil
  • 120 g sugar
  • 2 tbsp tomato mark
  • 1 tsp paprika powder
  • 1 pinch of Pimento powder
  • 500 g canned tomatoes, pureed
  • 100 ml water
  • 50 ml white wine vinegar

For the brioche rolls:

  • 100 ml milk
  • 10 g fresh yeast
  • 1 tbsp sugar
  • 230 g wheat flour + more 
  • 1 tsp salt
  • 40 g unsalted butter at room temperature
  • 1 egg
  • for the coating: 1 egg yolk + 1 tbsp milk

For the cucumbers:

  • 1/2 cucumber
  • 1 tbsp white wine vinegar
  • 1 tbsp oil
  • 1 tbsp sugar
  • 1-2 pinches of salt

For the hot dogs:

  • 6 hotdog sausauges
  • 1 onion
  • 5 tbsp ketchup
  • 1 tbsp mustard
  • 1/2 tbsp grated horseradish
  • 1 hand full of salad leaves, washed
  • mayonnaise
  • the cucumbers from above
  • 6 hot dog rolls

Ketchup: Peel the onions and chop them roughly. Gently sizzle them in oil for 10 minutes, then add the other ingredients and bring to a boil. Reduce the heat to medium, so everything just bubbles, and let it cook openly for 1 hour. Puree everything, put the pot back onto the stove and cook for 15 more minutes. Strain the sauce through a sieve and press everything through with a tablespoon. In the end there should remain only about 1 tbsp of solid ingredients in the sieve. Fill into sterilized jars, store them in the fridge and use them up within 2 months.

Brioche rolls: Combine all ingredients in a bowl and knead for at least 5 minutes. Dust a working surface with additional flour and keep on kneading the dough in it until it just doesn’t stick anymore. It will still be soft and slightly damp. Put the dough back into the bowl, cover it, and let it rest for 2 hours.

Divide into 6 equal portions, knead them shortly, then form them to balls. Roll them between the working surface and your hands until they have a long shape, just like a sausage. Put them onto a baking tray, covered with a sheet of baking paper, cover it with a dry and clean cloth and let it rest for 30 more minutes. Preheat the oven to 200°C. Mix the remaining egg yolk with the milk and brush it onto the rolls. Bake for 15-20 minutes.

Cucumbers: Cut the cucumber into thin slices. Put everything in a pan and heat it up. Cook on medium temperature until the cucumbers are soft.

Hot dogs: Heat up the sausages. Peel the onion and cut it into dices. Mix the ketchup with the mustard and the horseradish. Cut the brioche rolls lengthwise, put in a sausage each and a bit of salad. Garnish with the hot dog sauce, mayonnaise, cucumbers, and onions. Enjoy warm.

The Joy a Weekend Brings

Chick Flick Popcorn

Not much equals the pleasant feeling of a weekend on one’s doorstep. Kicking off the shoes after a day at work, breathing in and being able to set aside the office keys, even if only for one or two precious days.

Hopefully they will be your own and filled with things you enjoy most. A walk through the woods. Indulging in some sports. A short trip. Cooking. Doing that thing you always wanted to do but never did. Catching up with friends and talking to them all day long. Laughing or crying together. Spending time with the loved one(s). Or simply enjoying a wonderful book and a glass of wine. Or read that amazing fan fiction with more than 100,000 words in one go.

For me film nights on a Friday evening are always a thing to look forward to. Relaxing on the couch, alone or in company, munching delicious stuff whilst ogling the screen with delight. Maybe that Danish road trip film that we can never have enough of. Maybe something dark. Maybe something heartwarming. Maybe a classic. Maybe even a series. Or maybe the favourite chick flick that never fails to make me warm and fuzzy inside, no matter how often I’ve watched it already.

Whichever you prefer, I can recommend this popcorn. I know, it’s utterly sinful. But hey, it’s Friday!

Sinful Chicken Skin Popcorn

Ingredients for 4 portions
(during a Pride and Prejudice session you can easily finish it on your own…)

  • the skin from 2-4 chicken thighs or breasts
  • salt and pepper
  • 1 twig of fresh rosemary, leaves removed and finely chopped
  • 2 twigs of fresh thyme, leaves removed and finely chopped
  • 50 g + 30 g of unsalted butter
  • 150 g corn

Preheat the oven to 200 °C. Lay the chicken skin pieces flat onto a baking tray covered with baking paper and sprinkle with a bit of sea salt and freshly ground pepper. Roast for about 20 minutes, until they look golden, bubbly, and crispy. Place them on kitchen paper to cool down.

Melt 50 g of the butter on medium heat, add the herbs, and keep on cooking for a minute until it smells nicely. Remove from the stove.

Put the remaining butter into a large pot. Melt it on medium heat and add the corn. Close the lid and wait for the corn starting to pop. Keep the lid on and shake the pot from time to time, so nothing gets burned. When the popping noise stops remove the pot from the stove.

Drizzle the melted herb butter over the freshly made popcorn and add sea salt (perfect are salt flakes) until you like the taste.

Crumble the chicken skin into bite sized pieces and sprinkle them over the popcorn.

The Feeding of Predators

20150909-20150909-DSC_7778

Steakhouse owners and -waiters always rejoice in my appearance whenever I step over their threshold: My brightest smile of my face, sparkling eyes that beam with anticipation, and already deeply inhaling the flavours of Heaven… yes. It is time to feed The Predator again. Side dishes, mostly unnecessary anyway, are counter-ordered or simply left aside; my concentration is fixed on the essential. The meat.

Good is what it has to be. A little bit of luxury for a special moment. It should have lived a happy life, a species-appropriate existence on wide meadows under the sun and stars, with a generous selection of yummy grass, various herbs, fresh air, and freedom with an end that was as respectful as possible. Ideals – I know. But they are worth pursuing. In exchange I’d rather savour a little less often, but then properly.

Then the next question: Filet? Or ribeye? Maybe a striploin or t-bone? Marinated? Mediterranean? From the barbecue or out of the pan? The portion for a lady (hardly so…) or for a hungry fellow (much more likely!)?

One thing is always for sure though: For me it has to be rare and bloody! Still wonderfully bright red inside and – here at the latest you detect good quality – tender and delicious. A little bit of marinade or dip to that and the evening is perfect. All that’s missing now is a glass of red wine or a cocktail…

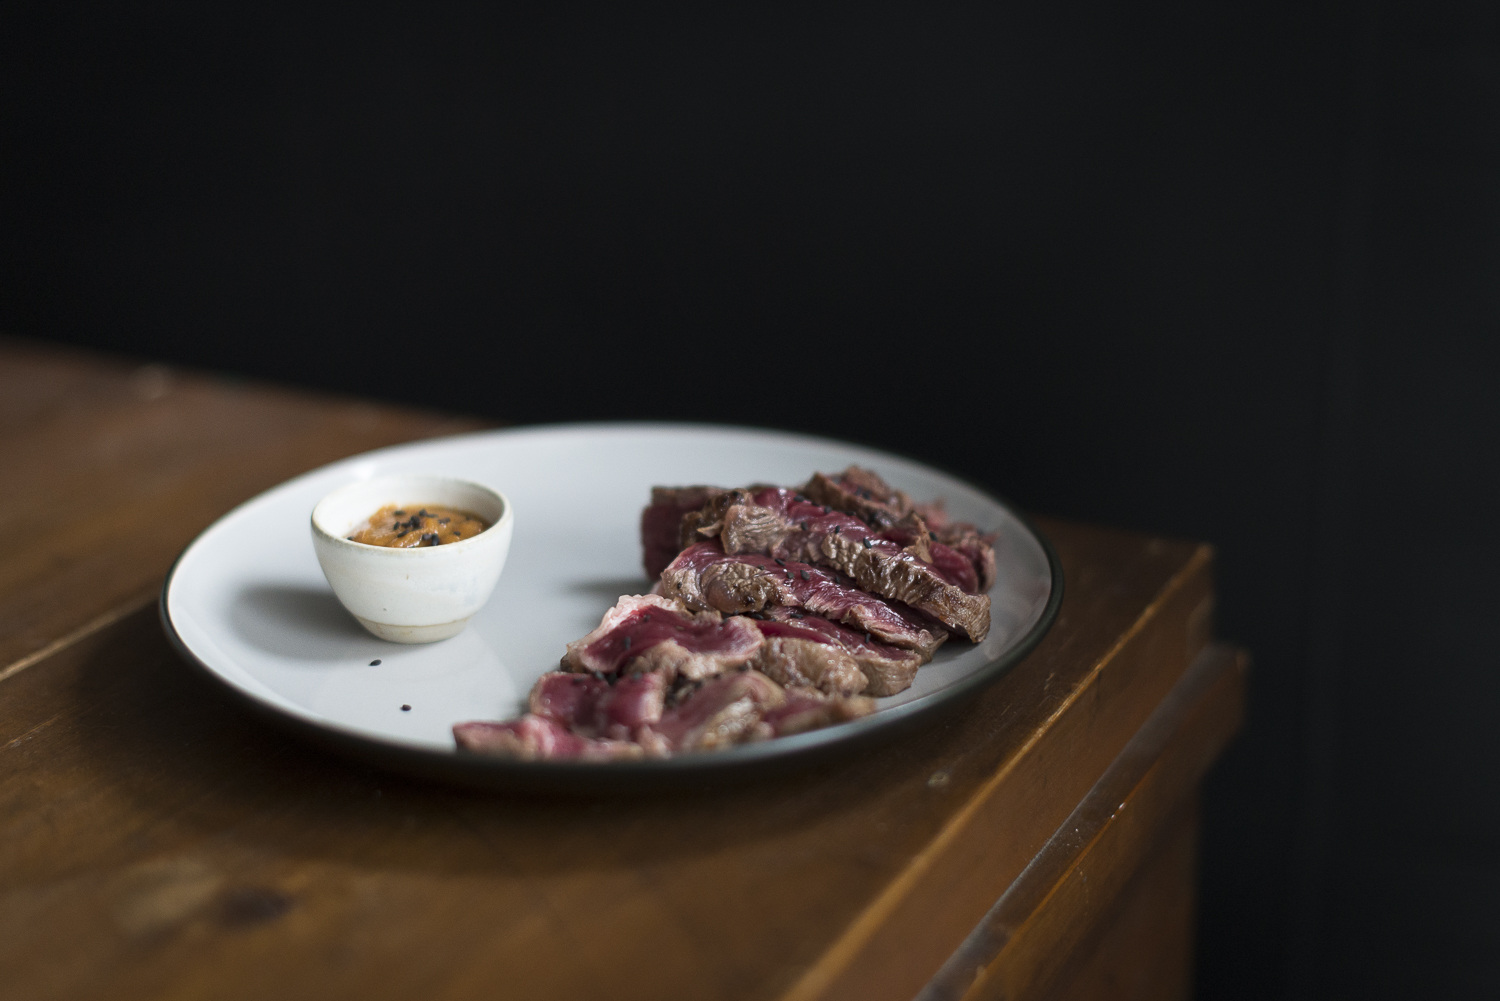
Entrecôte with Miso Dip

Entrecôte with Miso Dip

Inspired by Nigel Slater’s “eat”

Ingredients for 2 portions

  • 400 g entrecôte, one single piece
  • 1-2 cloves of garlic
  • 1 branch of rosemary
  • 2 tbsp olive oil
  • some oil for frying

For the dip:

  • 1-2 branch of thyme
  • 3 tbsp white or yellow miso paste
  • 1 tbsp apple vinegar
  • 1 gulp of sake or dry sherry (30-50 ml)

Rinse the meat under cold tap water and pat dry. Peel the garlic and chop into slices. Remove the rosemary from the branches, mix with the garlic and the olive oil and rub it into the steak. Cover it and let it marinate in the fridge for at least 2 hours, better over night.

Heat up a pan and add some oil. Put in the meat and fry it on middle to high heat on both sides until it is to your liking (I prefer it very rare, so I only let it in the pan for 1-2 minutes on each side, medium should take about 8 minutes on each side).

Remove the thyme leaves from the branches and mix with the miso paste and the apple vinegar. When the meat is done remove it from the pan and add the sake. Stir and take the pan off the flame. Add the miso mix.

Cut the meat into thin stripes and serve with the dip.

Eat with rice, roasted potatoes or as a sandwich between to halves of a ciabatta.

– – –

The beautiful lady on the photo above is one of the happy cows of Denmark. I named her Kate and she was my lovely meadow friend for two whole weeks. Then we had to drive back home again…