Tag Archives: autumn

Fried Mackerel with Egg on Rice

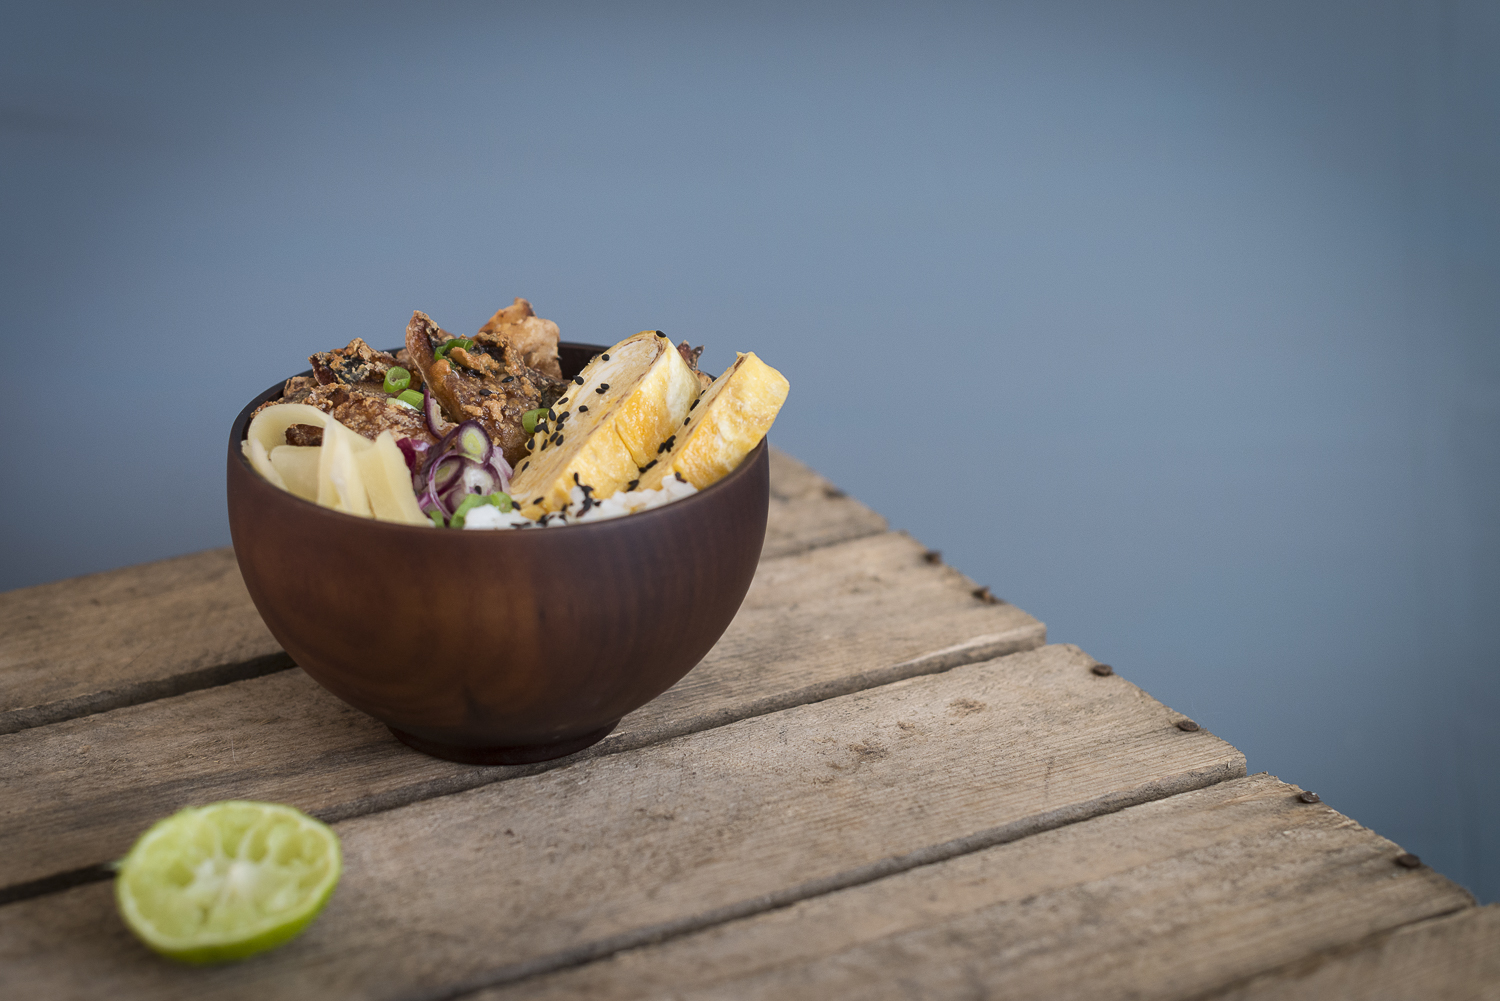
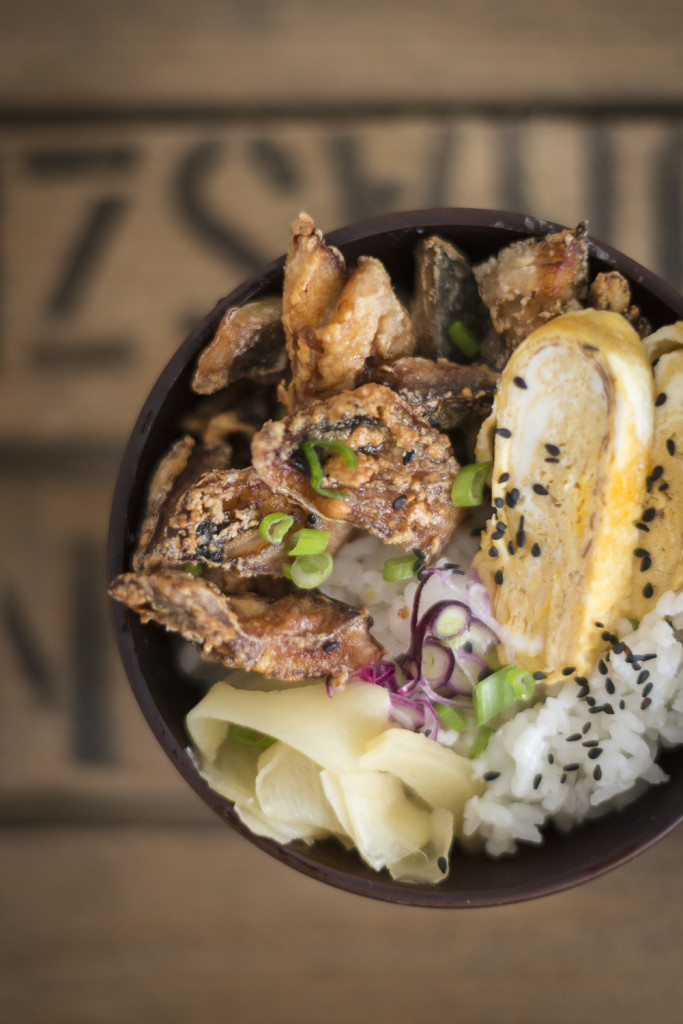
Saba Tamagoyaki Don

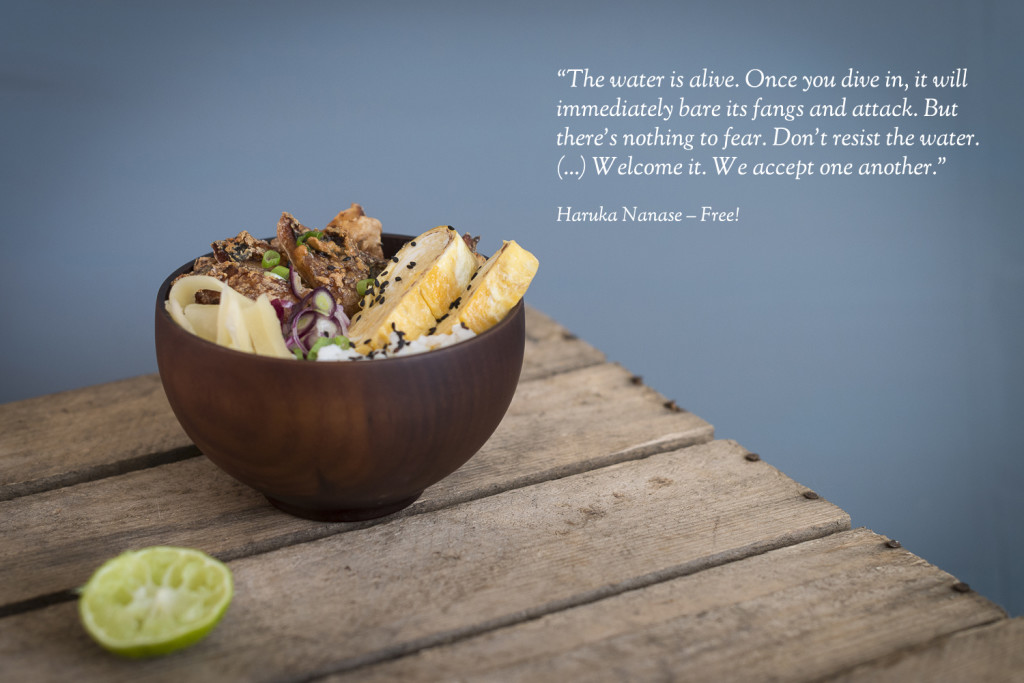
Under water the world is silent. The sun casts its beams through the ever changing surface that cheerfully dance on the ground. They call out to us, wanting us to join them. The blue of the water, sometimes grey as steel and hazy, sometimes turquoise and bright, allures us to dive in. Sometimes I dream about the lively roaring sea with its waves. But tamed, I have to admit, I prefer it for swimming: In the pool, with solid ground under my feet and an envious eye on the well-trained swimmers around me. I swim my laps, duck under and feel connected to the water – a place where I’ve always felt at home. No wonder, that I fell in love with an anime series about swimming a while ago. And in honor of Free! I’ll be cooking mackerel today – the main character Haruka Nanase’s most favourite food.

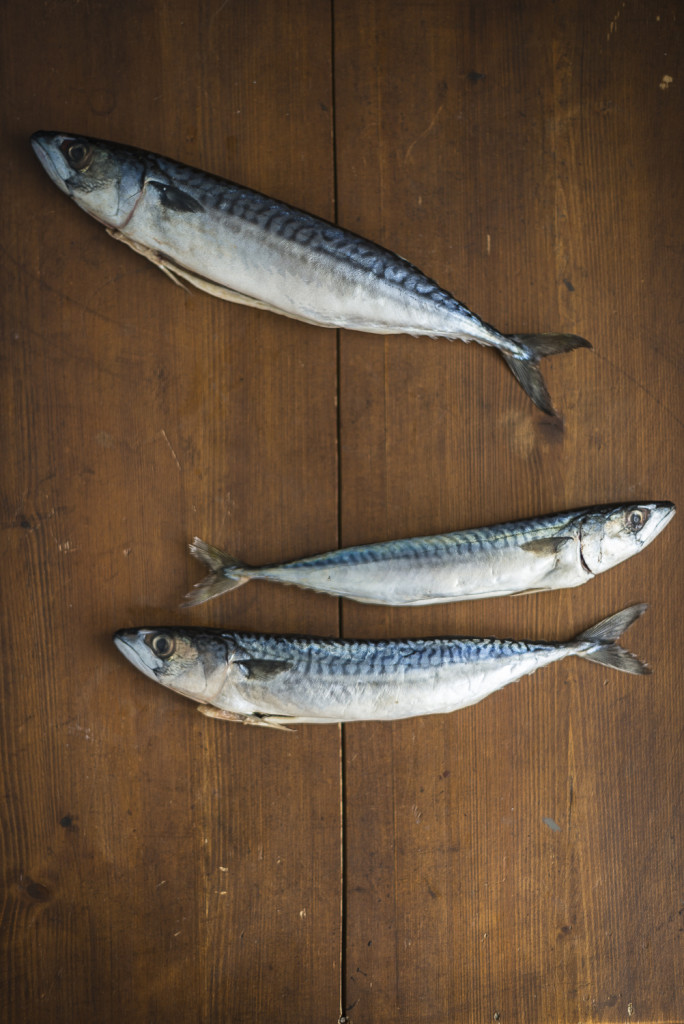
The mackerel is a somewhat inconspicuous fish, but actually with a gorgeous patterning in all shades of blue and silvery grey. We should eat it much more often and stay away from creamy salmon and firm tuna from time to time. Mackerel has a much more “fish-like” taste and a very unique flavor that is easily tamed by spring onions and ginger. And it is so easily prepared, that it is almost too simple: Just cut in chunks, marinated and fried it is a delight and perfect for another one of my beloved “donburi” – bowls of rice with “stuff on top”.
Saba Tamagoyaki Don

“Saba Tamagoyaki Don” – Fried Mackerel with Egg on Rice

Inspired by Free! and Free! Eternal Summer

Ingredients for 2 portions

For the fried mackerel:

  • 2-3 mackerel filets
  • 1 tbsp soy sauce
  • 1 tbsp sake or sherry
  • 1/2 tbsp mirin
  • 2 tbsp potato starch
  • 500-1000 ml oil for frying

For the tamagoyaki:

  • 3 medium sized eggs
  • 1-2 tsp soy sauce
  • 1 tsp mirin
  • some oil

Additionally:

  • freshly steamed sushi rice
  • chopped spring onion, gari, lime juice and/or sesame for garnish

Wash the mackerel filets and remove remaining bones. You might probably find them running alongside the middle of the filets and some might also stick in the top part. Cut the fish into bite-sized chunks and mix them with the soy sauce, sake, and mirin. Let them rest in the frigde for at least 30 minutes.

Meanwhile prepare the tamagoyaki (Japanese omelette): Mix up the eggs with the soy sauce and the mirin. Put a tamagoyaki pan on high heat (any regular pan will work too, but it is best with a rectangular pan), add a thin layer of oil and pour in about one quarter of the egg mixture. As soon as the top surface of the egg starts to turn solid, roll up the omelette by flapping it over for 3 times or so. Push it to one side of the pan, add another thin layer of oil and pour in the second quarter of egg. Shortly lift up the egg roll from before so egg can spread under that too and as soon as the surface starts to turn solid again flip and roll up the roll again. Repeat until all the egg mixture is used up and you have a nice egg roll in the pan. Making tamagoyaki is a very quick process – you shouldn’t need more than 10 minutes for everything. Remove the pan from the stove and flip the tamagoyaki onto a bamboo mat. Roll it up to wrap the egg roll in it and set aside.

Get the fish out of the fridge and let it drain. Roll the fish chinks in the potato starch so that they are covered all around and let them reach room temperature. Pour the frying oil in a pot and heat up to 170°C. Carefully let the fish chunks slip into the hot oil and fry them for 2-3 minutes until they are golden-brown and crunchy. Don’t crowd the fish pieces in the oil. If necessary work in batches. Let them drain on a kitchen towel.

Fill two serving bowls with rice and top it with the mackerel. Unwrap the tamagoyaki, cut in into short pieces and divide them onto the bowls. Quickly serve it with some gari, chopped spring onions, sesame and lime juice.
Saba Tamagoyaki Don

A Little Bit of Wellness for the Soul

Miso Ramen

A good noodle soup is a treat: It makes you warm, saturates and it is filled with delicious ingredients. A really good noodle soup is far better though… a little bit of wellness for the soul. It is pleasing to the eye and has been cooked with love – with commitment and a lot of time spent already on the broth itself. It really makes you sigh out of pure happiness. The Japanese have made an art form out of their soup and maybe some day I will be able to go there… to go into a tiny little noodle bar to sit at the counter and order my first “real Japanese Ramen soup”. Until then I’ll have to try every other noodle bar with a good reputation (this one for example) to educate my palate and take everything I’ve learned back home. There I will try my best to make a soup of my own.

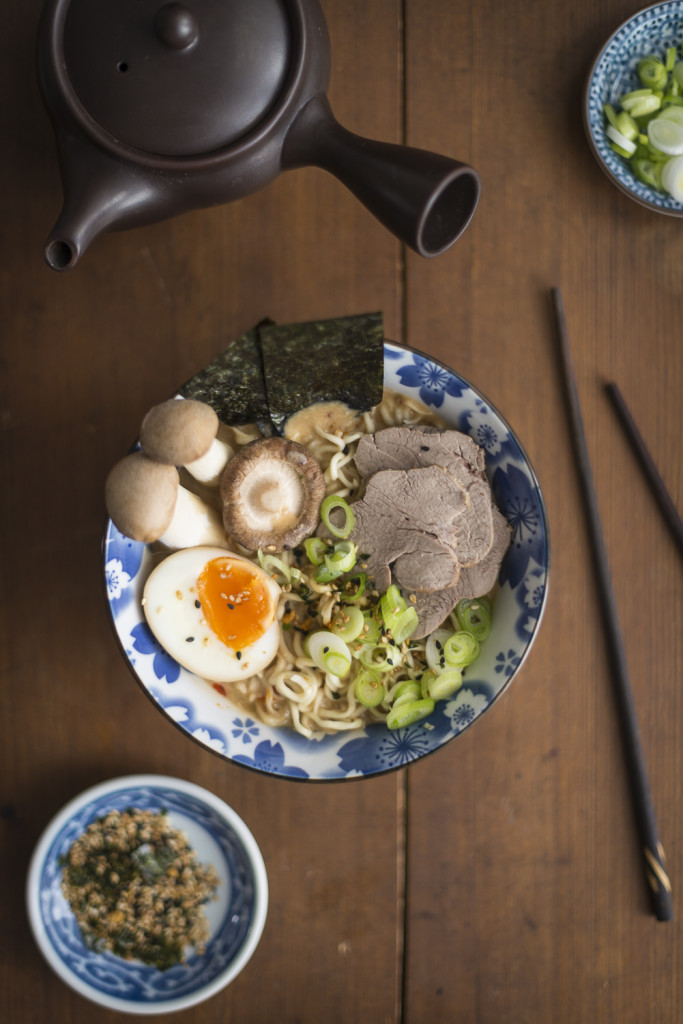
This recipe has been the best result since a long time: A ramen soup with an “own” miso mixture, broth-poached fillet of pork, mushrooms and egg. The soup is completed with a dash of soy milk, a small but effective trick I’ve come across on lovely Mandy’s blog. The miso mix is inprired by her recipe, too.

The spicy miso with sesame makes the soup wonderfully creamy and adds a nice fragrance of sesame, ginger, garlic and chili. The mild-flavoured prok loin indulges us with proteins, the mushrooms add a nice freshness, the egg makes it perfect and the nori finally reminds us of beautiful days at the sea. Don’t be put off by the long list of ingredients: Most of it is spices and except of a little time the soup itself just needs simple attention. But it’s definitely worth it!

Miso Ramen

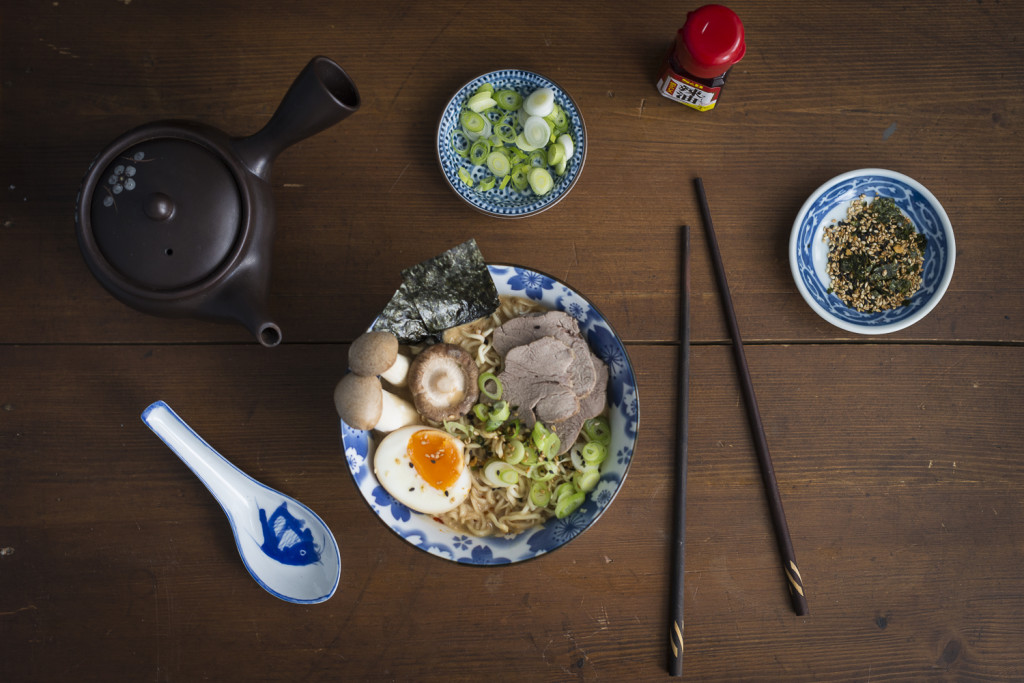
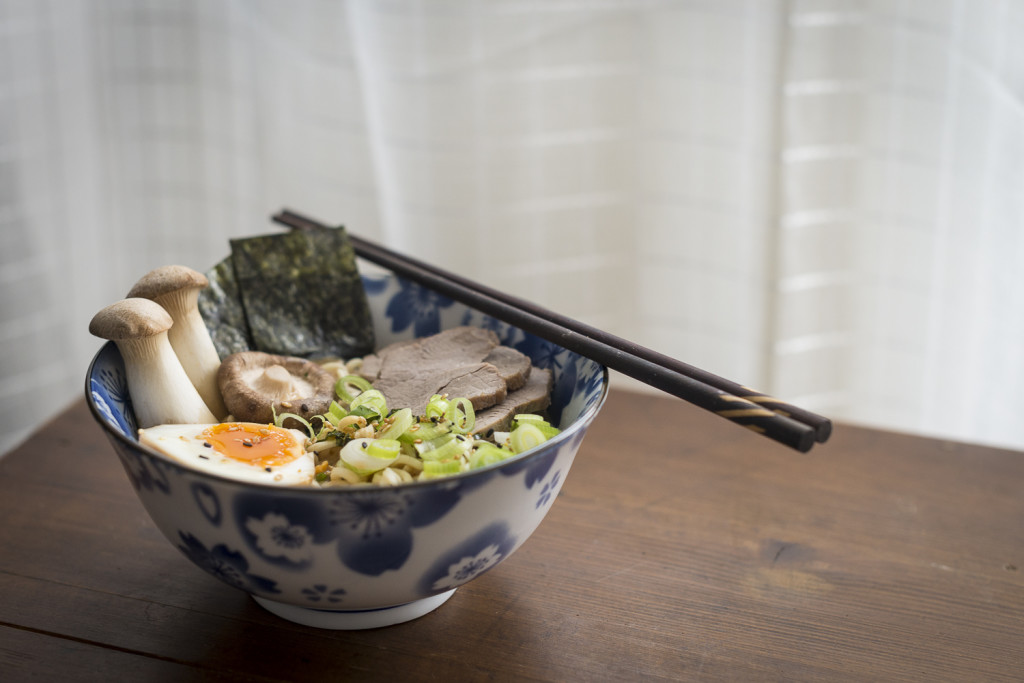
Ramen Soup with Miso, Fillet of Pork, Mushrooms, Nori and Shoyu Tamago

Ingredients for 2 big bowls

Miso mix:

  • 2 cloves of garlic
  • 30 g ginger
  • 10 g chili paste
  • 30 g sesame
  • 3 tbsp mirin
  • 1 tbsp sesame oil
  • 2 tbsp oil for frying
  • 130 g red miso
  • 130 g white or yellow miso

Soy sauce eggs (“Shoyu Tamago”):

  • 1-2 eggs
  • 3 tbsp soy sauce
  • 3 tbsp mirin
  • 1 tbsp sake or sherry
  • 1 tbsp sugar

Broth-poached fillet of pork:

  • 200 g fillet of pork
  • 1 tbsp oil
  • 500-600 ml good, unsalted chicken broth (the homemade one is always the best choice)
  • 1/2 spring onion
  • 1 peanut-sized piece of ginger

Ramen soup:

  • the leftover broth from the poached fillet of pork (see above) – about 500 ml 
  • 160 ml miso mix
  • 100-150 ml soy milk
  • 2 portions Japanese soup noodles (ideally ramen)
  • 1/2 spring onions 
  • 1/2 sheet of nori
  • a few small mushrooms (like shiitake)

Additionally:

  • a few drops of sesame oil
  • a few drops of chili oil
  • sesame

Peel the ginger and garlic for the miso mix and add them to all the other ingredients in a bowl. Mix thoroughly with a hand blender, fill it into an airtight glass jar and store it in the fridge. You can let it stay there for a few weeks until you use it up.

For the shoyu eggs boil the eggs until they are soft (I always put them in boiling water and let them stay in there for exactly 7 minutes), then put them in ice water and let them cool down completely. Peel them carefully. Mix soy sauce, mirin, sake and sugar and let the eggs marinate in that mixture for 2-3 hours.

Heat up a small casserole, pour in the oil. Fry the fillet of pork shortly on each side, then add the broth and the spring onion in one piece. Cut the ginger into slices and add to the pot. Heat the broth until it almost boils, skim off the foam that may rise to the surface and let the broth gently simmer at medium temperature for 30 minutes. Turn the meat after 15 minutes so it doesn’t dry out on one side. Get the pork out of the pot and strain the broth through a sieve – then pour the broth back into the pot. You will need it for the soup itself.

Add the right amount of miso mix to the broth and resolve it in there. A miso sieve or a ladle helps with that. In an extra pot cook the noodles according to the instructions on the package and strain through a sieve. Devide them into two soup bowls. Meanwhile bring the soup to a boil but don’t let it cook for too long.

Chop the spring onion into rings. Cut the pork into thin slices. Pour the hot soup over the noodles in the bowls. Garnisch with the remaining ingredients. Serve hot with a few drops of sesame and chili oil and a few sprinkles of sesame.

Miso Ramen

The Comfort of the Simple Things: Roasted Mushroom Risotto

Autumn

The Octobre sun shines on the world and bathes the nature in the most beautiful way we can imagine: bright and colourful! Golden shades of orange, luminous red and somewhere in between the cool green of the conifers delight the eyes and tempt even couch potatoes like me to go outside. So I take my multicoloured scarf and a warm jacket, take my man by the hand and go into the woods to spy on nut-hunting squirrels (and to happily cheer out of joy if we happen to spot one).

Pilz

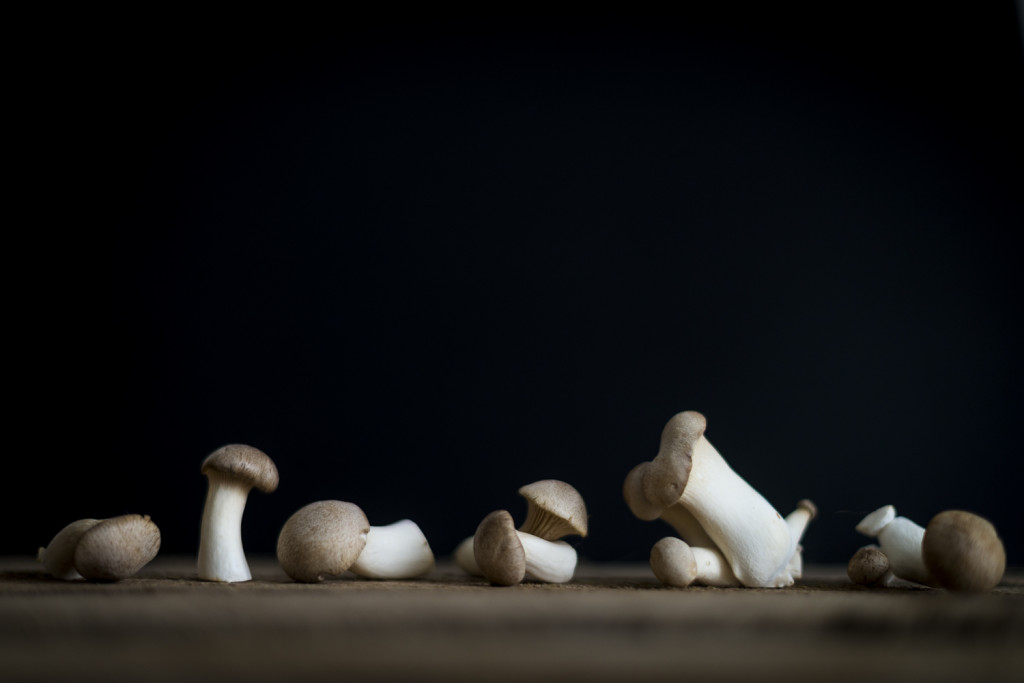
The mushrooms are busily growing already, huddled against moss-overgrown logs or nestled down in rustling autumn foliage… ready to be picked up by skilfull strollers to be sizzled in good butter back home. We don’t really know about mushrooms so we let them grow and rather pick them at the farmer’s market. These days the selection is wonderfully huge and so I choose a variety of those small-grown ones I adore to take them home with us. Those are packed with the same flavour as their big fellows but can just be tossed into the pan without having to be cut in pieces beforehand.

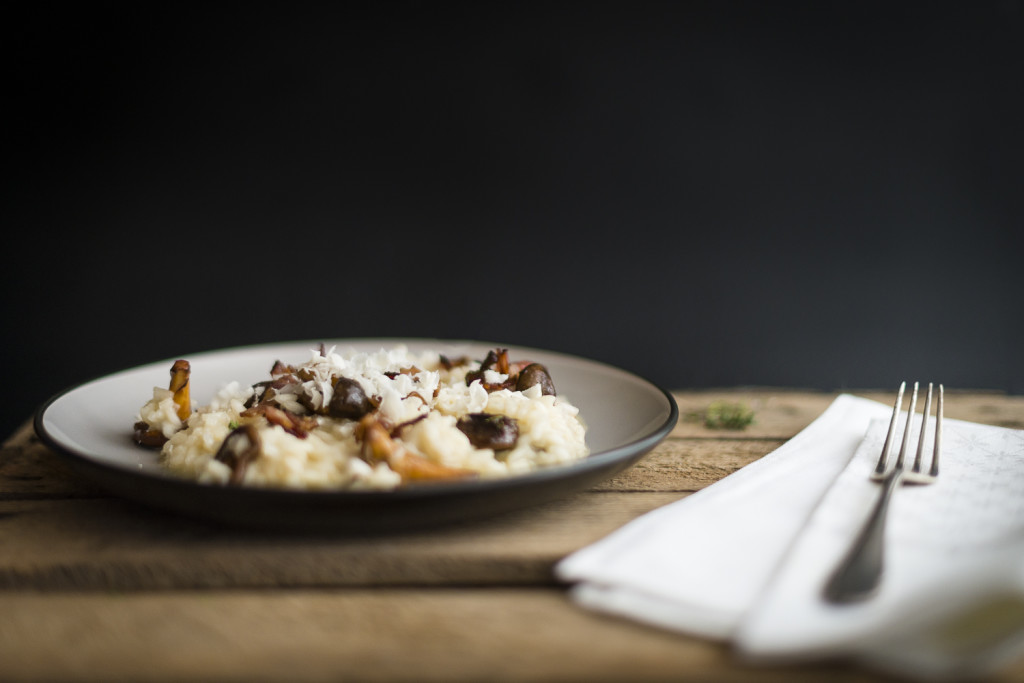
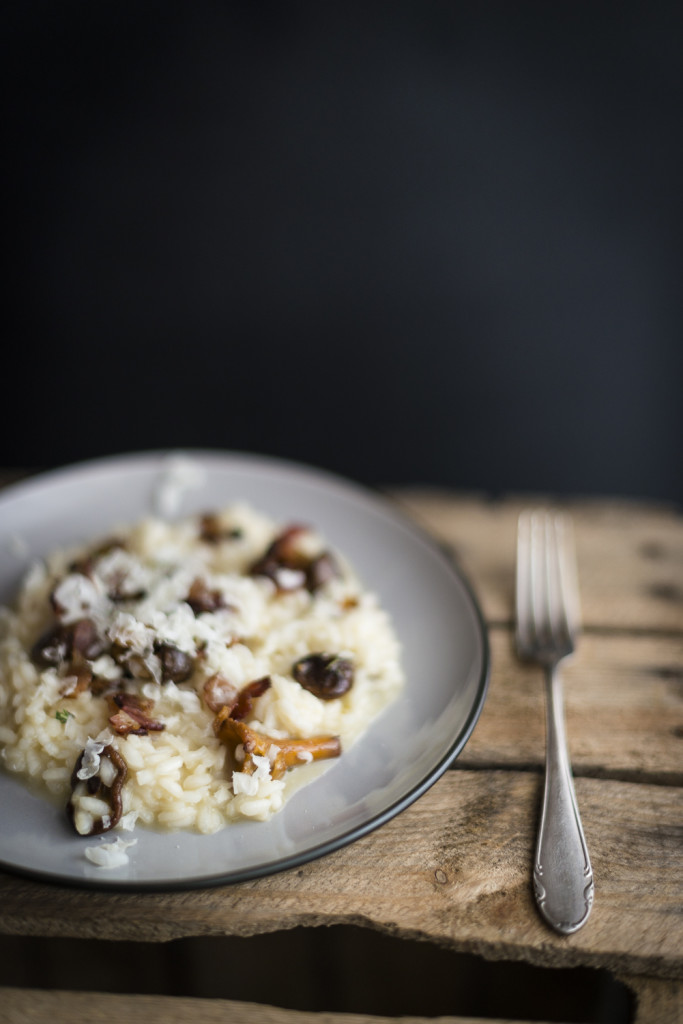
Today we’ll cook risotto; something we usually prepare together. One stirs in the big, steaming pot, the other one takes care of the necessary glass of wine and the mushrooms. We just love to cook them in a simple way: In lots of butter and today with a little bit of crispy bacon, sweet honey and a generous gulp of warming Cognac with perfumy thyme and garlic on top. Added to the creamy risotto they are just perfect this way and again a proof for the comfort that comes with the simple things. Life is good!

mushroom risotto

mushroom risotto

Roasted Mushroom Risotto

Ingredients for 2 portions 

For the risotto:

  • 150-200 g risotto rice
  • 1 glass dry white wine
  • 1/2 liter broth
  • 1 garlic clove
  • 1 onion or shallot
  • 1 tbsp olive oil
  • 1 generous tbsp unsalted butter
  • 1 small hand full freshly grated Parmesan

For the mushroom:

  • 100 g mixed mushrooms of your choice
  • 4 slices of bacon
  • 1/2 tbsp butter
  • 50 ml Cognac
  • 1-2 tsp honey
  • 4 branches of thyme
  • 1 garlic clove
  • 1 generous pinch of salz
  • some chili powder

Heat up the broth for the risotto in a pot. Peel the garlic and the onions and chop them finely. Gently heat up the olive oil in a pot over medium temperature and add the garlic and onion. Let them cook gently for about 5 minutes and stir occasionally. Meanwhile prepare the mushrooms: Also peel and chop the garlic, cut the bacon in stripes, clean the mushrooms, and cut larger ones in half or in quarters.  But the bacon into a pan and let it sizzle on medium temperature until it gets crisp.

Add the rice to the garlic and onion pieces in to pot, let it fry a second than pour the white wine over it. Add one ladle of broth and let the rice cook on medium temperature while stirring from time to time. As soon as the broth has almost fully been absorbed by the rice add another ladle of broth and keep on cooking and stirring from time to time. Repeat for about 15 minutes or until the broth is used up.

Meanwhile the bacon should be done: Fish it out of the pan and let it drain on a kitchen towel. Turn the temperature up a little bit and add the butter to the bacon fat. As soon as the fat start to smoke slightly add the mushrooms and fry them. After 2 mintutes they should already have browned a bit and after 5 minutes they should let go a bit of the fat that they have soaked up earlier. Deglaze them with the Cognac now, add honey, garlic, thyme and condiments, stir one more time and set the pan aside.

Try the rice and check if it is done or needs a bit more cooking time. It should still be just a little bit al dente and should make “creamy waves” in the pot, when you stir. If it needs a little bit more time or fluids add one more ladle of broth or water if the broth is used up. Is the risotto done switch off the stove, add butter, Parmesan and half of the mushrooms to it, stir shortly. Put the lid onto the pot and let the risotto rest für 2 minutes.

Divide it onto two plates, top it with the rest of the mushrooms, the crunchy bacon and some more freshly grated Parmesan. Serve quickly with a glass of wine.

mushroom risotto

They are Among Us: Tuna Onigiri

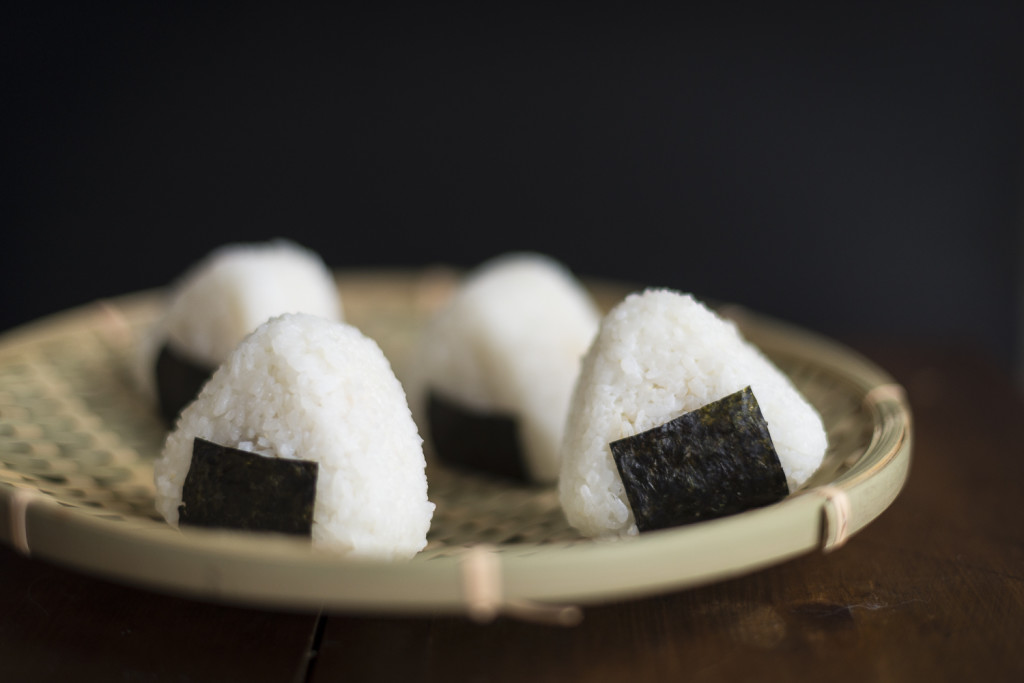
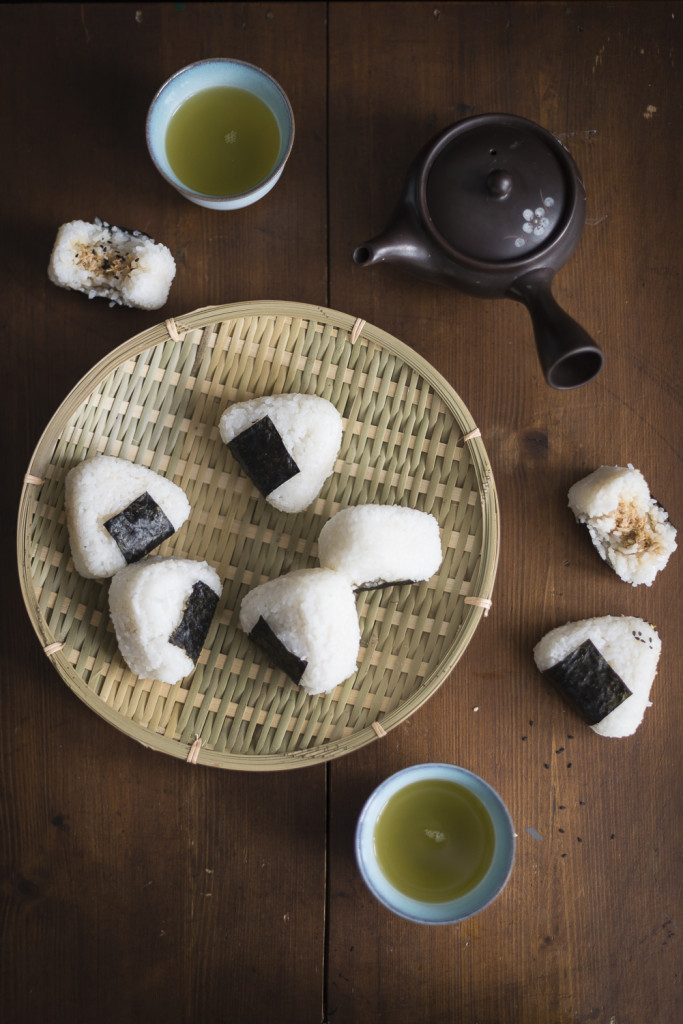
Tuna Onigiri

I wish there was a clone ship for onigiri! Just like this huge Cylon thing in Battlestar Galactica: Filled with huge bath tubs where all the onigiri that have come to die are magically reborn again… an inexhaustible source. They would wonderfully reappear, freshly come back to life and immediately jump into the next spacecraft to fly right back to me and directly onto my plate… A girl can dream, right?

Yes, onigiri make me happy. Really happy. So happy in fact, that I almost can’t describe it. And yes, personally I could talk about them all day long. About how easy they are to make. About how beautiful they are. About how they can be eaten cold or warm and freshly roasted under the grill. About how you can fill them or mix the rice with the ingredients or just leave the rice plain. About how perfectly you can eat them just with your hands and about how much I love to actually touch the food I eat. About how well they can be prepared in advance – and therefore are the perfect food to bring to parties, picnics or lunch break in your bento.

Yes, I am madly in love with onigiri. We both are actually. So why isn’t wasn’t there a recipe on this blog yet? My bad. After all you can nicely take them with you to the sofa to indulge in a long-awaited Battlestar Galactica relapse again. It’s been too long!

How much you get addicted to them depends strongly on the quality of the rice you use and the other ingredients. They can turn your “ordinary ball of rice” into some sheer poetry. In our most favourite recipe we use Cheddar… not really traditionally Japanese, but well – it’s delicious, so what!?

Tuna Onigiri

Tuna Onigiri with Cheddar, Chili & Ginger

after this lovely recipe by Mandy

Ingredients for 8-10 rice balls

For the rice balls:

  • 2 cups (à 180 ml) sushi rice
  • 1 sheet nori
  • 1 tsp sesame oil
  • some sesame or furikake

For the filling:

  • 1/2 can tuna in oil (about 90 grams)
  • 2 tbsp freshly grated Cheddar
  • 1 tbsp mayonnaise
  • 2 tsp sesame
  • 1-2 tsp chopped ginger
  • 1/2 tsp chili powder or freshly chopped chili
  • 1/2 tsp red chili paste and/or a little Tabasco

Put the rice into a sieve and wash it under cold running water. Cook it in a rice cooker according to the producer’s instructions or in a pot on the stove: Add 2 cups of water to the rice in the pot. Close the lid and switch the stove to low (heat level about 2 of 10). After 10 minutes switch to medium heat (level 4-6 of 10 – depending on the kind of stove you have) and let the rice steam for 10-15 minutes. The water should not boil and you should keep the lid of the pot closed. After 15 minutes the rice should have absorbed all the cooking water and it should be tender und fluffy. Pull the pot away from the stove. Get a spoon and carefully fold the rice before closing the lid again and let the rice rest for 5 more minutes.

Let the cooked rice cool down. Drain the tuna and mix it with the other ingredients for the filling. Season to taste with additional chili, cheese or ginger if you like. Cut the Nori sheet in half and cut those halves again in 4-5 rectangles each.

Moisten one of your hand palms and put 2-3 well-heaped teaspoons of the rice on it. Gently press it down a bit. Add 1-2 teaspoons of the filling on top of it and cover with 2-3 more teaspoons of rice. You can also use an onigiri mould for this: Dip it into water too, before filling it, and fill it up loosely right up to the top.

Now use your other hand (or the lid of the onigiri mould if you use one) and press the onigiri to your preferred shape. Wrap the onigiri in nori, brush a little of the sesame oil over it and sprinkle it with sesame. Arrange on a plate and serve with soy sauce and green tea if you like. Or dip them in this sweet and sour chili sauce. Heaven!

The onigiri taste best when they are fresh but are also perfect companions for a bento on the next day.

Catching the Summer: Sweet Sour Chili Sauce

20150708-20150708-DSC_2412

A storm is coming. The first storm during this autumn. It rips through the grass and over the land and roars mightily, like a lion, while it cleans up the remaining parts of summer. All the heat dust flies away, burning in the eyes one last time like sand, and is finally gone. I cannot await to face up to the wild nature, wrap myself up in warm clothes and go outside, right under the free sky. I confront the storm, throw my arms into the air and let the wind embrace me. Now we both are trying to outdo each other in roaring out of joy for the wuthering life.

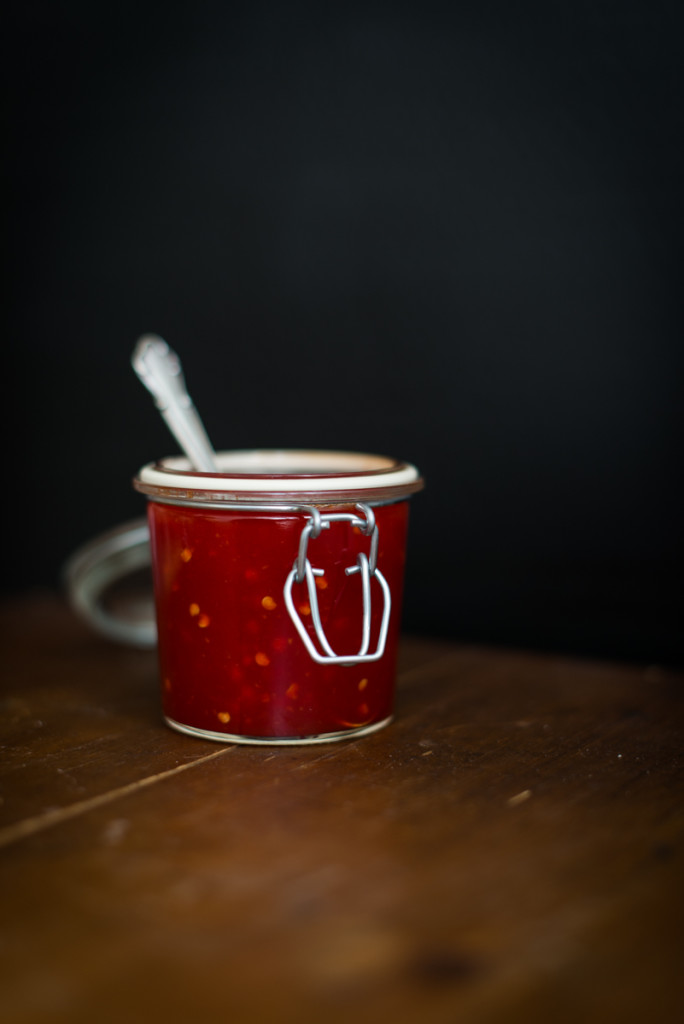
Soon the storm will calm down and leave the world in a chaotic but natural order. A world, that has finally said its goodbye to this year’s summer and has devoted itself to autumn instead. And to start into the cooler part of the year I will cook myself a jar of chili sauce. Because with its refreshing acidity, comforting-mild sweetness and warming hotness it is exactly what we will need in the next months. Uncomplicated. Red like the last days of summer. Delicious!

20150707-20150707-DSC_2362

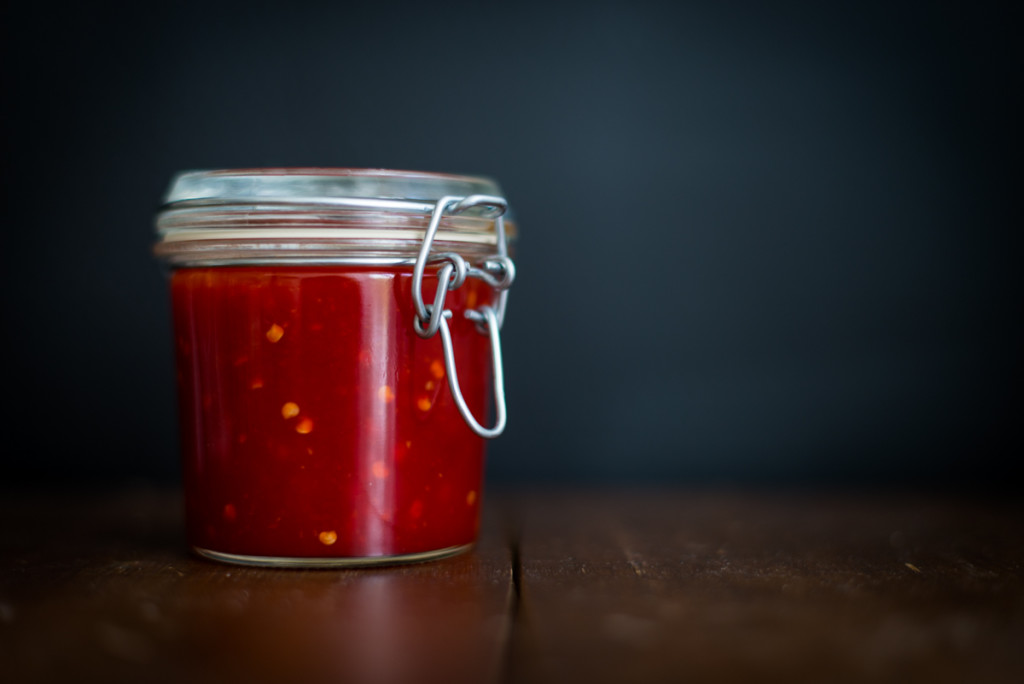
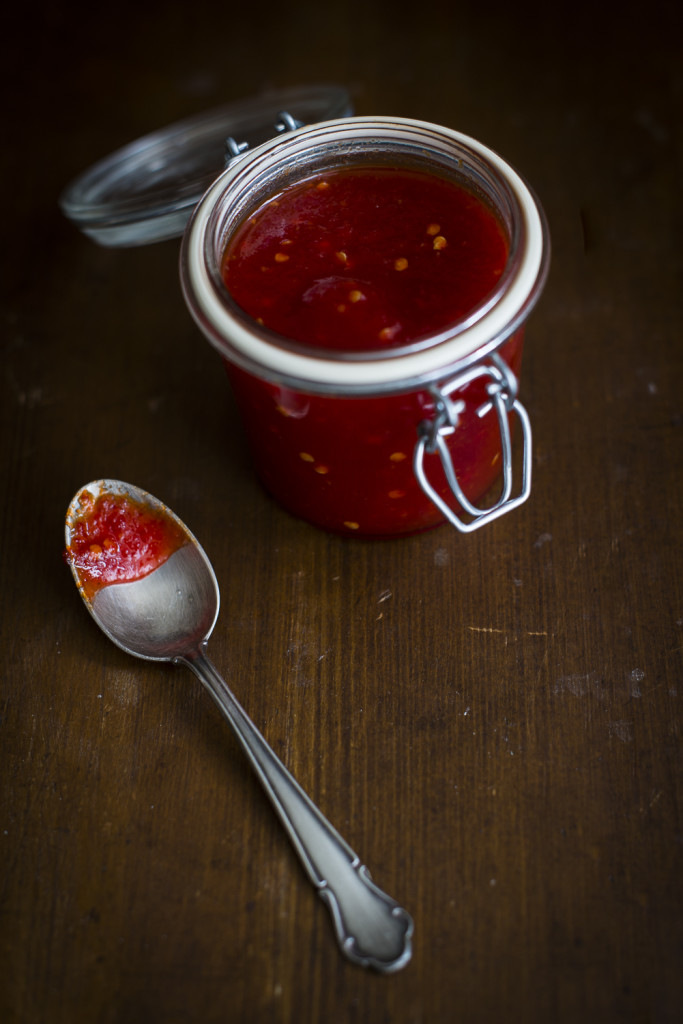
Chili Sauce

Sweet hot chili sauce

Ingredients for about 500 ml

  • 400-500 g chilis*
  • 500 ml white wine vinegar or rice vinegar
  • 500 g sugar
  • 1 pinch of salt

Wash the chilis, cut off the green part and halfen them lengthwise. Scrape off the seeds and keep them for later. Roughly chop the chills, put them in a blender and add about the half of the vinegar. Blend it finely, then pour the mixture in a pot. Add the rest of the vinegar, the sugar, the salt and the seeds from before (as much of them as you like) and bring everything to a boil. Turn down the heat to medium and let it bubble gently for about 30-45 minutes until the sauce has thickened (almost like ketchup).

While still hot fill it in sterilized jars or bottles, close them tightly and use the sauce up in the next 6 months.

*How hot the sauce will actually become depends on the chilis you use. For a prettier look I removed the seeds before blending the chills and added them later to the sauce. You can just add parts of the seeds and reduce the pungency with that as well or leave the seeds out all together. But keep in mind that already the types of chilis vary in how hot they are.

20150708-20150708-DSC_2429

Burning hands?

If your skin had too much contact with hot chilis during preparation and your hands start to feel like they are on fire it really helps to use curd cheese packings: Wet a clean kitchen towel and generously apply a layer of curd cheese – the more fat it contents the better. Wrap the cloth (with the curd-cheese side on your skin) around your hands. It cools, calms and pulls away the hot acidity.