All posts by Ylva

Comfort for the heart

Baking. Butter. Sugar. A dream team in December, when the cold, wet and grey as its grip on us. The world outside has become complete stark during the last past weeks and becomes more and more cheerless with the all surrounding darkness that creeps closer and closer.

With all that it’s time to attend to your heart again and to what it needs most during this time of the year: Warmth. Some rest whenever you can take it. And some endorphins, caused by crumbly shortpastry out of everything that’s good. Carbs, fat, vitamins (almonds!) and sweet things. Add a few lovely spices to that and the soul can smile again – a happy smile, not a creepy one – and make us endure this year’s final spurt much more easily again.

All of that is even better, when the recipe is easily done. And like that it isn’t really that sad, when all the delicious little half moons are eaten up almost too quickly again.

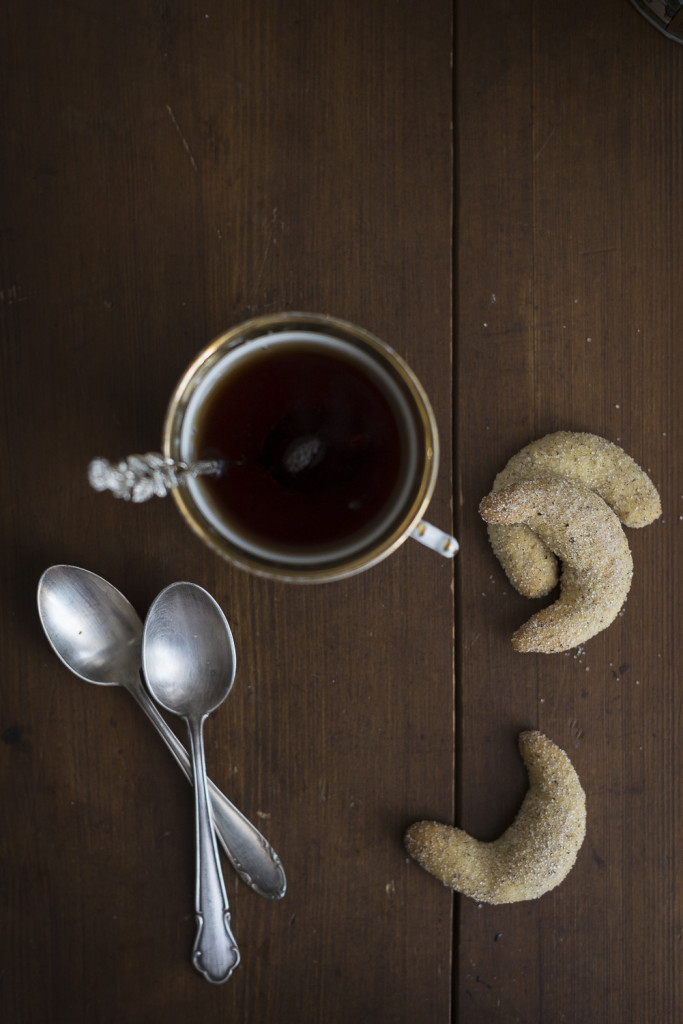
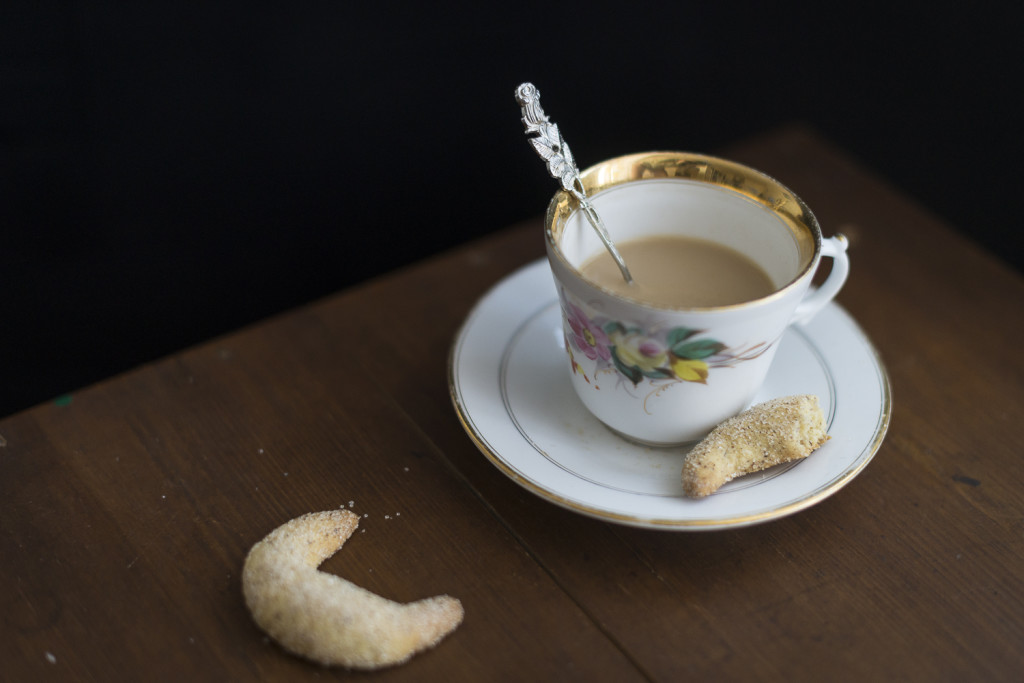
Chaikipferl

Chaikipferl

after a recipe by the lovely Lena

Ingredients for about 40 pieces

For the Kipferl:

  • 150 g unsalted butter at room temperature
  • 100 g cane sugar
  • 2 egg yolks
  • 200 g wheat flour
  • 100 g ground almonds
  • 1 pinch of salt

For the sugar mix:

  • 80 g cane sugar
  • 1 TL freshly ground cinnamon
  • 1/2 TL freshly ground cardamom
  • 1/4 TL freshly ground cloves
  • 1/4 TL ground ginger
  • some freshly ground pepper

Mix up the butter and the sugar. Add the egg yolks and keep on mixing. Add the flour, the almonds and the salt and knead to a firm dough.

Roll it out into one or two logs that are about as thick as a 2 € coin (or 2 £ coin) and wrap it in cling foil to let it cool down in the fridge for at least 1 hour.

Preheat the oven to 160°C (hot air) and lay out baking sheets on two baking trays.

Cut the dough logs into 1-2 cm thick slices and roll them between your hands. They sould be about 5 cm long in the end and a little thicker in the middle. Slightly curve them to get a half moon shape („Kipferl“ in Germany) and distribute them on the baking trays.

Bake for about 12-15 minutes (with the hot air you can bake both trays at once), until the tips of the half moons start to turn slightly brown.

Meanwhile mix the ingredients for the sugar mix.

Let the baked Kipferl cool down on the trays for about 5 minutes, so they won’t crumble apart at once. Place them into the sugar mix and sprinkle them with more oder very carefully turn them around in it.

Let them cool completely on a roast and store them in tin containers.

Chaikipferl

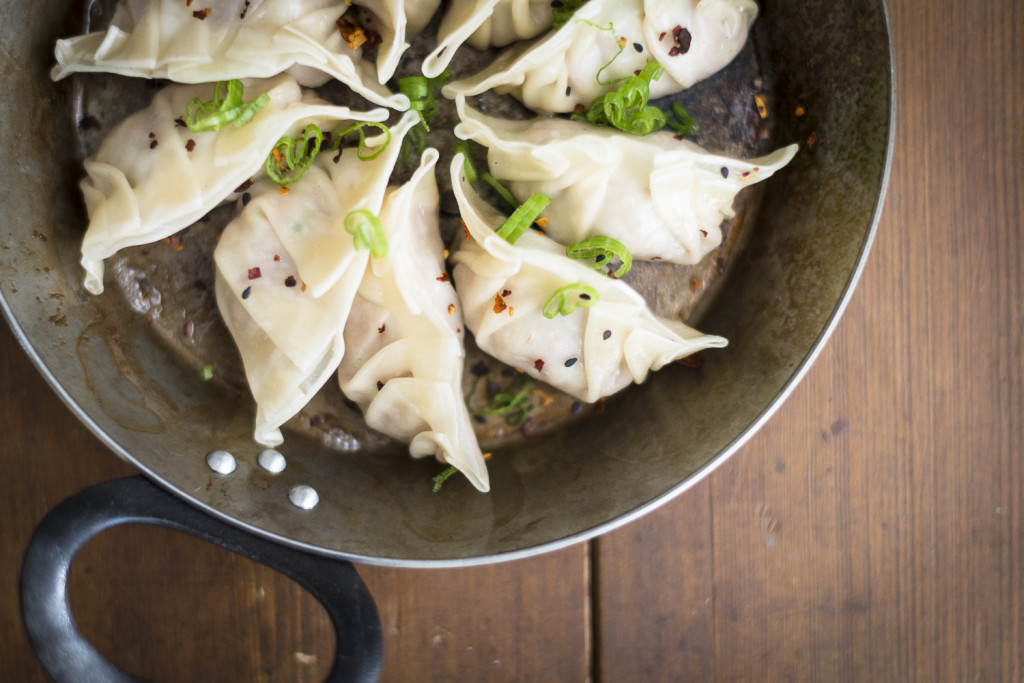
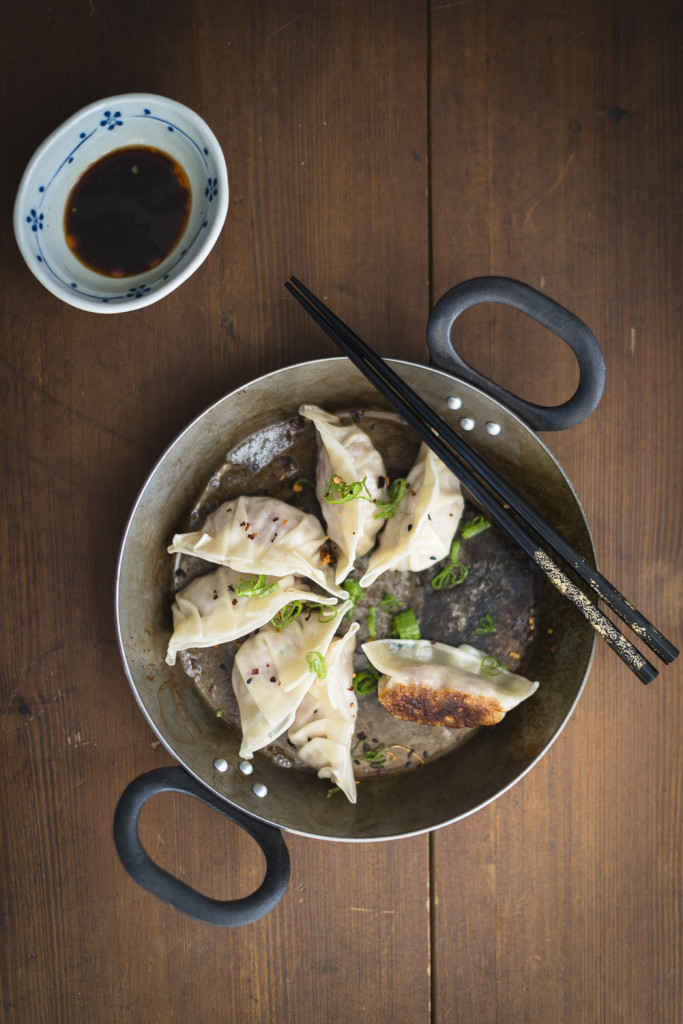
Wrap, hide, fry, steam, eat! Gyōza

Gyouza

Wrapping, wrapping, wrapping. It almost feels a bit like Christmas already. Small, precious treasures are lovingly cloaked, lashed, sealed and piled up, almost like on a table for presents. The eyes are sparkling in anticipation of things to come, the heart is beating, the soul is singing… the stomach is rumbling. Isn’t making noodles a delight? I always calm down in my noodle sessions, it’s almost like meditating, just way better: I can handle food here! Cabbage wants to be chopped with care, then gently mixed with minced meat and spices to finally nuzzle into gauzy slices of silky noodle dough, in which it will be fried and steamed into glorious perfection. 

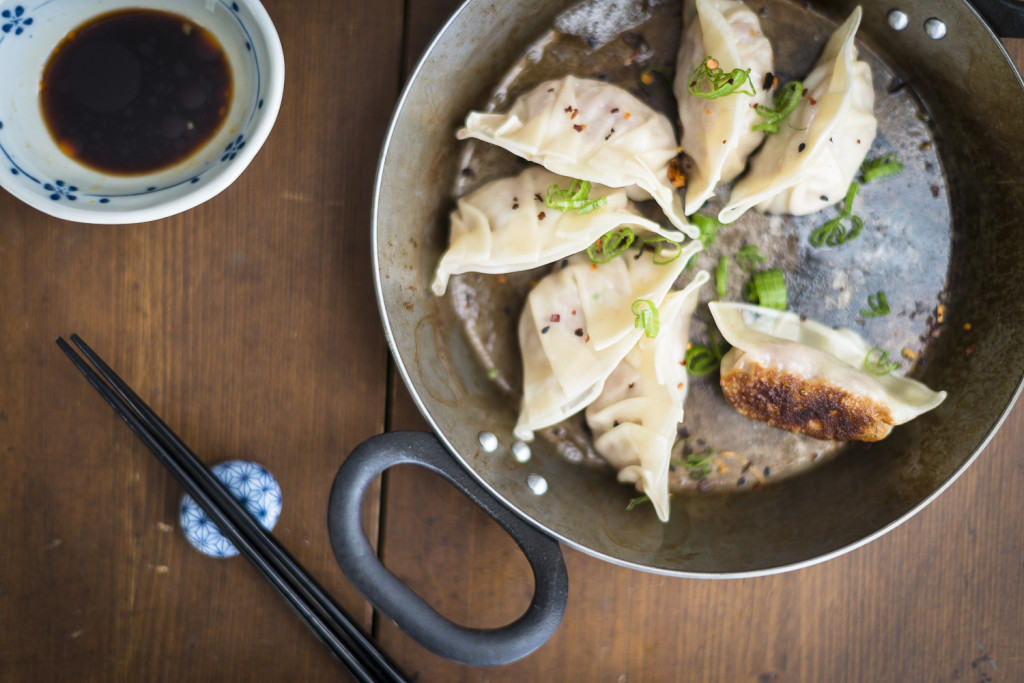
Gyouza

Yes, making filled noodles is always a fun thing to do and a process which is better made at 200%, so all the effort pays for not just one… but a few portions and/or meals at once. And it will feel like something special then. Like a feast. Something precious. And something you should definitely enjoy in company. Because it is always good to have people around, especially when it comes to enjoying life. The lovely Julia also prefers to cook and eat in company and so we will have a double portion of recipes for you today. Both traditional, delicious and best enjoyed with at least one more person at your side. Julia has a recipe for vegetarian Swabian Maultaschen for you today and I will be cooking Japanese again to make you some traditional gyōza. I hope you enjoy them!

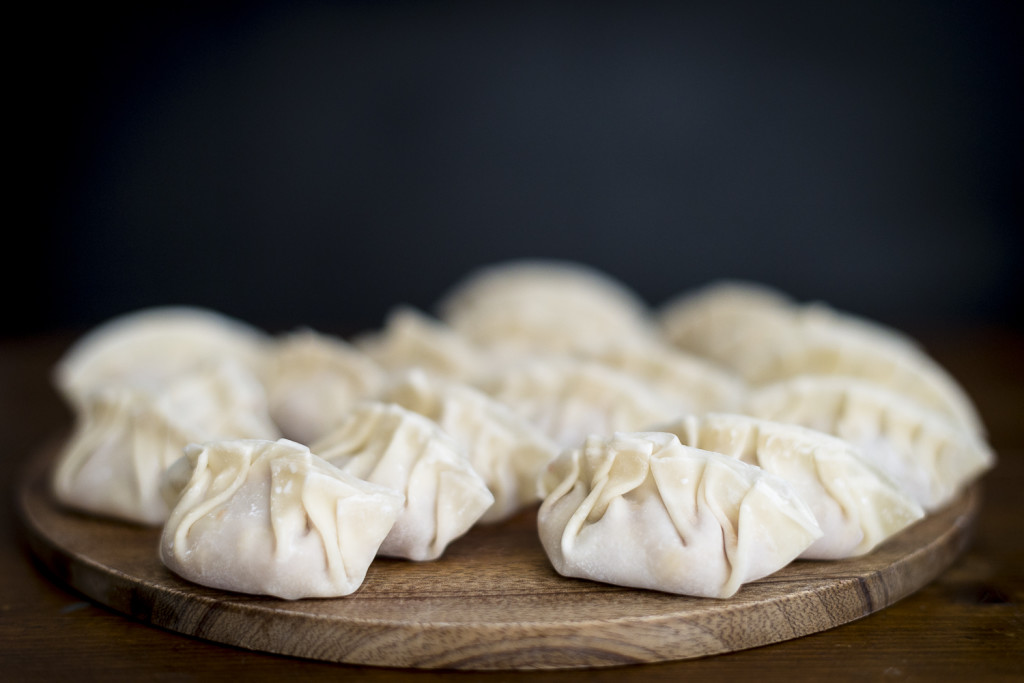
Gyouza

Yaki Gyōza – Fried, Traditional Japanese Dumplings with Cabbage, Minced Pork and Ginger

Ingredients for 3-4 portions

Gyōza dough*:

  • 250 g wheat flour
  • 125 ml water
  • 1 tsp salt

Gyōza filling:

  • 1 piece of ginger (the size of a peanut)
  • 300 g cabbage
  • 1 tbsp salt
  • 300 g minced pork
  • 1 tbsp soy sauce

For cooking:

  • some vegetable oil for frying (like peanut oil for example)
  • water

Dip:

  • 20 ml soy sauce
  • 20 ml rice vinegar
  • a few drops of chili oil

*You could also buy gyōza dough instead of making it from scratch. Check out the freezers in the Asian supermarkets; you will probably find some packages there. 

Combine the ingredients for the dough in a bowl and knead until you have a very smooth and firm dough. Knead for 5 more minutes (to make the dough more elastic), wrap it in cling foil and let it rest for 1 hour. Knead again and now roll it out very thinly. If you use a pasta machine for this you will want to roll it out with the finest adjustment. Cut out circles (I used a glass with a 4 cm radius). Combine leftovers to another ball of dough and roll out again until you have no dough left. 

To prepare the filling peel the ginger and chop it finely. Remove the stalk from the cabbage and chop the rest finely, too. If you have a kitchen processor, you can perfectly use it for this; it will save you quite an amount of time. Mix the cabbage with the salt and let it just rest for a couple of minutes. Then, using your hands, press out the excessive water, then mix the cabbage with the other ingredients.

Place 1-2 tsp of the filling in the middle of one slice of dough, apply a little both of water on the edges of the dough and wrap it in the typical gyōza way. This video shows it quite well if you don’t know how to do it. It will take a few gyōzas to get it right, but it is quite easier than it may look at first, so don’t give up! Make as much gyōza until you are out of dough and/or filling. If you still have some filling left, you can just fry it later (you can store it in the fridge for about a day) or freeze it. Remaining dough slices can be dried to be cooked later.

Put a pan on medium heat. Add 1 tbsp of oil and plave one layer on gyōza in it. Fry them for about 5 minutes without moving them, they should just be fried on the side they are standing on. Add 50 ml of water to the pan and cover it with a lid. Steam the gyōza for 5 more minutes. Cook the remaining gyōza in the same way. Don’t crowd them in more than one layer in the pan; you’ll have to cook them in batches anyway.

Mix the ingredients for the dip and serve the gyōza with it. Enjoy!

And if you want to check out Julia’s Maultaschen recipe, please visit her lovely blog here.

Gyouza

Self-Discovery and Soup

To be adapted. To swim with the tide. That is what one seems to expect us to do, isn’t it? When we are little we still are allowed, encouraged even, to be who and what we are. With all our quirks, ideas, dreams… but some day everyday life begins and starts to pull all those special things away from us. Little by little but still effectively. We are supposed to be ideal students. We are supposed to show interest in every school subject we have to attend to, to being able to proceed in life. Maybe that is justified. Perhaps. Somehow we have to be „valued“, to be stereotyped so one can see what we have accomplished. But what falls by the wayside? We want to belong to the cool kids. We want to be part of the „coolest clique there is on this world“. So we start to bend even more and hem ourselves in, without even recognising. Everybody keeps on telling us: „All of this will be better once you’ve grown up“. That feeling of being lost. That imaginary (?) loneliness. But does it really work this way? Because suddenly they don’t tell you to fit in anymore. They tell you to be yourself. So be unique. To trust in your strengths! But how do you do that?

Who are you?

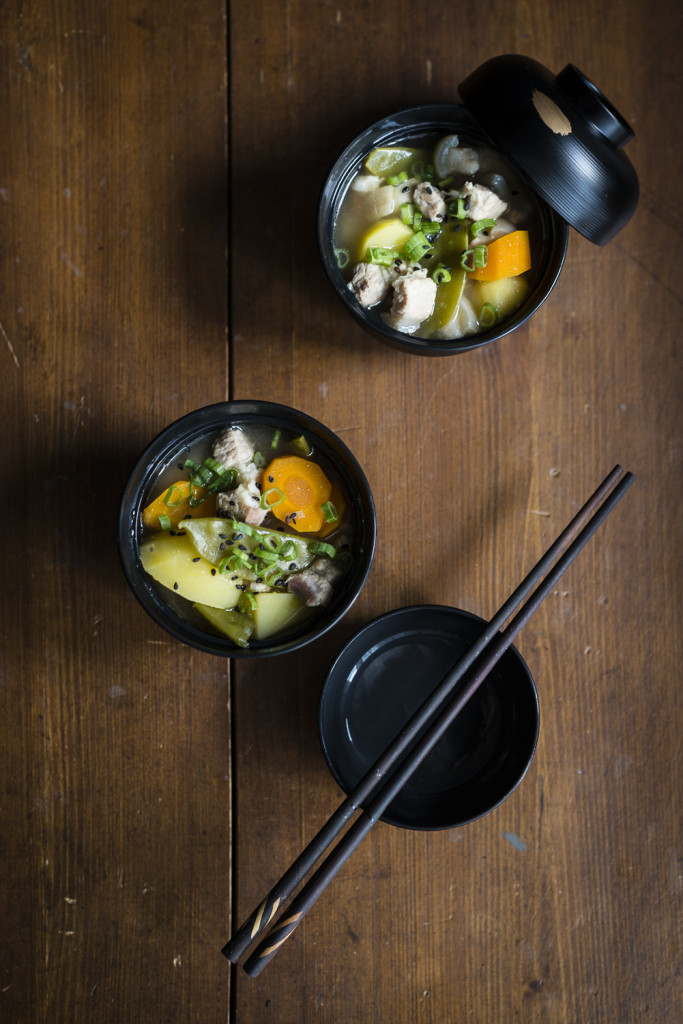
Tonjiru

To dig up all these traits that make us special after all these years of suppression, like precious treasures of the past, is exhausting. You have to put a lot of effort and energy in it and sometimes even a little bit of bravery, just to find back to yourself again. You have to try new things, even just out of impulse. Risk to jump in at the deep end. Get to know (and to love) new and wonderful people. And maybe let go of others that do you no good. Nothing ventured…

And if things are really bad, maybe a warming soup might help. A soup that strengthens from inside. That makes you brave again. A soup that caresses your soul and that is so simple to prepare, that you have enough time left in-between, to indulge in all of those new (and maybe a little crazy) hobbies that come with being just who you are. Even if that means to be a thirty year old woman that dresses herself as a 16 year old teenage boy with amazing pink hair and red eyes…!

Tonjiru

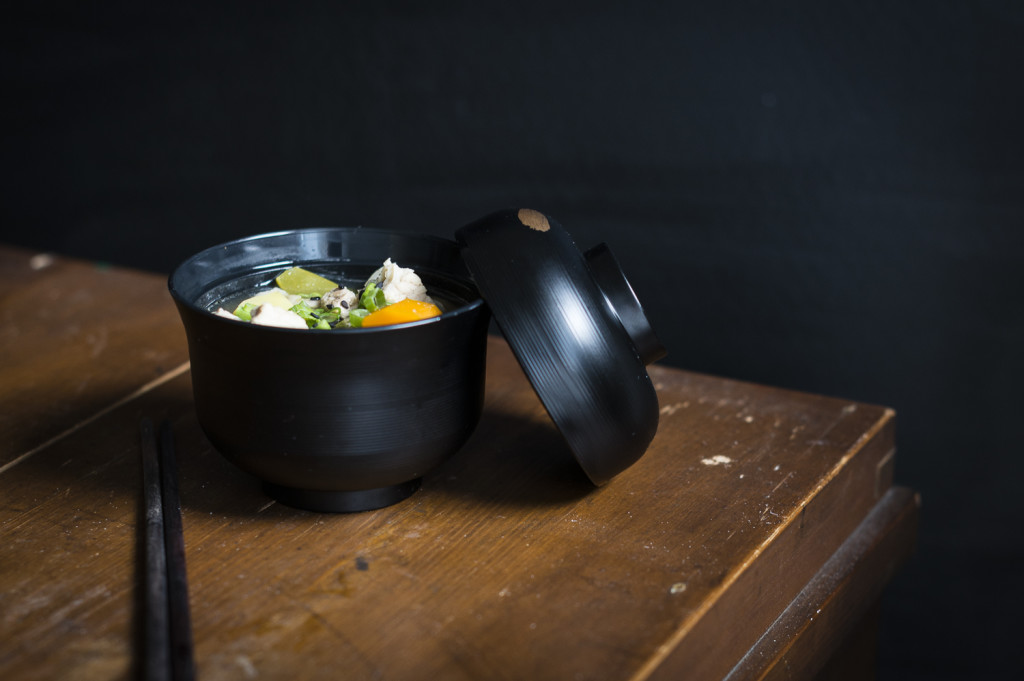
Tonjiru 豚汁 – Japanese pork soup

Ingredients for 1 big pot

  • 600 g pork belly
  • 3 spring onions
  • 3 cm ginger root
  • 100 ml sake
  • 1 piece of kombu (about 10 cm long)
  • 2 l water
  • 400 g potatoes
  • 2 large carrots
  • 3-4 tbsp yellow miso

Cut the pork into bite-size pieces. Finely chop the white part of the spring onions, chop the remaining green part into slices. Cut the ginger into coins.

Put the pork into a large pot on medium heat and let the fat dissolve. Add the white part of the onions and the ginger and let it cook until the pork is done and you have a light brown crust on the bottom of the pot. Pour in the sake and scrape the bottom of the pan to free those lovely flavors, then add the kombu and the water.

Switch the heat to high temperature and bring the soup to a boil. Use a spoon to scrape off the foam on the surface of the broth until no more foam starts rising up. Turn down the volume, put on the lid and let the soup simmer gently for 30-45 minutes. Meanwhile peel the carrots and the potatoes and cut them into bite-size pieces or chunks.

Scrape off the fat on the surface of the tonjiru. Add the carrots and potatoes to the soup, cook for 15 more minutes until tender. Switch off the heat, then stir in the miso. Depending on the brand and kind of miso you use you might have to add more miso, so season it to your taste. Serve hot with the green parts of the onion.

The tonjiru is very delicious when still fresh but you can store it in the fridge as well and heat it up on the next day.

Tonjiru

I fucking love stars!

Miso Carbonara

The days are getting shorter. The precious hours of sunshine are slipping through our fingers while we are occupied with our daily business… just to find ourselves surrounded by pre-hibernal darkness in our free time. But is this really such a bad thing? The local nature needs this winter rest, the withdrawing from everything, the silent slumber under a cold and heavy snow cover, so it can rise again in spring, with all its power. Besides, this darkness indulges us with a sight we usually don’t get during summer if we don’t want to stay up too late: the starry sky. In all its glory and magnificence it now shines on us at a time we leave from work and it shows us the way back home. How often do we really look up to appreciate this spectacle of nature? Almost too quickly we’d rather hurry inside – into the lulling warmth and the flashy glow of artificial lighting.

And yet the firmament in November is so beautiful… and we always cannot have enough pretty around us. More than ever in a season that leaves the trees bare-branched and will bleach the bright autumn colours until we will be left with nothing more than a world out of grey and grey in gray in December. So yes, I’d rather turn my gaze up to the sky above, even if that means to stay in the cold for a bit longer. I admire the Orion, always easy to recognize, and wink at the Unicorn that dances right next to it. From time to time I might happen to spot at a falling star. I want to catch it, carry it around with me and lose my heart to it… to finally set it free again, where it belongs. Am I a hopeless romantic? Maybe. But all the same I know: Soon I will stand outside again, under the sky, to gaze upwards in awe and gently whisper to myself: „I fucking love stars“.

And this version of an Italian-Asian carbonara… I love that, too!

Miso Carbonara

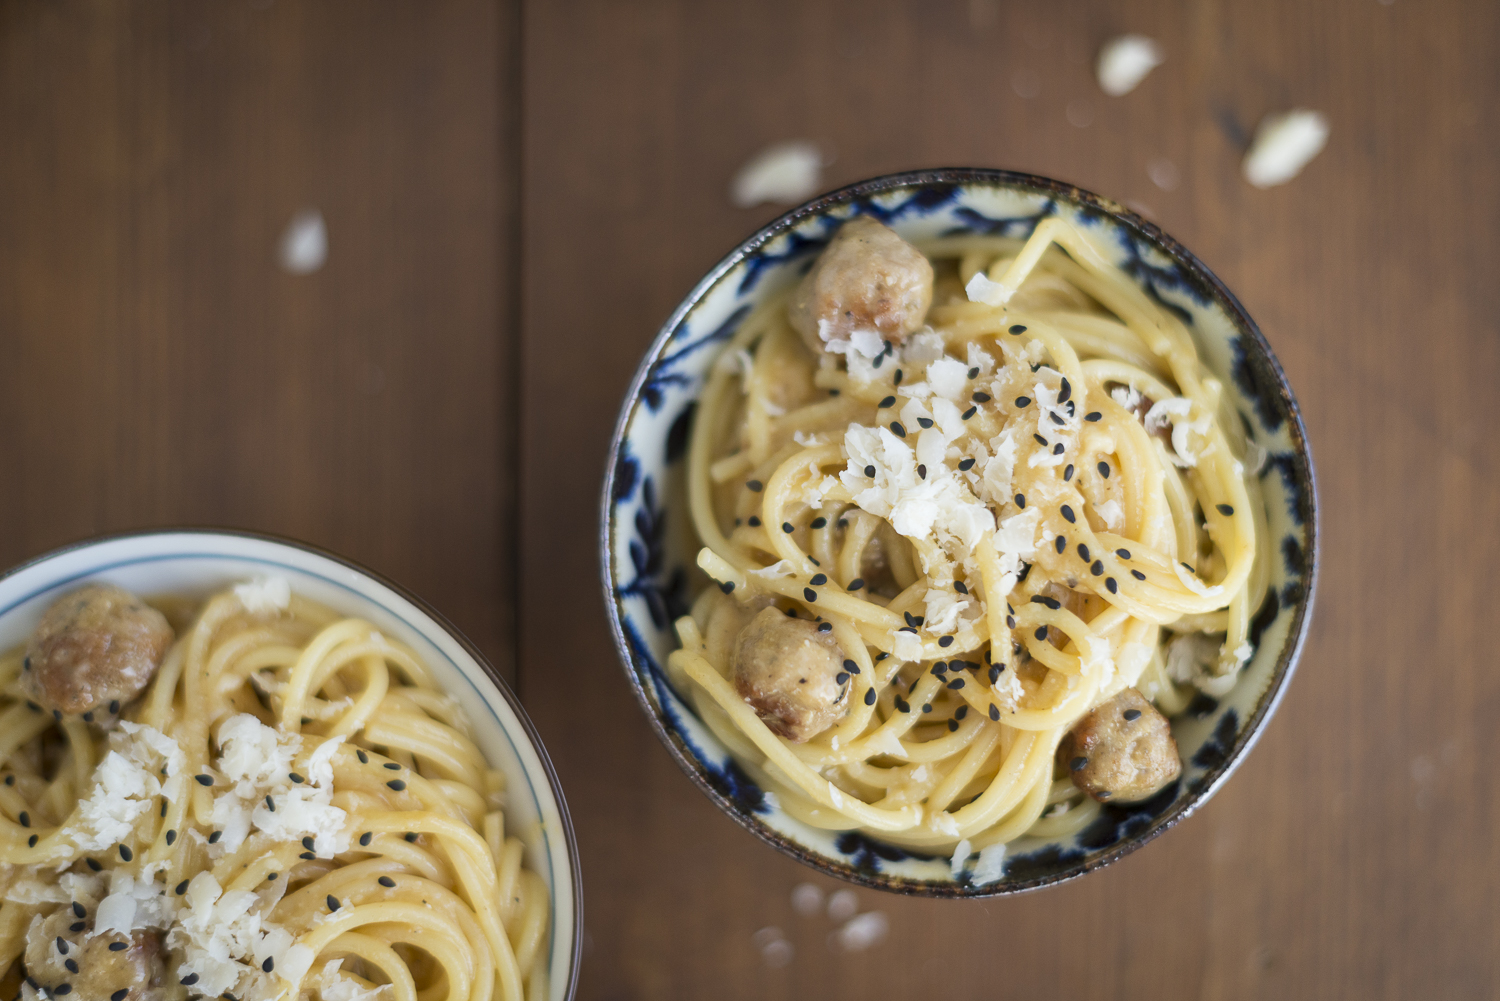
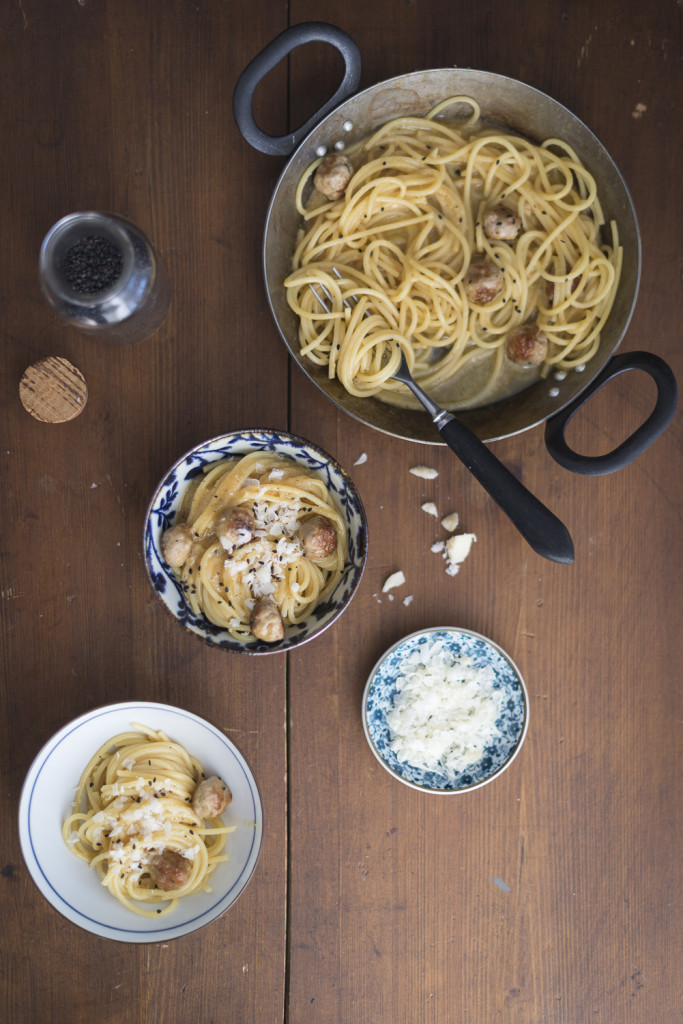
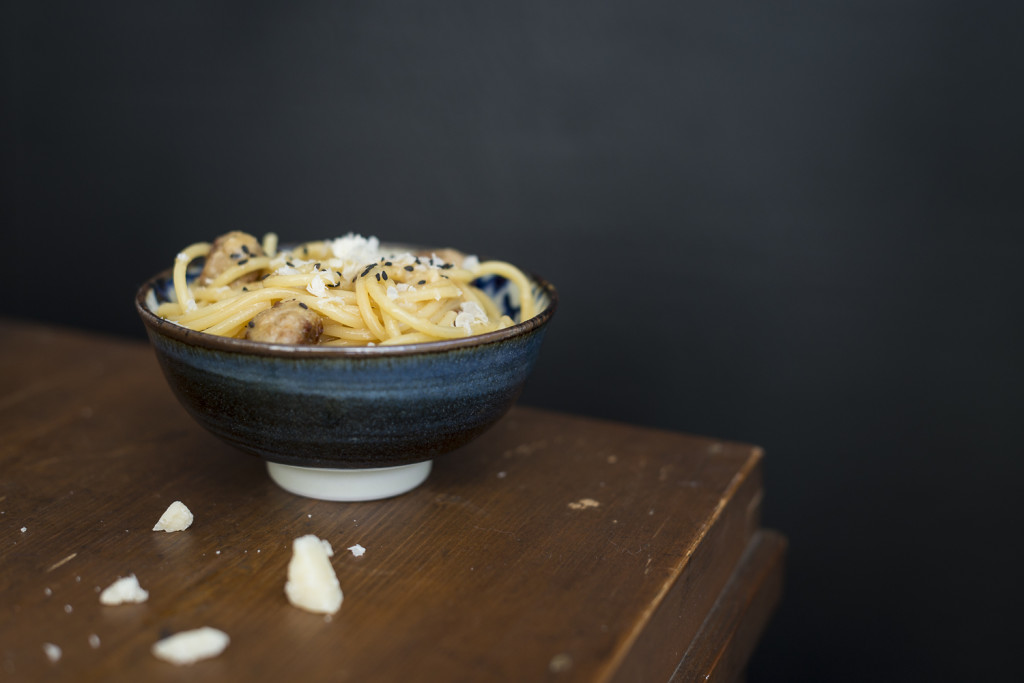
Spaghetti with Miso Carbonara and Sausage Meatballs

this recipe (again) is inspired by the lovely and fabulous Mandy

Ingredients for 2 portions

  • 2-3 high-quality salsiccia or other really good pork sausages from the butcher
  • some oil for frying
  • 250-400 g spaghetti, depending on how hungry you are
  • 50 ml sake (or sherry)
  • 4 eggs
  • 20 g freshly grated parmesan
  • 20 g freshly grated pecorino
  • 2 tbsp white or yellow miso
  • 1 tsp fresh thyme leaves
  • freshly ground pepper for seasoning

Cut the sausages open lengthwise, get rid of the skin and roll them into small meat balls between your hand. Heat up a pan on medium heat and bring a pot with salted water for the pasta to a boil. Pour some oil into the pan and add the sausage meatballs to fry them until they are golden brown all way around. Put the spaghetti into the boiling water and cook them al dente, according to the instructions on the package.

Crack the eggs open into a bowl, add the grated cheese, the miso, the thyme and some pepper. Mix well.

Deglaze the sausage meatballs with the sake and strain the pasta through a sieve. Let them drain for just a few seconds and immediately add them to the pan. Mix well. Turn off the heat of the stove, add the egg mixture, and keep on swinging the pan around. Divide onto two plates or bowls, and serve quickly with additional cheese, thyme, pepper and sesame if you like.

Miso Carbonara

Treasure hunting in the woods

20151104-20151104-DSC_9220

Enough with the autumnal melancholy! Enough with cheerless and sad glances through the windows! Enough with the resignation when you realize that this year is beginning to draw to a close! It is Novembre – the month of the last golden sunbeams. The almost-end of the delicious mushroom season and the beginning of the long awaited venison season. The month with beautiful star falls of autumn foliage, warm sunny afternoons and also the first misty and lazy evenings on the couch. It’s this month, when we finally can smile at the long-forgotten staple of book again, with a glass of red wine in one hand und a comfy blanket; a cuddly pillow in our arms, with our favourite person by our side. So many hobbies (left unattended during summer) await me, that I almost find it difficult to choose.

20151104-20151104-DSC_9229

But today the sun is shining so wonderfully… so let’s go into the forest again! To inhale the autumn air and catch those precious spots of light between the trees with our freckles. The wind blows away the spiritlessness and the melancholy and makes us feel alive again. Autumn has come! And maybe we will find one or two of my most favorite mushrooms on our way: The shaggy mane mushroom.

20151021-20151021-DSC_8942

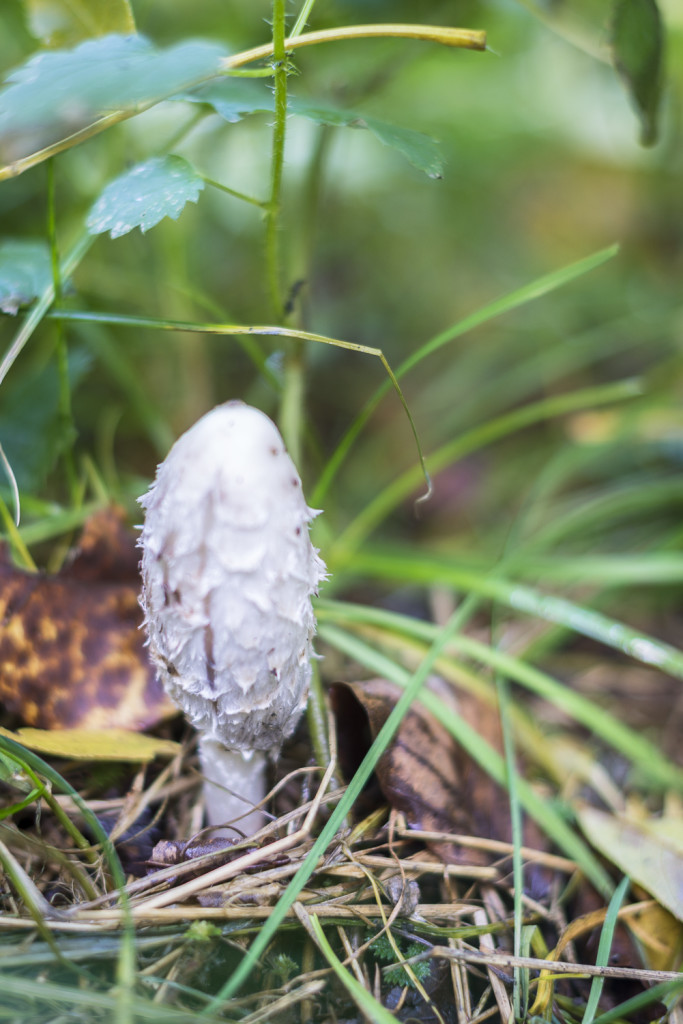
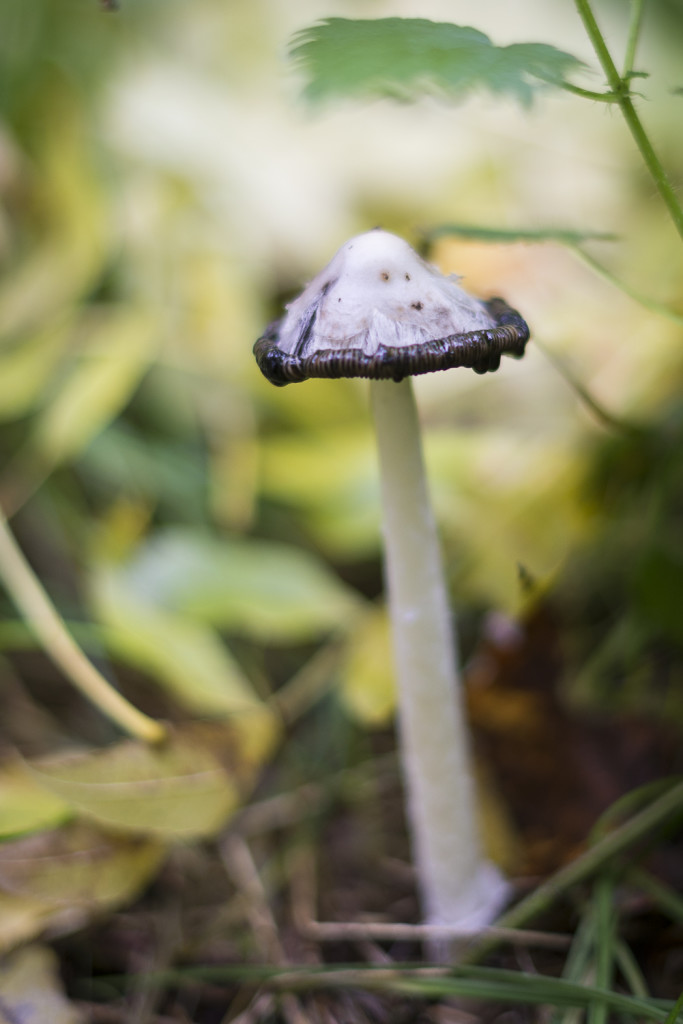
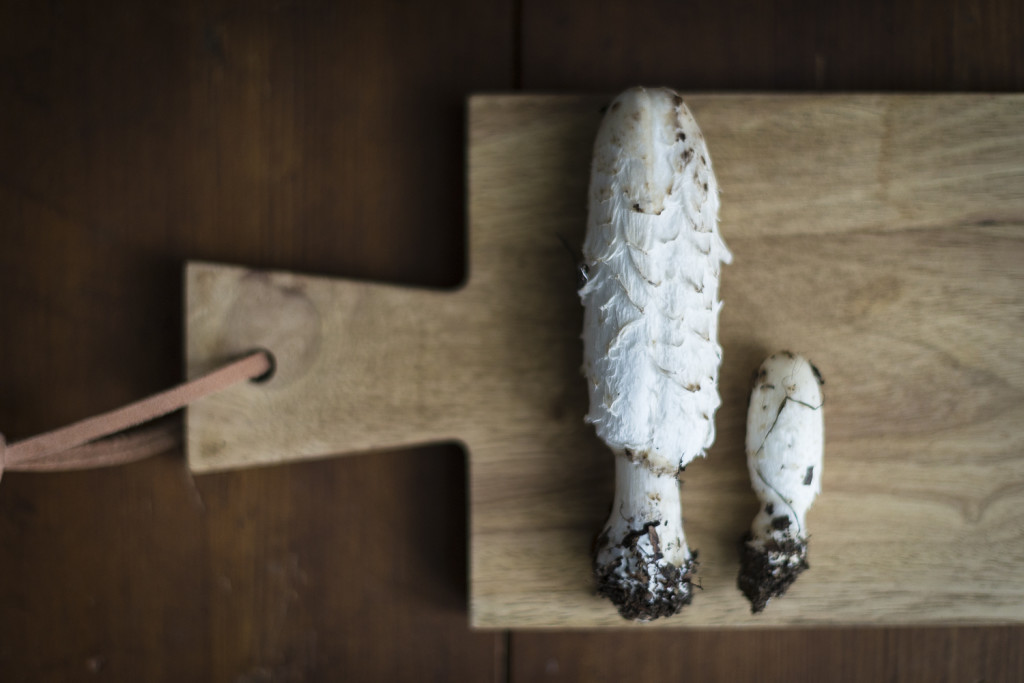
Shaggy mane mushrooms are a delicacy. And sadly very short-lived, why we will never be able to find them on the farmer’s markets or in supermarkets. As soon as they start to show their caps between the fallen leaves, they are ready to be picked up.

20151022-20151022-DSC_9102

If not done so we can almost watch them how they start to compost themselves: The cap will part from the stem and curve outwards until it finally begins to turn into thick inky black liquid that drops down. Not very pretty and the dripping indicates the mushrooms have surpassed their lives as edible fruits of autumn. The three photographs of this single shaggy mane I took within tree days, all about 24 hours apart. But if you are lucky and spot a freshly grown shaggy mane…  gently pick it up with a careful grip and a twist of the hand. Also it is best to immediately remove the stem in the same way so your mushroom will definitely survive the way back home. And there you should directly get a pan, because yes: They really start to decay very quickly! 

20151023-20151023-DSC_9144

Like almost every mushroom the shaggy manes are best when you simply fry them very shortly over high heat and in a generous amount of good butter. A little bit of salt and pepper on top, maybe a little thyme and a slice of roasted bread to that is all you need for a little bit of luxury in your belly.

20151013-20151013-DSC_8778

Shaggy mane mushrooms in butter

  • shaggy mane mushrooms… as much as you can find
  • at least 1 tbsp good, unsalted butter
  • a pinch of salt
  • freshly ground pepper
  • thyme leaves

Carefully clean the mushrooms of dirt and remains of the forest. Do not wash them or they will turn soggy. Just use your fingers or a gentle brush without crushing the mushroom. If you haven’t already removed the stems of the mushrooms gently twist them to separate them from the caps and cut everything in bite-sized pieces or chunks.

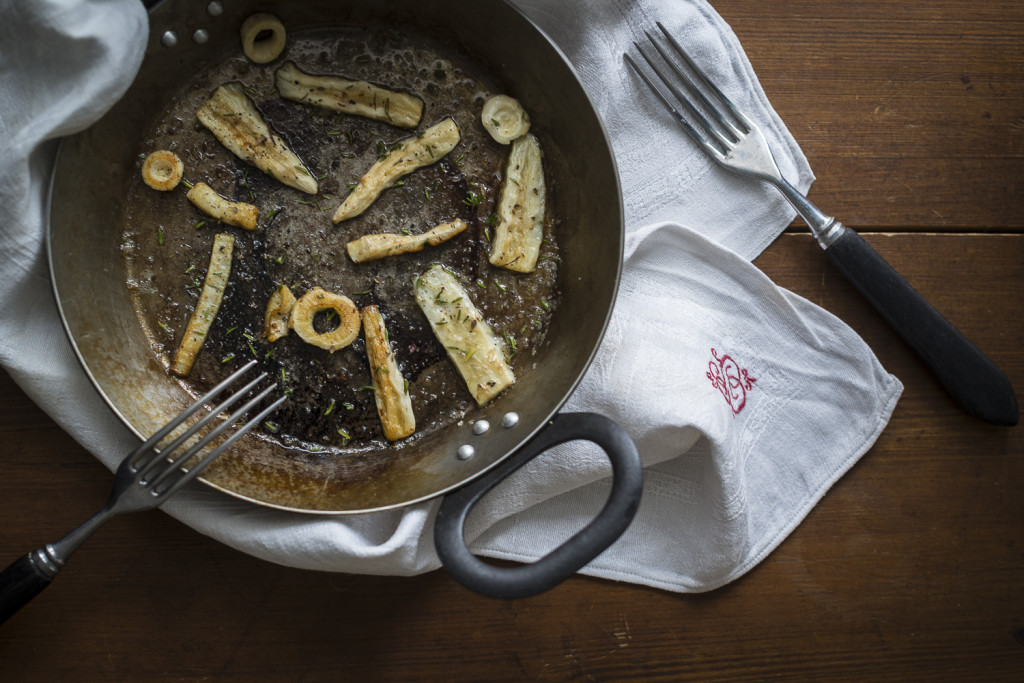
Put a big pan on the stove and heat it thouroughly. Add the butter and when it starts to sizzle and almost smokes it is time to add the mushrooms. Do not crowd the mushrooms: They should have space in the pan so they can turn brown and crispy within a minute. Gently flip them over to fry them from the other side, too. Season them with a little bit of salt and pepper and some thyme if you want. Serve quickly and best with a slice of golden roasted bread.

20151013-20151013-DSC_8740

– – – –

Shaggy mane mushrooms taste like a wonderful mixture of porcini and green asparagus. The flavour is very mild and still remains for quite a time. A real delight! You can find them on meadows, all the time between March an Novembre, and even fertilized lawns in residential areas are a likely place for them to grow.

You can recognize them by a tall, slim growth, a reddish or brownish offset tip on the otherwise almost white cap, that is covered with upturned scales.

When you pick mushrooms in the woods always be aware of evil twins! Shaggy mane mushrooms for example have a twin that is edible too but that’s poisonous when eaten with alcohol. Always be sure to pick only those mushrooms you definitely know are edible! Go to mushroom counseling if you are just the slightest bit unsure. Always double-check to be certain or just let it be completely and buy pre-selected mushrooms, if you crave for them! Life is too precious and short to eat a bad mushroom.

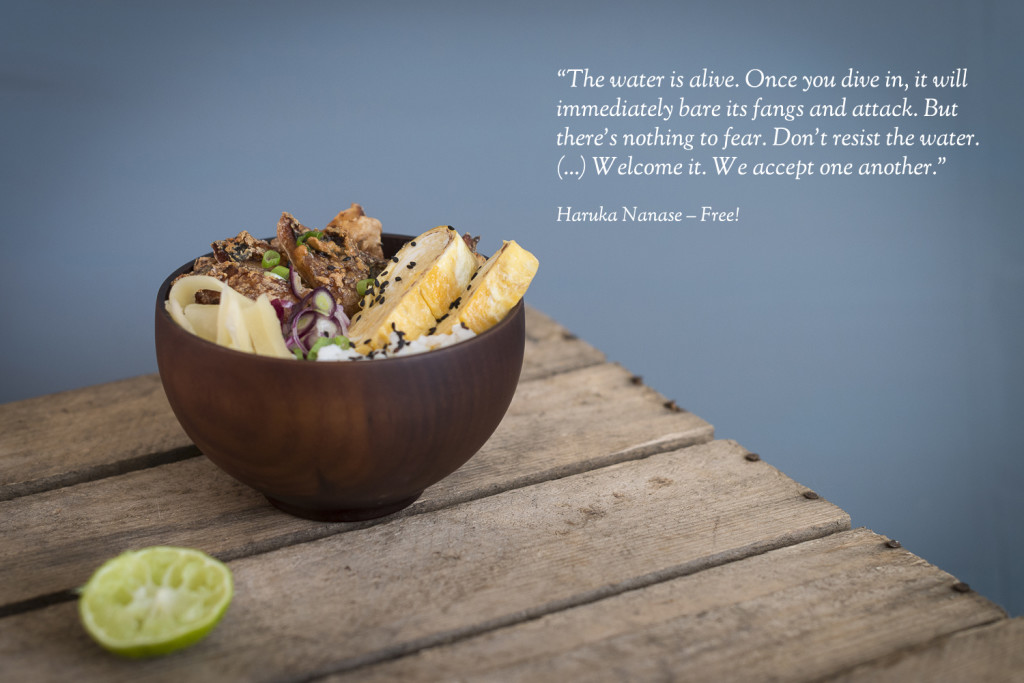
Fried Mackerel with Egg on Rice

Saba Tamagoyaki Don

Under water the world is silent. The sun casts its beams through the ever changing surface that cheerfully dance on the ground. They call out to us, wanting us to join them. The blue of the water, sometimes grey as steel and hazy, sometimes turquoise and bright, allures us to dive in. Sometimes I dream about the lively roaring sea with its waves. But tamed, I have to admit, I prefer it for swimming: In the pool, with solid ground under my feet and an envious eye on the well-trained swimmers around me. I swim my laps, duck under and feel connected to the water – a place where I’ve always felt at home. No wonder, that I fell in love with an anime series about swimming a while ago. And in honor of Free! I’ll be cooking mackerel today – the main character Haruka Nanase’s most favourite food.

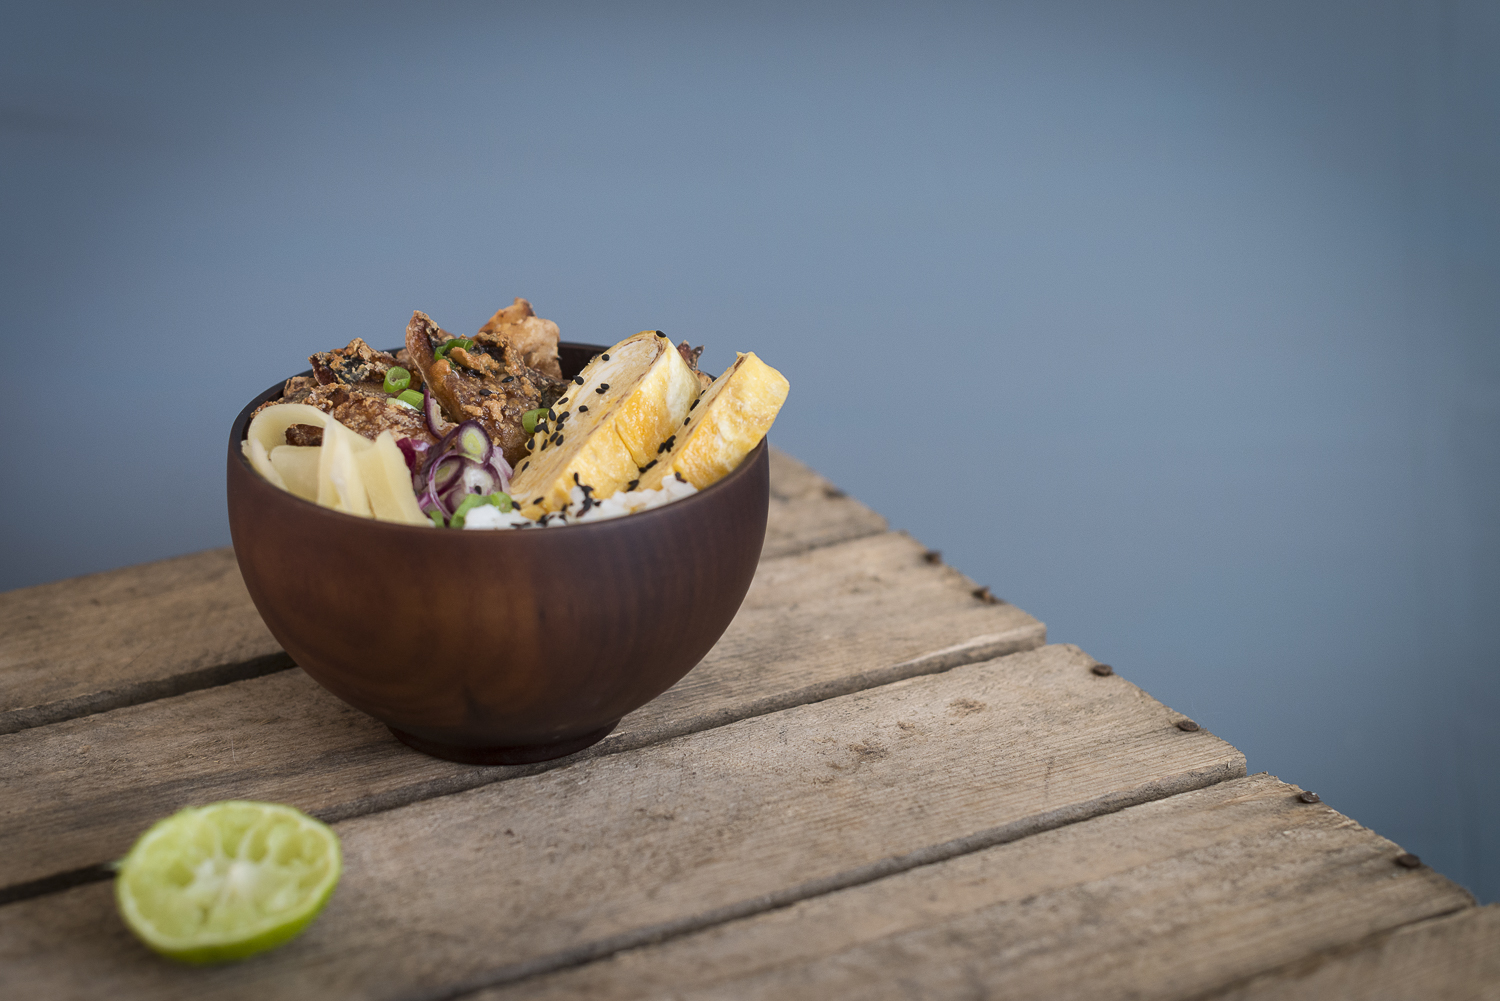
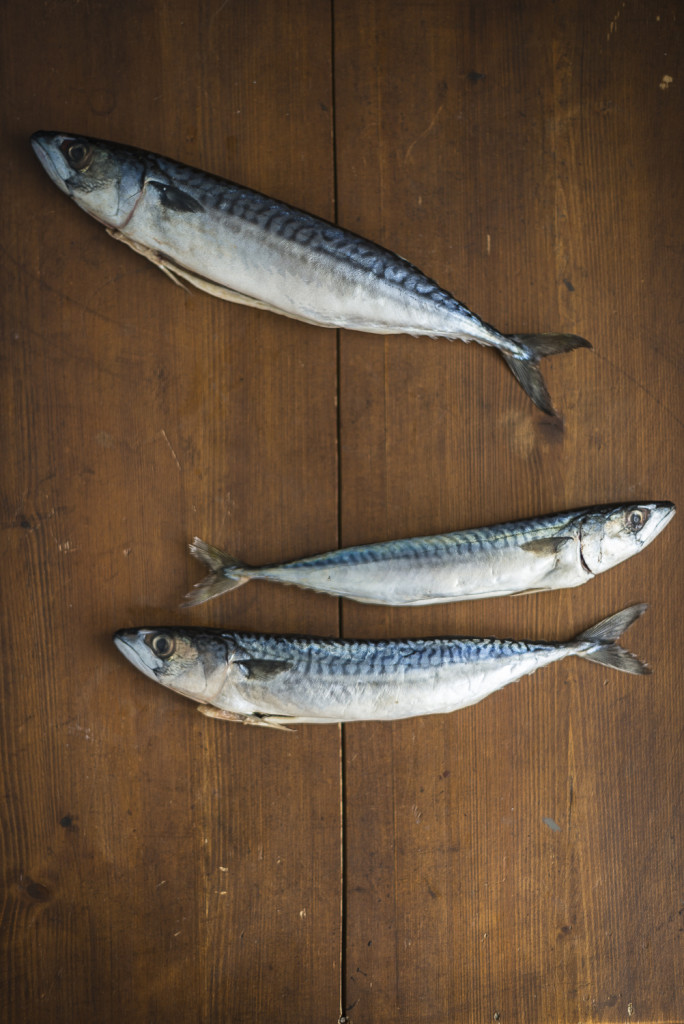
The mackerel is a somewhat inconspicuous fish, but actually with a gorgeous patterning in all shades of blue and silvery grey. We should eat it much more often and stay away from creamy salmon and firm tuna from time to time. Mackerel has a much more “fish-like” taste and a very unique flavor that is easily tamed by spring onions and ginger. And it is so easily prepared, that it is almost too simple: Just cut in chunks, marinated and fried it is a delight and perfect for another one of my beloved “donburi” – bowls of rice with “stuff on top”.

Saba Tamagoyaki Don

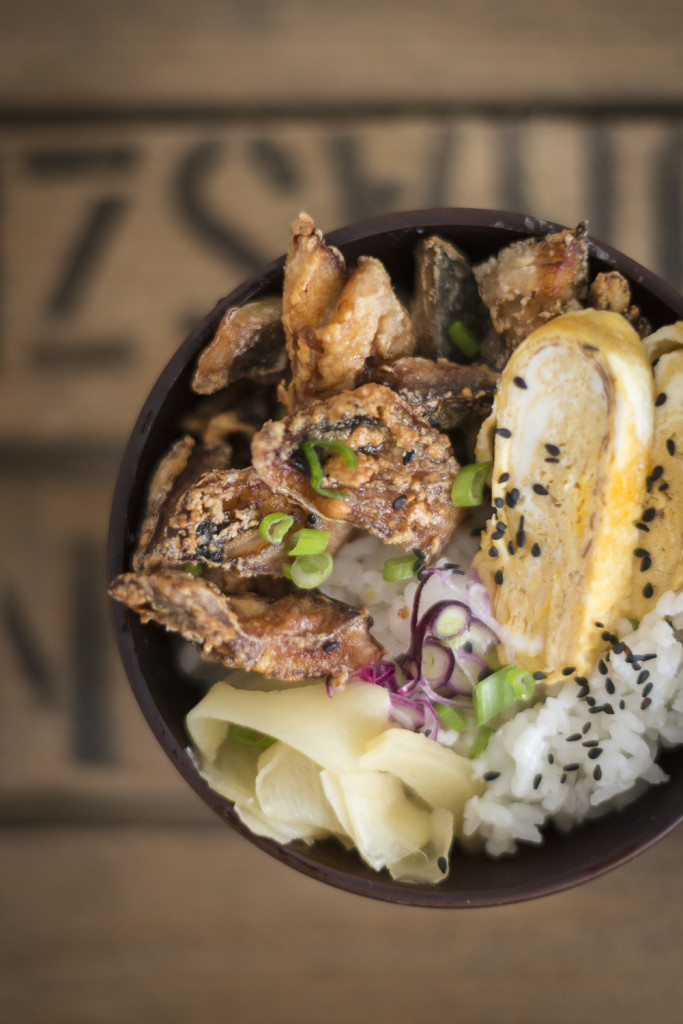
“Saba Tamagoyaki Don” – Fried Mackerel with Egg on Rice

Inspired by Free! and Free! Eternal Summer

Ingredients for 2 portions

For the fried mackerel:

  • 2-3 mackerel filets
  • 1 tbsp soy sauce
  • 1 tbsp sake or sherry
  • 1/2 tbsp mirin
  • 2 tbsp potato starch
  • 500-1000 ml oil for frying

For the tamagoyaki:

  • 3 medium sized eggs
  • 1-2 tsp soy sauce
  • 1 tsp mirin
  • some oil

Additionally:

  • freshly steamed sushi rice
  • chopped spring onion, gari, lime juice and/or sesame for garnish

Wash the mackerel filets and remove remaining bones. You might probably find them running alongside the middle of the filets and some might also stick in the top part. Cut the fish into bite-sized chunks and mix them with the soy sauce, sake, and mirin. Let them rest in the frigde for at least 30 minutes.

Meanwhile prepare the tamagoyaki (Japanese omelette): Mix up the eggs with the soy sauce and the mirin. Put a tamagoyaki pan on high heat (any regular pan will work too, but it is best with a rectangular pan), add a thin layer of oil and pour in about one quarter of the egg mixture. As soon as the top surface of the egg starts to turn solid, roll up the omelette by flapping it over for 3 times or so. Push it to one side of the pan, add another thin layer of oil and pour in the second quarter of egg. Shortly lift up the egg roll from before so egg can spread under that too and as soon as the surface starts to turn solid again flip and roll up the roll again. Repeat until all the egg mixture is used up and you have a nice egg roll in the pan. Making tamagoyaki is a very quick process – you shouldn’t need more than 10 minutes for everything. Remove the pan from the stove and flip the tamagoyaki onto a bamboo mat. Roll it up to wrap the egg roll in it and set aside.

Get the fish out of the fridge and let it drain. Roll the fish chinks in the potato starch so that they are covered all around and let them reach room temperature. Pour the frying oil in a pot and heat up to 170°C. Carefully let the fish chunks slip into the hot oil and fry them for 2-3 minutes until they are golden-brown and crunchy. Don’t crowd the fish pieces in the oil. If necessary work in batches. Let them drain on a kitchen towel.

Fill two serving bowls with rice and top it with the mackerel. Unwrap the tamagoyaki, cut in into short pieces and divide them onto the bowls. Quickly serve it with some gari, chopped spring onions, sesame and lime juice.

Saba Tamagoyaki Don

A Little Bit of Wellness for the Soul

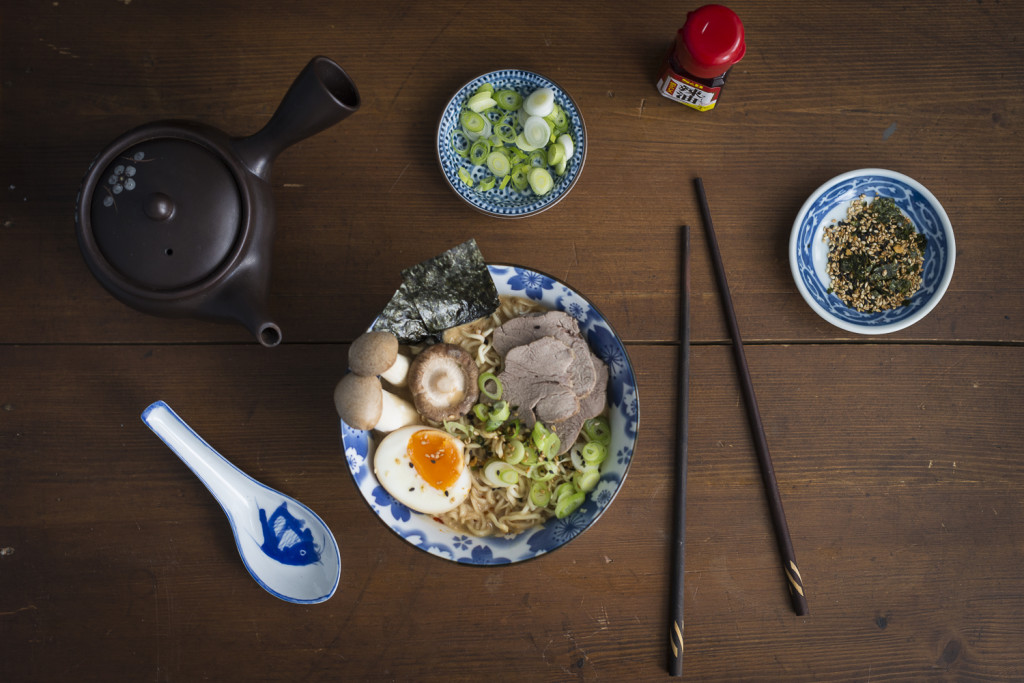
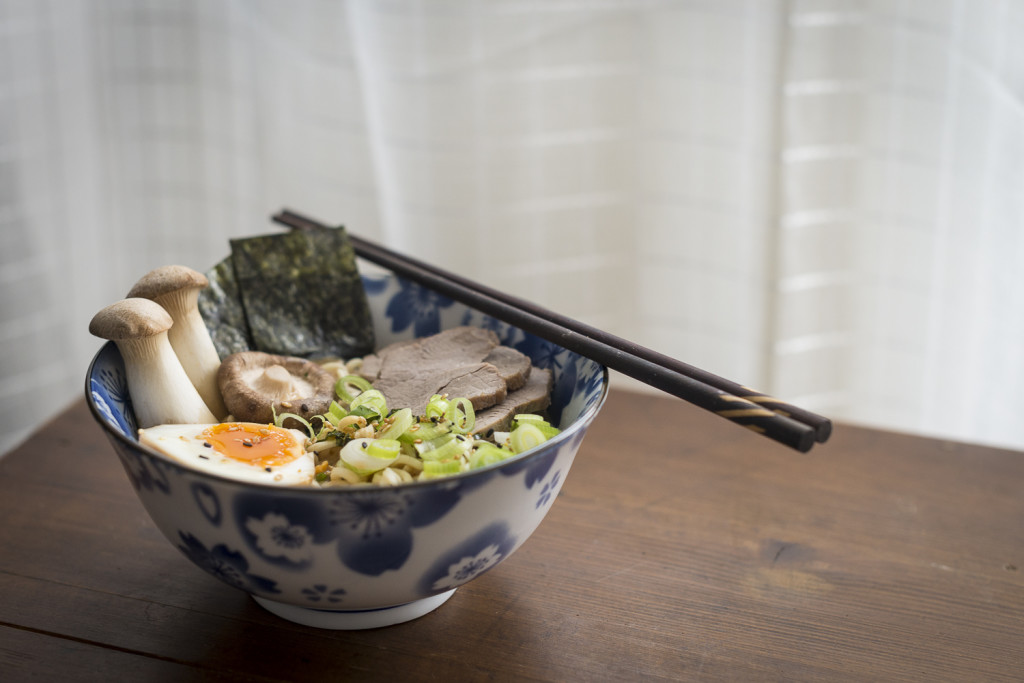
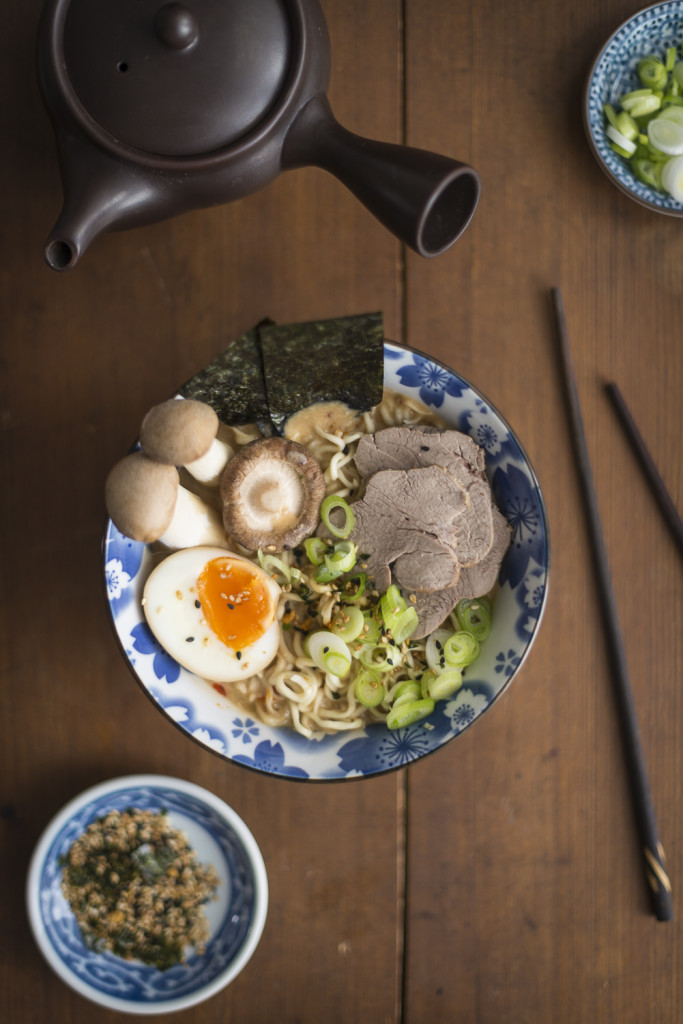
Miso Ramen

A good noodle soup is a treat: It makes you warm, saturates and it is filled with delicious ingredients. A really good noodle soup is far better though… a little bit of wellness for the soul. It is pleasing to the eye and has been cooked with love – with commitment and a lot of time spent already on the broth itself. It really makes you sigh out of pure happiness. The Japanese have made an art form out of their soup and maybe some day I will be able to go there… to go into a tiny little noodle bar to sit at the counter and order my first “real Japanese Ramen soup”. Until then I’ll have to try every other noodle bar with a good reputation (this one for example) to educate my palate and take everything I’ve learned back home. There I will try my best to make a soup of my own.

This recipe has been the best result since a long time: A ramen soup with an “own” miso mixture, broth-poached fillet of pork, mushrooms and egg. The soup is completed with a dash of soy milk, a small but effective trick I’ve come across on lovely Mandy’s blog. The miso mix is inprired by her recipe, too.

The spicy miso with sesame makes the soup wonderfully creamy and adds a nice fragrance of sesame, ginger, garlic and chili. The mild-flavoured prok loin indulges us with proteins, the mushrooms add a nice freshness, the egg makes it perfect and the nori finally reminds us of beautiful days at the sea. Don’t be put off by the long list of ingredients: Most of it is spices and except of a little time the soup itself just needs simple attention. But it’s definitely worth it!

Miso Ramen

Ramen Soup with Miso, Fillet of Pork, Mushrooms, Nori and Shoyu Tamago

Ingredients for 2 big bowls

Miso mix:

  • 2 cloves of garlic
  • 30 g ginger
  • 10 g chili paste
  • 30 g sesame
  • 3 tbsp mirin
  • 1 tbsp sesame oil
  • 2 tbsp oil for frying
  • 130 g red miso
  • 130 g white or yellow miso

Soy sauce eggs (“Shoyu Tamago”):

  • 1-2 eggs
  • 3 tbsp soy sauce
  • 3 tbsp mirin
  • 1 tbsp sake or sherry
  • 1 tbsp sugar

Broth-poached fillet of pork:

  • 200 g fillet of pork
  • 1 tbsp oil
  • 500-600 ml good, unsalted chicken broth (the homemade one is always the best choice)
  • 1/2 spring onion
  • 1 peanut-sized piece of ginger

Ramen soup:

  • the leftover broth from the poached fillet of pork (see above) – about 500 ml 
  • 160 ml miso mix
  • 100-150 ml soy milk
  • 2 portions Japanese soup noodles (ideally ramen)
  • 1/2 spring onions 
  • 1/2 sheet of nori
  • a few small mushrooms (like shiitake)

Additionally:

  • a few drops of sesame oil
  • a few drops of chili oil
  • sesame

Peel the ginger and garlic for the miso mix and add them to all the other ingredients in a bowl. Mix thoroughly with a hand blender, fill it into an airtight glass jar and store it in the fridge. You can let it stay there for a few weeks until you use it up.

For the shoyu eggs boil the eggs until they are soft (I always put them in boiling water and let them stay in there for exactly 7 minutes), then put them in ice water and let them cool down completely. Peel them carefully. Mix soy sauce, mirin, sake and sugar and let the eggs marinate in that mixture for 2-3 hours.
Heat up a small casserole, pour in the oil. Fry the fillet of pork shortly on each side, then add the broth and the spring onion in one piece. Cut the ginger into slices and add to the pot. Heat the broth until it almost boils, skim off the foam that may rise to the surface and let the broth gently simmer at medium temperature for 30 minutes. Turn the meat after 15 minutes so it doesn’t dry out on one side. Get the pork out of the pot and strain the broth through a sieve – then pour the broth back into the pot. You will need it for the soup itself.
Add the right amount of miso mix to the broth and resolve it in there. A miso sieve or a ladle helps with that. In an extra pot cook the noodles according to the instructions on the package and strain through a sieve. Devide them into two soup bowls. Meanwhile bring the soup to a boil but don’t let it cook for too long.

Chop the spring onion into rings. Cut the pork into thin slices. Pour the hot soup over the noodles in the bowls. Garnisch with the remaining ingredients. Serve hot with a few drops of sesame and chili oil and a few sprinkles of sesame.

Miso Ramen

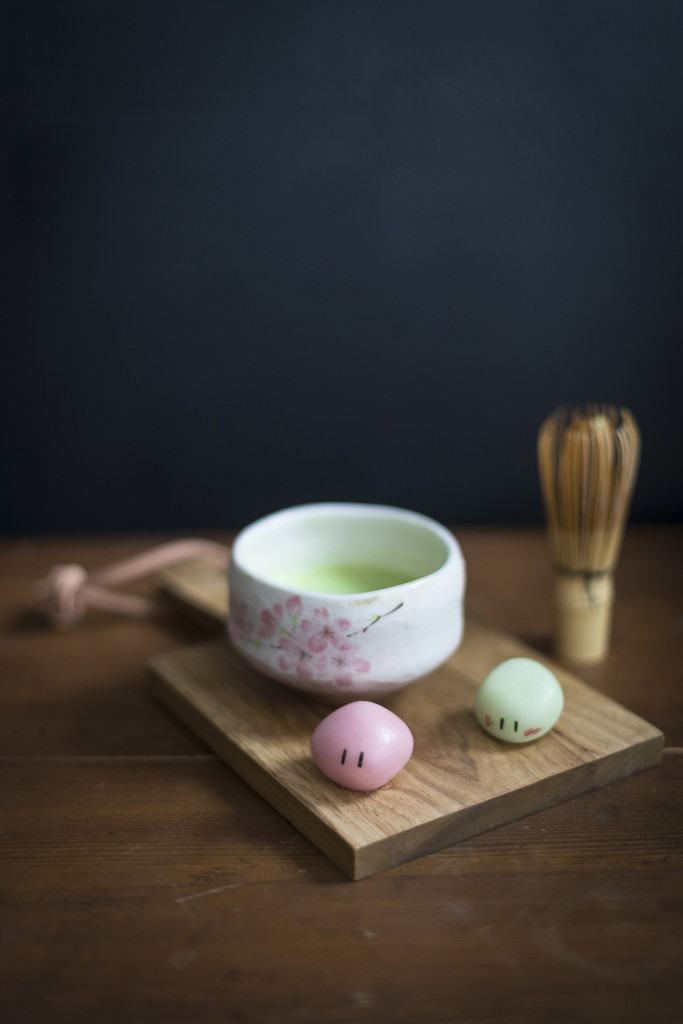
Dango Daikazoku

Dango Daikazoku

How does one change their fate? And does something like that even exist in the first place? How do you break out of your daily routine? Resign and keep on going, hoping that one day eventually something will change? Or gather all your courage, every tiny piece of it, to step out of the trott and into the scary unknown? Don’t those moments, filled with nervous heart-throbs, guide us most and get us to exactly where we have to go in life? Sometimes all it takes is one single step ahead, no matter how small. And some morning we’ll wake up and will be happy about that one moment when we decided to be brave for a second. 

Dango Daikazoku

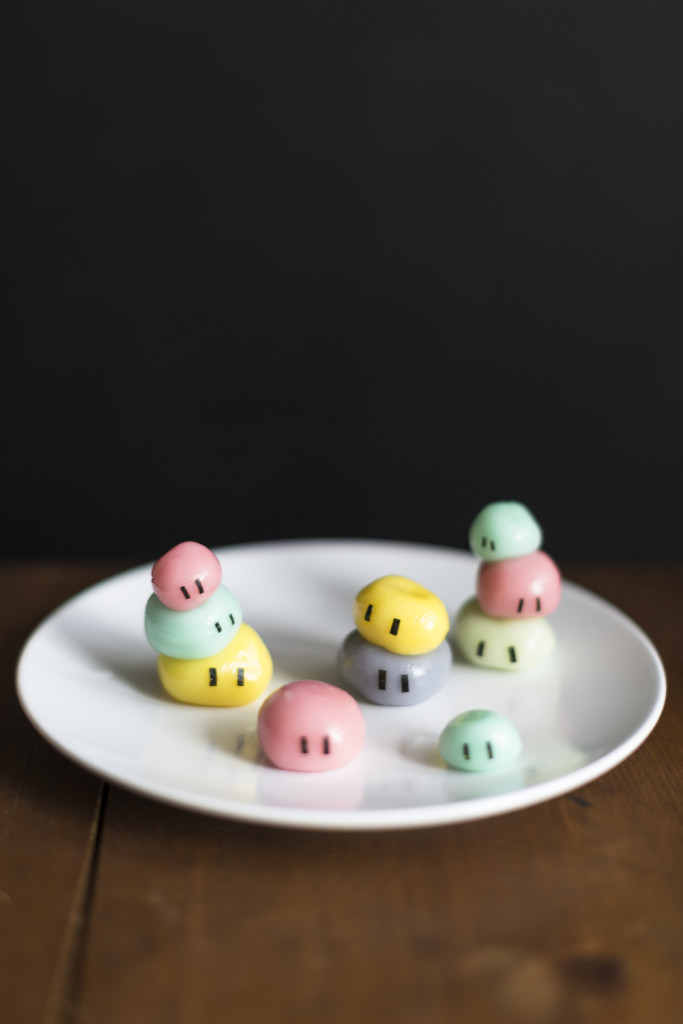
For more courage it helps to hum the Dango Song from time to time and to make some of these traditional Japanese sweets out of rice flour, water and sugar for yourself, too. If you have never had some before their consistency and taste might be a little strange at first. But I’ve become to like them a lot. And not just because they remind me of my favourite anime series: Clannad.

Dango Daikazoku

Dangos are easy to make and go very well to a green Japanese tea. And if you’ve ever watched Clannad you might smile happily and at the same time feel a little bit sad while eating them. 

Dango Daikazoku (だんご大家族) – Dango Family 

inspired by Clannad and Clannad After Story

Ingredients for 3-4 dessert portions

  • 100 g mochiko or shiratamako (or some other glutinous rice flour)
  • 2-3 tbsp sugar
  • about 75 ml water
  • food colouring

Additionally

  • a small piece nori
  • red food colouring

Mix rice flour and sugar and slowly add the water while kneading until you have a smooth, firm and formable dough. If you use liquid food colouring you might want to make the dough a little too dry at first so it won’t become runny after dying it. Divide the dough into a few portions and add a little bit of food colouring to each. Devide into smaller portions and use your hand to roll them into balls. 

Pour water in a pot, bring it to a boil and carefully add the dango. Make sure they don’t stick to the bottom of the pot and let them cook until they start to float on the water surface. Fish them out and put them in ice water to stop the cooking process.

Cut the nori into small pieces for the dango eyes and decorate the rice balls with them. Add blushing cheeks with red food colouring if you like, arrange them on a plate and serve with some matcha.

Dango Daikazoku

The Regard of Simple Things

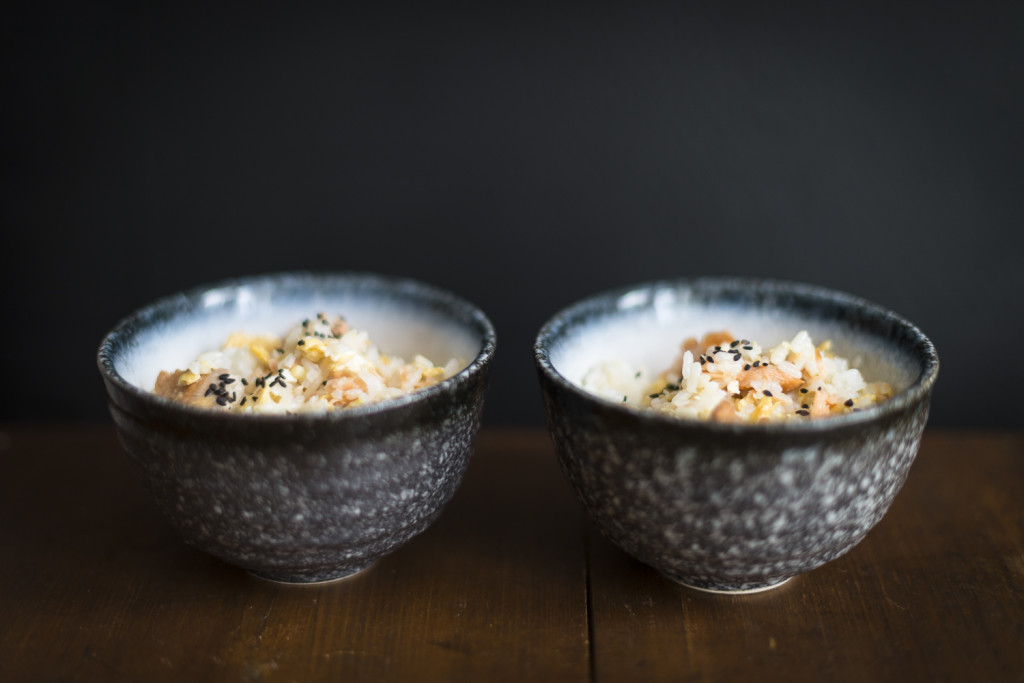
Rice with Salmon and Eggs

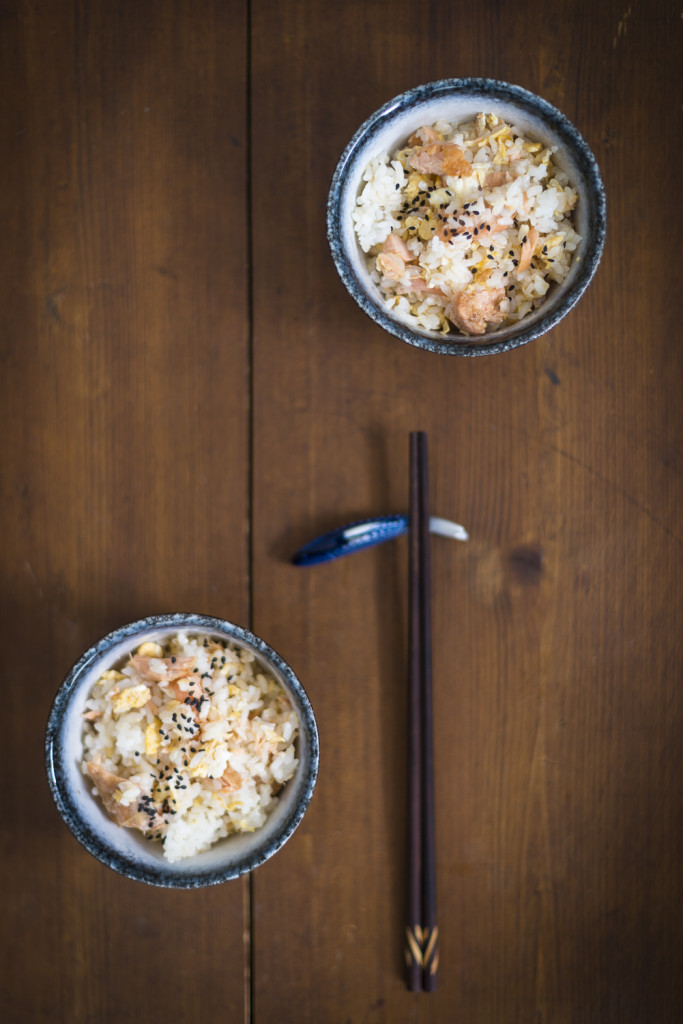
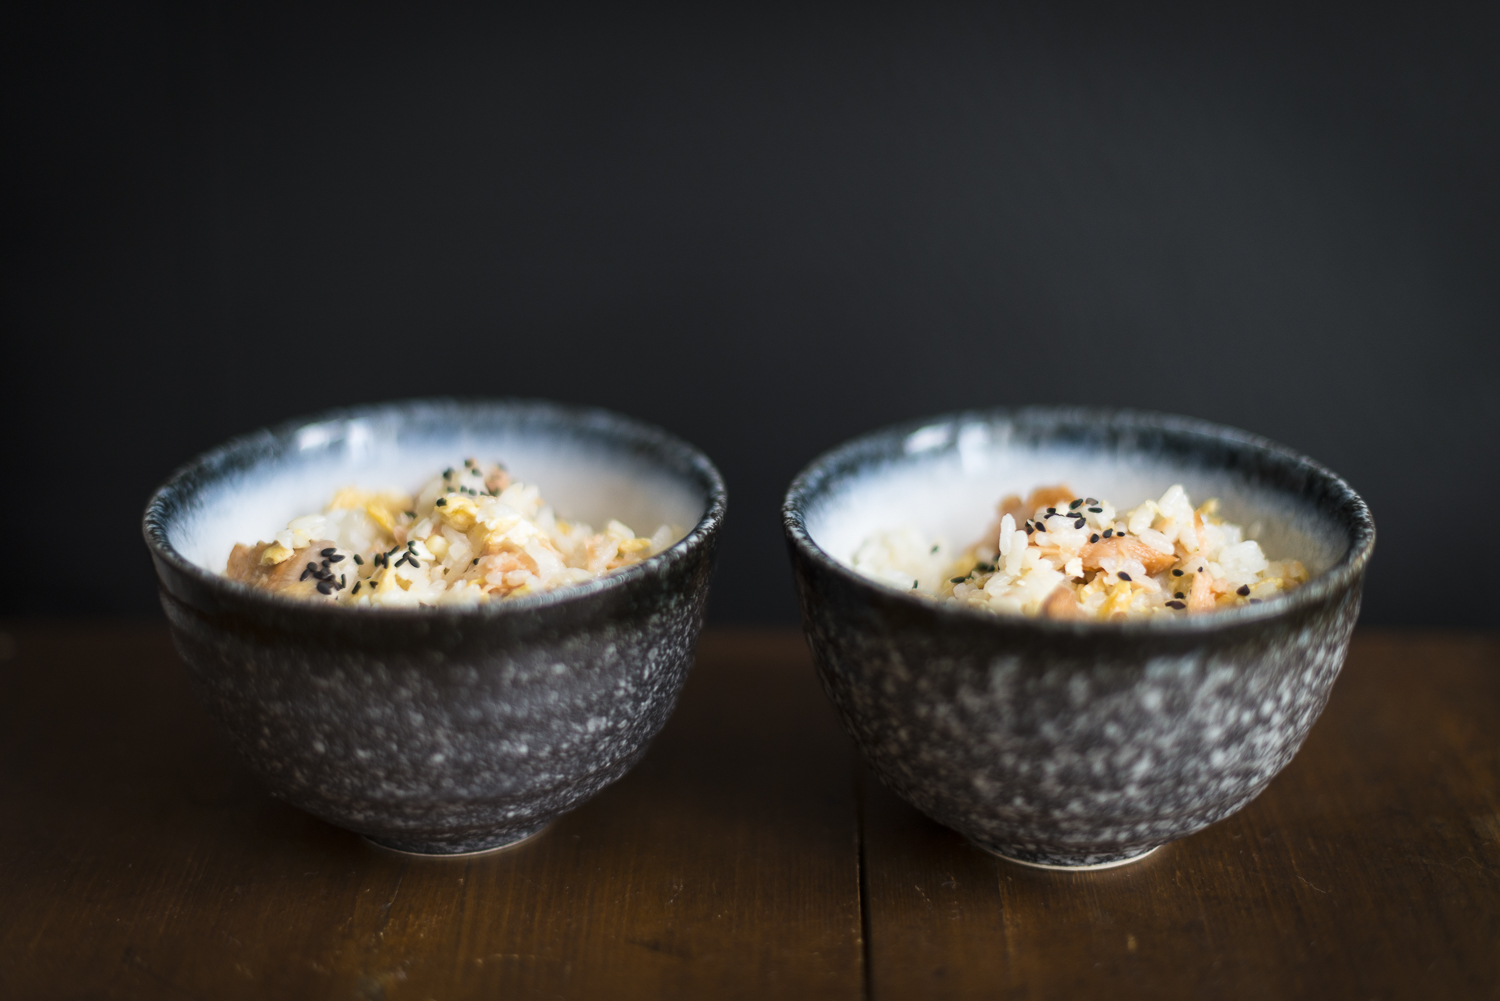
Life is precious. And if we don’t keep an eye on it it will flash by. How often do we let annoyances stop us in our doings and end up not observing the small but good things in life. But aren’t those small things the best? A cup of tea in the morning, a bitter-sweet soundtrack at work, a vespertine stroll in the woods that are glowing in their autumnal dress right now. A kind word, an embrace, a meeting with dear friends… or a simple bowl of rice with salmon and egg. Actually a food out of leftovers from yesterday, but still so good today – so comforting and delicious – that it would be a shame not to respect them.

I made this dish out of leftover rice and leftover butter-fried salmon from the previous day. But you also can use freshly steamed rice and just fry the salmon freshly as well. You can use raw and finely chopped salmon too, if you like… or you can even use smoked fish just as well.

Rice with Salmon and Eggs

„Not Really a Recipe“ Bowl of Rice with Salmon and Scrambled Eggs

Ingredients for 2 portions

  • 150 g salmon, fried in butter (or finely diced raw salmon or a few slices of smoked salmon)
  • 2 portions steamed sticky rice, fresh or from the previous day
  • 2 tbsp rice vinegar
  • 2-3 eggs
  • 1 tsp soy sauce
  • 1 tbsp sesame oil

Use a fork or a pair of chopsticks to break the salmon filet into small pieces. Loosen up the rice with a spoon and mix it with the vinegar. Crack the eggs into a bowl and roughly mix them with the soy sauce. Heat up the sesame oil in a pan, add the egg mixture an stir while you let the eggs set. As soon as that happens add the rice, quickly stir and then add the salmon. Mix gently and divide into two bowls. Best served warm with a Japanese green tea.

Rice with Salmon and Eggs