All posts by Ylva

Back to Simplicity

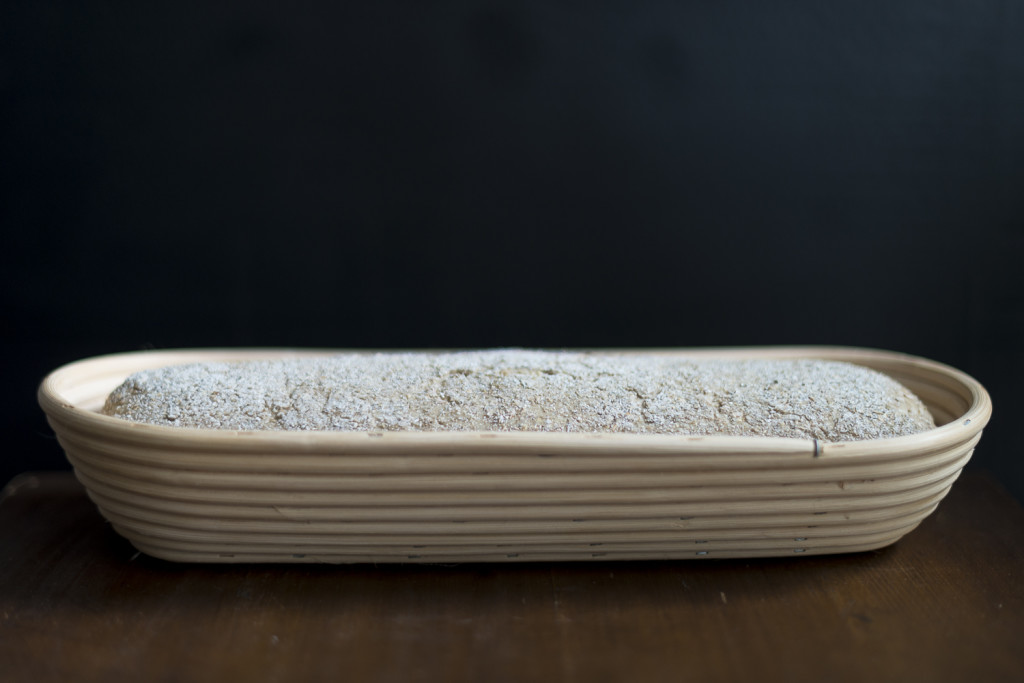
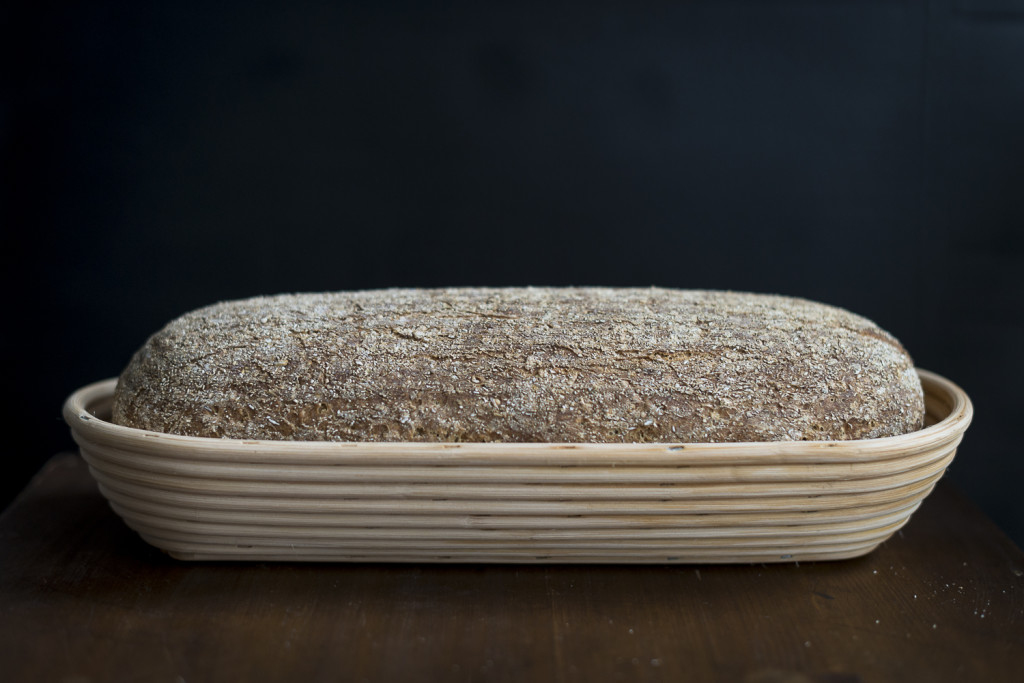
Shredded Wheat Bread

The Easter Holidays are coming and with that recipes for the big celebration pop up everywhere like the spring flowers on the meadows. Instructions how to prepare the perfect lamb roast, the best sauce, the most perfect side dishes, the most astonishing decorations.

To me it is a little bit overwhelming. The inner pressure rises with every year – because, don’t we all want to delight our family with simply the best? Last year it was amazing, so it should be even better this time, shouldn’t it? A new superlative with every year? And so we end up spending so much time on thinking about the greater stuff, worrying about the big picture, that we tend to forget the foundation. The things that really, truly make us feel good, loved, and comforted. Cherished.

Sometimes it takes merely time to give someone that feeling. After all time is a very precious thing these days. But mostly it also is simplicity what we need, so basic that it can be overseen quickly, and regrettably underestimated.

Shredded Wheat Bread

Shredded Wheat Bread

Bread is such a thing.

Simple, candid bread, baked with time and devotion can be is a feast. It can make you more proud of what you eat and serve your loved ones than a perfectly orchestrated course menu. It is pristine, pleasant, and perfect in its plainness, chummy even. It brings people together in its quiet, elementary way and pampers us with everything good.

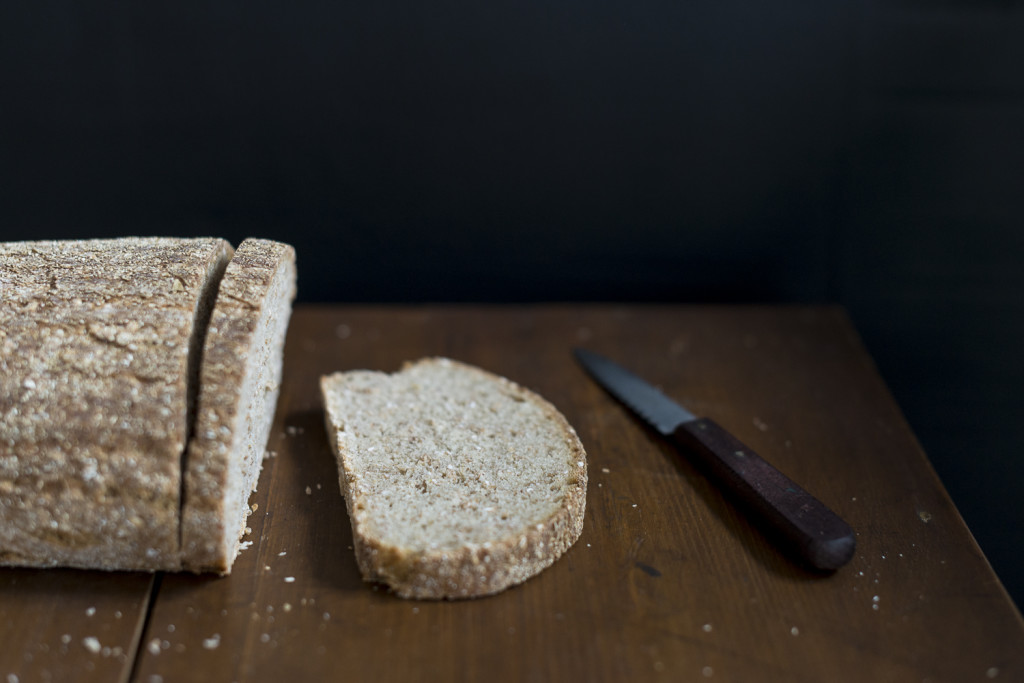
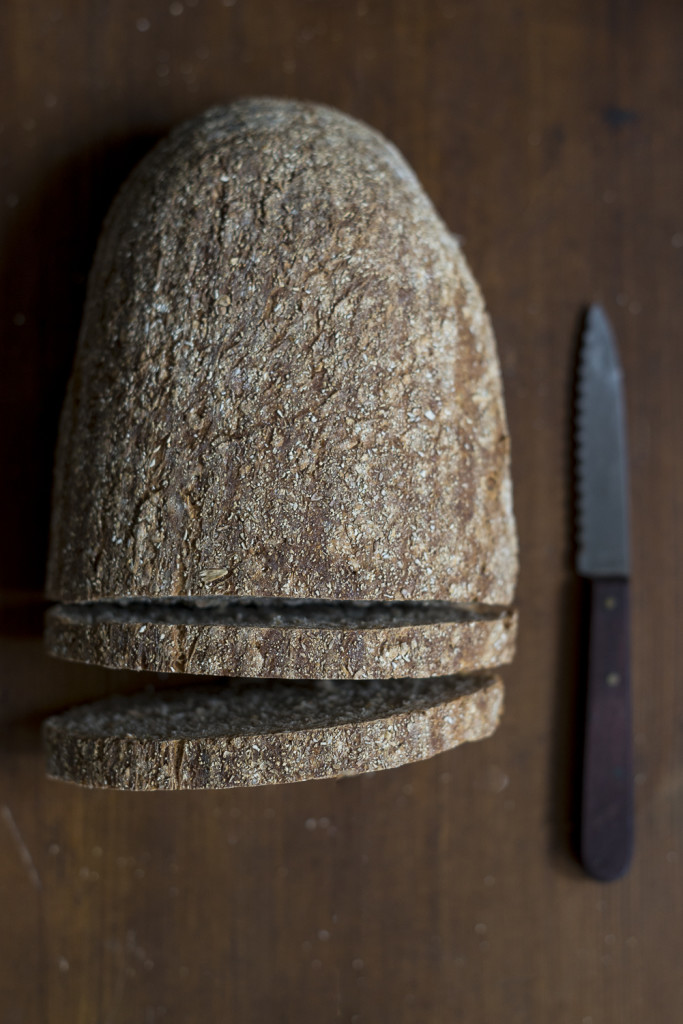
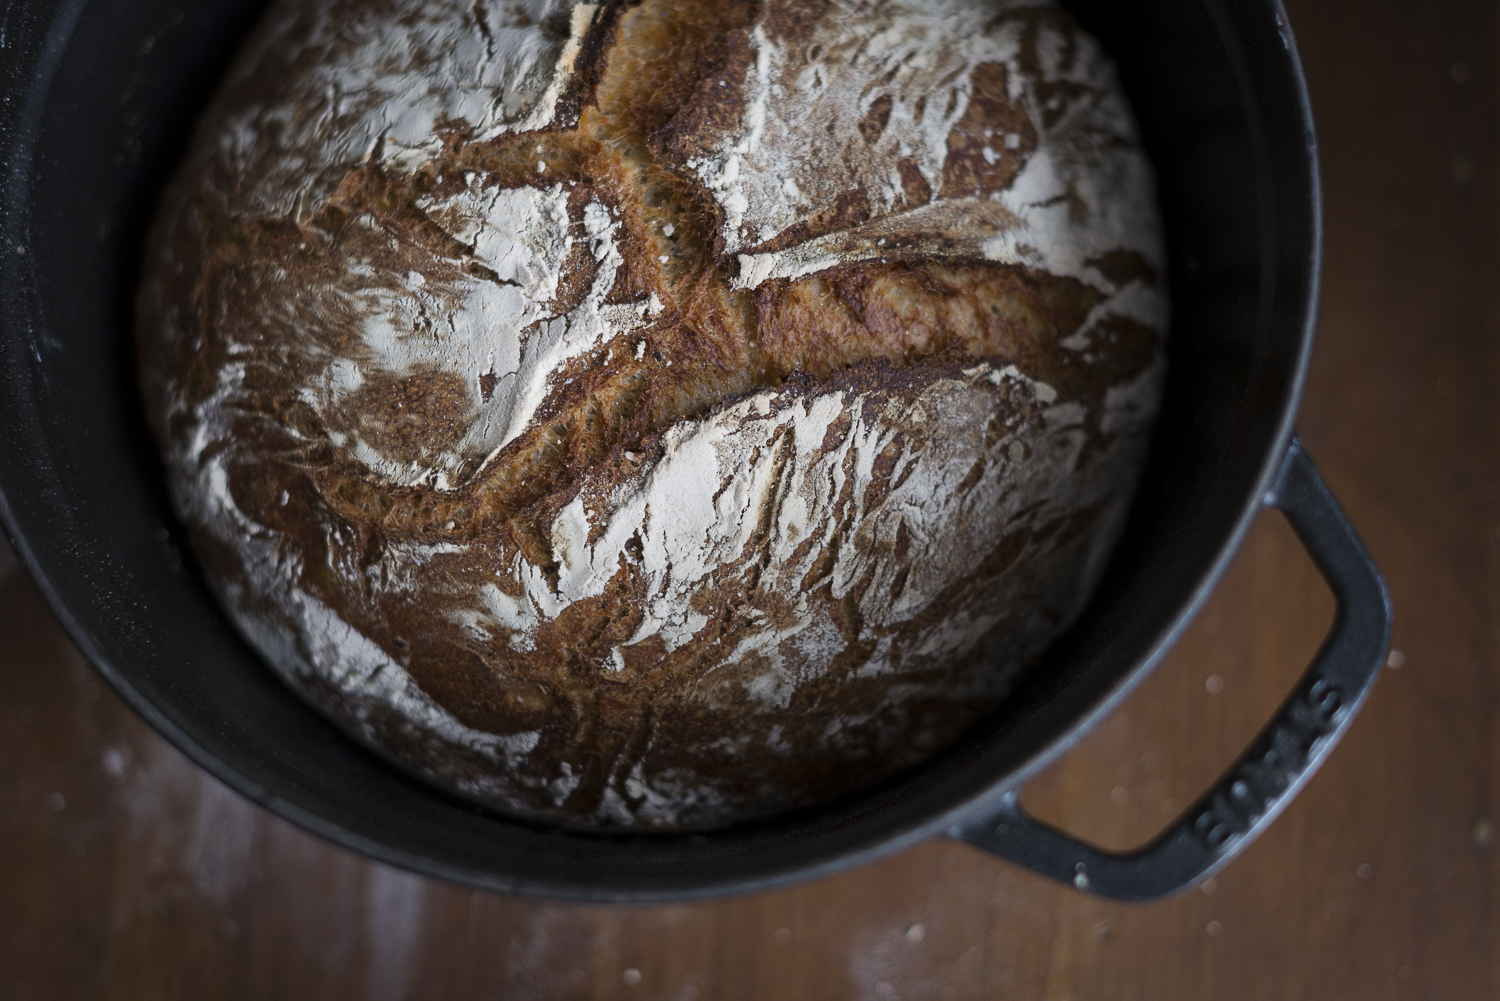
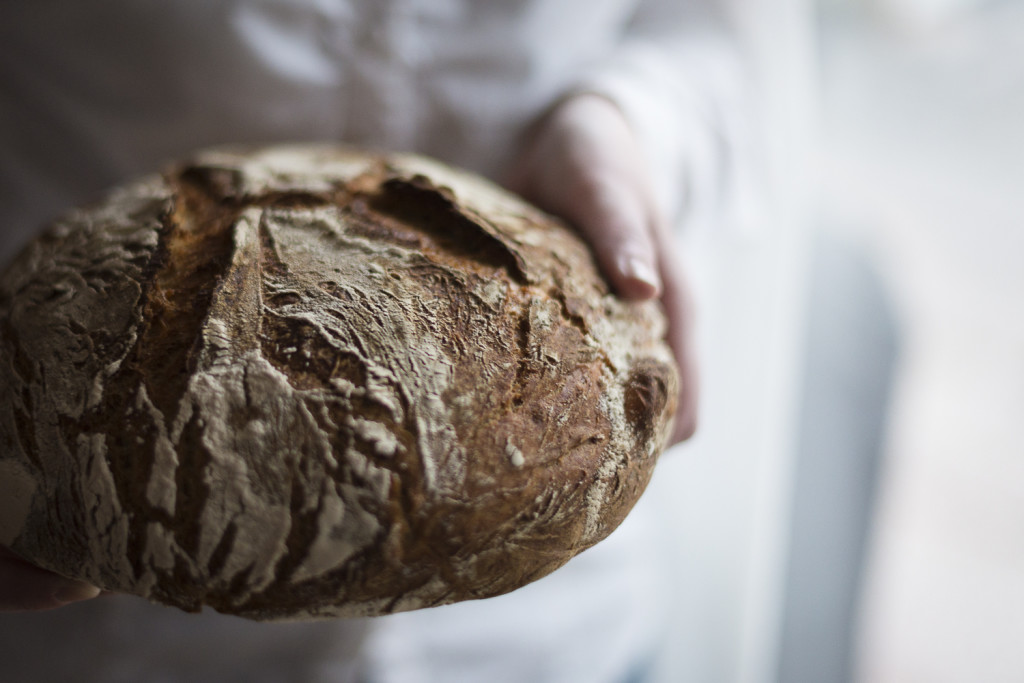
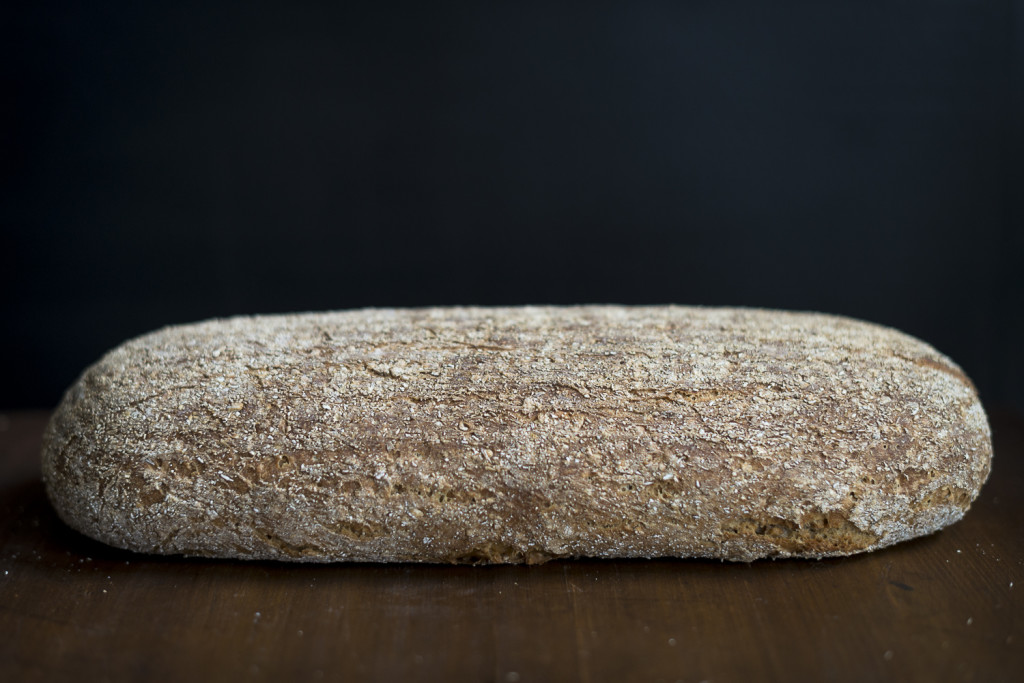
Like new favourite of ours. Exclusively baked with sourdough and no additional yeast it is easy to digest and with its whole grain shredded wheat and rye flour it also is saturating and a perfect companion for a hearty meal or spicy cheese.

Shredded Wheat Bread

Shredded Wheat Sourdough Bread

For the sourdough:

  • 100 g rye flour
  • 100 ml water
  • 10 g sourdough starter (self-made*)

For the main dough:

  • 200 g shredded wheat (I used whole-grain shredded wheat)
  • 200 ml water
  • 500 g wheat flour
  • 150 ml water
  • 15 g salt
  • the sourdough from above

Additionally:

  • 2 tbsp whole-grain flour (wheat or rye, whatever you can find)

Mix the rye flour with the water and the sourdough starter in a bowl. Cover it and let it rest for 16-20 hours.

On the next day mix the shredded wheat with the 200 ml of water and let it soak for 30 minutes. Put together all the ingredients and knead for 10 minutes. Cover the bowl and let the dough rest for 1 hour, while shortly kneading the dough from the rim of the bowl to the middle every fifteen minutes. After that let the dough rest for 1 additional hour.

Now fetch a longish baking basket and get the dough out of the bowl to knead shortly but thoroughly. Sprinkle the whole wheat flour on your working surface and roll the dough between your hands and the working surface to form a long loaf that fits into the baking basket and that’s dusted with the whole-grain flour. But the loaf into the baking basket and cover with a clean and dry kitchen towel. Let the dough rest for 3-6 hours, until it has almost doubled its size.

Preheat the oven to 250°C and place the loaf onto a heated baking tray with a sheet of baking paper. Put the tray into the oven, switch the temperate down to 220°C. Spray a little bit of water into the oven before closing the door and bake the bread for 30-40 minutes. It should give a hollow sounds when you knock on the bottom of the bread.

Let it cool down on a baking tray. Enjoy with savoury cheese, sausage or simply with good butter. Even better when roasted.

Shredded Wheat Bread

Time bar

Day 1, evening: 1 day before baking
Preparing the sourdough and letting it rest for 1 day.

Day 2, afternoon and evening: baking day
Making the main dough and baking.

– – –

*Making your own sourdough starter

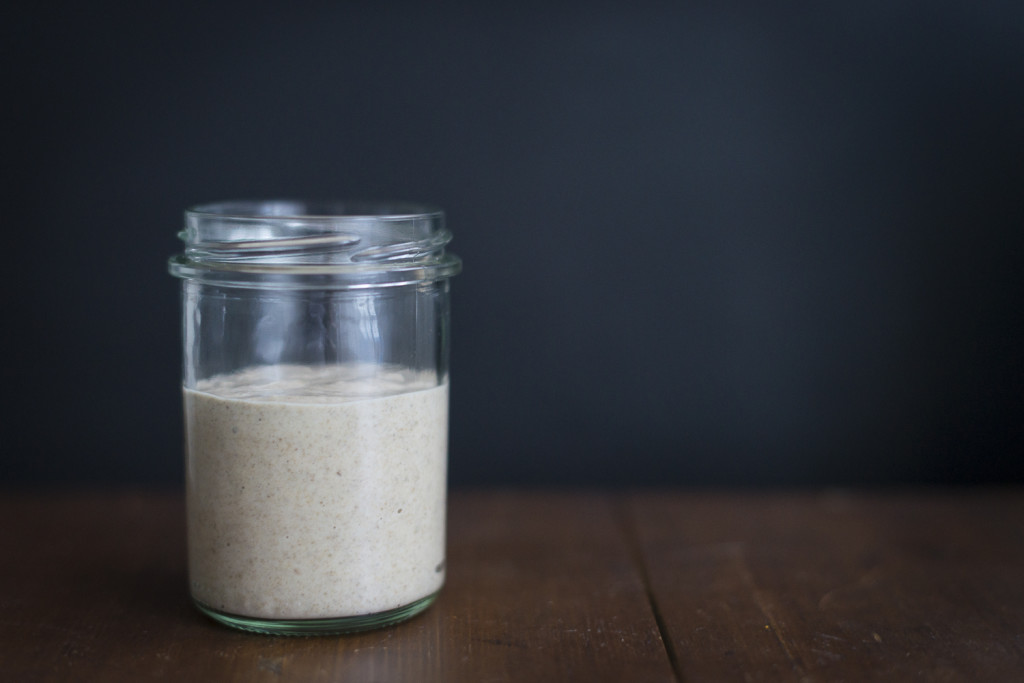
To make yourself your own sourdough starter you only need water, rye flour and a few days in a row in which you will be at the same place at the same time of the day. And an airtight jar, alongside a small place in your fridge for that exact jar. Maybe even a name for your new baby, but that is not too necessary.

Day 1: Mix 10 g rye flour with 20 ml water, cover it airtight and let it rest for roughly 1 day.
Day 2: Add 10 g rye flour and 20 ml water, mix it, cover it airtight and let it rest for roughly 1 day.
Day 3: Add 10 g rye flour and 20 ml water, mix it, cover it airtight and let it rest for roughly 1 day.
Day 4: Add 10 g rye flour and 20 ml water, mix it, cover it airtight and let it rest for roughly 1 day.
Day 5: Add 10 g rye flour, cover it airtight and let it rest for roughly 1 day.
Day 6: Congratulations! You just made your first sourdough starter! Put it into the fridge and use it for baking. For example as in the recipe above.

Kartoffelbrot aus dem Topf

The Feeding of Predators

20150909-20150909-DSC_7778

Steakhouse owners and -waiters always rejoice in my appearance whenever I step over their threshold: My brightest smile of my face, sparkling eyes that beam with anticipation, and already deeply inhaling the flavours of Heaven… yes. It is time to feed The Predator again. Side dishes, mostly unnecessary anyway, are counter-ordered or simply left aside; my concentration is fixed on the essential. The meat.

Good is what it has to be. A little bit of luxury for a special moment. It should have lived a happy life, a species-appropriate existence on wide meadows under the sun and stars, with a generous selection of yummy grass, various herbs, fresh air, and freedom with an end that was as respectful as possible. Ideals – I know. But they are worth pursuing. In exchange I’d rather savour a little less often, but then properly.

Then the next question: Filet? Or ribeye? Maybe a striploin or t-bone? Marinated? Mediterranean? From the barbecue or out of the pan? The portion for a lady (hardly so…) or for a hungry fellow (much more likely!)?

One thing is always for sure though: For me it has to be rare and bloody! Still wonderfully bright red inside and – here at the latest you detect good quality – tender and delicious. A little bit of marinade or dip to that and the evening is perfect. All that’s missing now is a glass of red wine or a cocktail…

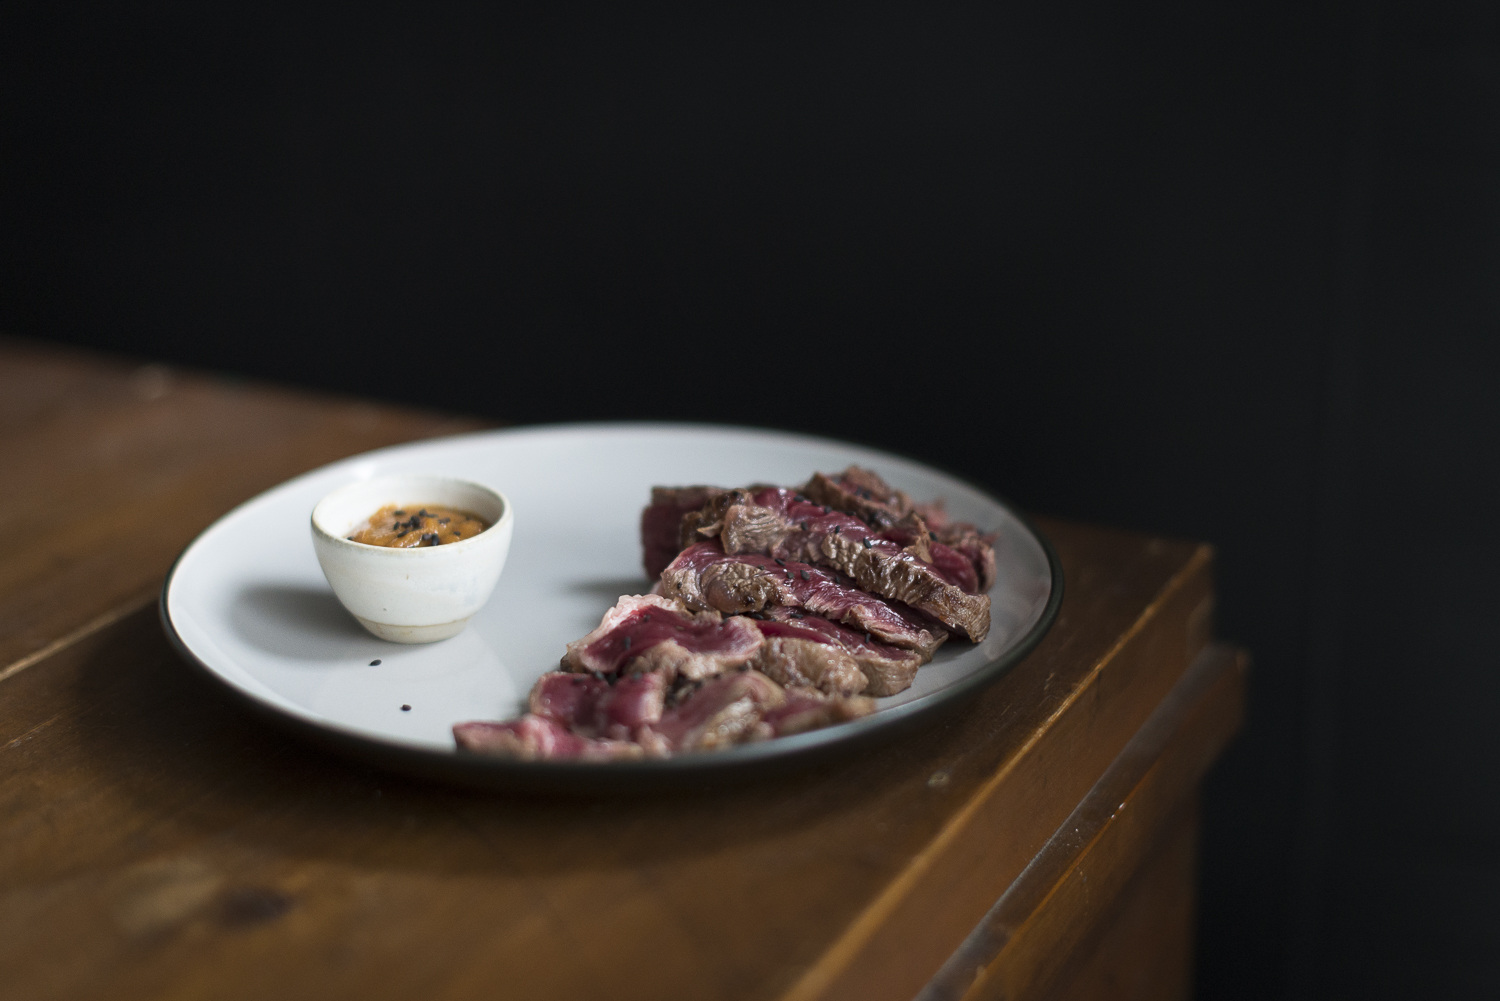
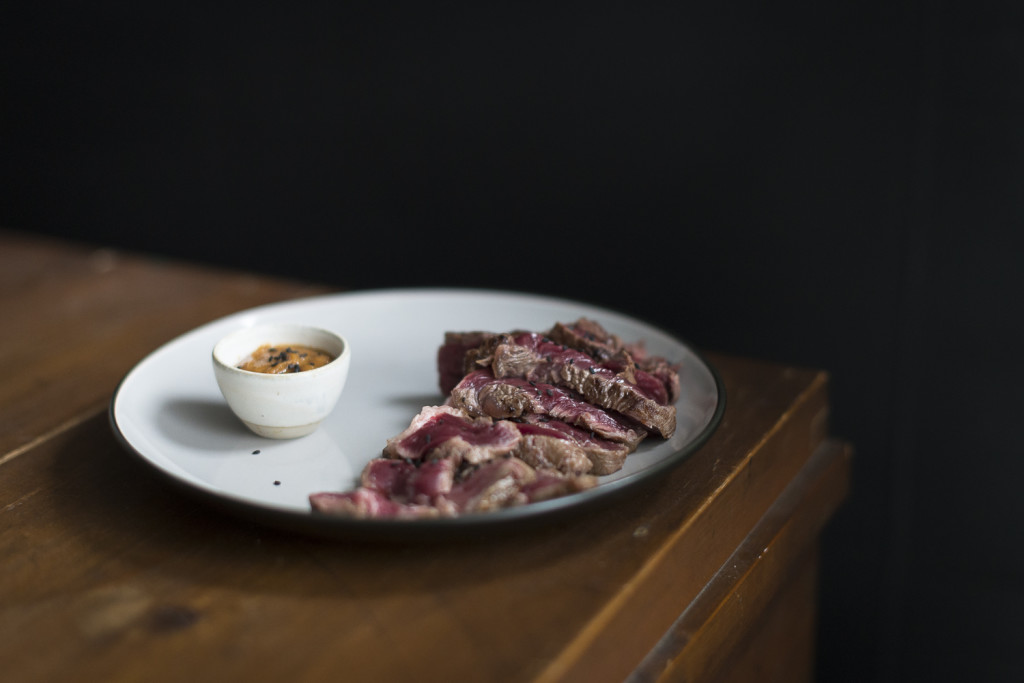
Entrecôte with Miso Dip

Entrecôte with Miso Dip

Inspired by Nigel Slater’s “eat”

Ingredients for 2 portions

  • 400 g entrecôte, one single piece
  • 1-2 cloves of garlic
  • 1 branch of rosemary
  • 2 tbsp olive oil
  • some oil for frying

For the dip:

  • 1-2 branch of thyme
  • 3 tbsp white or yellow miso paste
  • 1 tbsp apple vinegar
  • 1 gulp of sake or dry sherry (30-50 ml)

Rinse the meat under cold tap water and pat dry. Peel the garlic and chop into slices. Remove the rosemary from the branches, mix with the garlic and the olive oil and rub it into the steak. Cover it and let it marinate in the fridge for at least 2 hours, better over night.

Heat up a pan and add some oil. Put in the meat and fry it on middle to high heat on both sides until it is to your liking (I prefer it very rare, so I only let it in the pan for 1-2 minutes on each side, medium should take about 8 minutes on each side).

Remove the thyme leaves from the branches and mix with the miso paste and the apple vinegar. When the meat is done remove it from the pan and add the sake. Stir and take the pan off the flame. Add the miso mix.

Cut the meat into thin stripes and serve with the dip.

Eat with rice, roasted potatoes or as a sandwich between to halves of a ciabatta.

– – –

The beautiful lady on the photo above is one of the happy cows of Denmark. I named her Kate and she was my lovely meadow friend for two whole weeks. Then we had to drive back home again…

Walhalla – Day 3 (Save the Date)

walhalla-3

Our supper club “Walhalla” continues. And again we want to invite you to sit at our table, eat, drink, and enjoy a nice evening with us.

We will cook a springlike menu filled with spices and flavours from far away countries. 

When: Saturday, April 2nd 2016
Where: in Böblingen, Germany
Costs: 30 Euro per guest

You want to sit at our table? Then write an email to ylva@derklangvonzuckerwatte.com. We will contact you in time if we can reserve one of 10 seats for you and when and where excatly the supper club will take place. 

We’re looking forward to seeing you!
Miss & Mister Zuckerwatte

The Essence of Things

Kartoffelbrot aus dem Topf

There are only a few things that are as essential as a loaf of bread. For me the last home baked bread, made with my own sourdough, is already too long ago. Fate seemed to be against me, killing first not only my first rye sourdough, but also its successors, and soon after that the wheat starter followed as well. So yes. I needed fresh dough. Because self-made bread is a delight that can hardly be explained.

And so one beautiful day my new sourdough starter was finished, and ready to be to a good use. His name is Eren… let’s see how this one will turn out. My fingers are crossed!

The bread that we are baking for Lena today is a mild one with mainly wheat. The adding of potatoes gives the bread a wonderful juiciness that helps making it stay fresh longer. The crust is not too thick and not to thin and the crumb is amazingly soft and fine pored. A perfect companion for cheese and a new favourite.

Kartoffelbrot aus dem Topf

Sourdough bread with potatoes, baked in a pot

Ingredient for 1 loaf

For the sourdough:

  • 10 g sourdough starter*
  • 100 ml water
  • 100 g rye flour

For the main dough:

  • 2 fist-sized potatoes, cooked on the previous day and completely cooled (about 200-250 g without skin)
  • 400 g wheat flour 1050
  • 100 g spelt flour 630
  • 8 g fresh yeast
  • 275 ml water
  • 1 tbsp honey
  • 14 g salt

Mix the ingredients for the sourdough in a bowl, cover it with a lid or cling foil and let it rest for 20-24 hours at room temperature.

On the next day peel the potatoes and mash them thoroughly. Add the remaining flour, the water, the yeast and the honey and mix it with the kitchen machine for 5 minutes on the lowest setting. Add the salt and mix another 5 minutes. The dough is very soft and will be steadied by the pot during baking anyway. But if it seems to be too runny add 1-2 tablespoons of additional flour with the salt.

Cover the bowl again and let the dough rest for 90 minutes, whilst folding or rather kneading it once to the middle of the bowl after 30, 60 and again 90 minutes. Now get the dough out of the bowl and roll it around in 1-2 additional tablespoons of wheat flour so it it covered generously and put the flour dusted dough back into the bowl. Cover it again and let it rest for 60 to 90 minutes once more.

30 minutes before the resting time is up put an iron cast pot including the lid into the oven and preheat it to 250°C.

Get the pot (caution: very hot!) out of the oven and cautiously let the dough drop into it. Cover the pot again with the lid and bake the bread for 30 minutes at 250°C. After that time switch down the temperature to 200°C and bake the bread for another 30 minutes. For a nicer crust remove the lid during the last 15 minutes of baking. Turn the bread out of the pot and let it cool down on a cooling rack.

Kartoffelbrot aus dem Topf

Time bar

Day 1, evening: 1 day before baking
Preparing the sourdough and letting it rest for 1 day.

Day 2, afternoon and evening: baking day!
Making the main dough and baking.

– – –

*Making your own sourdough starter

To make yourself your own sourdough starter you only need water, rye flour and a few days in a row in which you will be at the same place at the same time of the day. And an airtight jar, alongside a small place in your fridge for that exact jar. Maybe even a name for your new baby, but that is not too necessary.

Day 1: Mix 10 g rye flour with 20 ml water, cover it airtight and let it rest for roughly 1 day.
Day 2: Add 10 g rye flour and 20 ml water, mix it, cover it airtight and let it rest for roughly 1 day.
Day 3: Add 10 g rye flour and 20 ml water, mix it, cover it airtight and let it rest for roughly 1 day.
Day 4: Add 10 g rye flour and 20 ml water, mix it, cover it airtight and let it rest for roughly 1 day.
Day 5: Add 10 g rye flour, cover it airtight and let it rest for roughly 1 day.
Day 6: Congratulations! You just made your first sourdough starter! Put it into the fridge and use it for baking. For example as followed.

Kartoffelbrot aus dem Topf

Listen to Your Heart

Listen to your heart. It usually tells you what you truly need (and even on what you should give up).

Don’t let things which you can’t change anymore get you down. You can not change them anymore. But you can learn from them.

Be brave and reach for the stars. You are worth it!

And just say “no” from time to time. You are allowed to.

Treat yourself every now and then. No matter if it is reasonable or not – your soul will thank you for it.

Listen to your music. And do more of the stuff that you love.

Just breathe… first because you actually need air and second because calm serenity often brings you further than short temper.

Miso Salmon

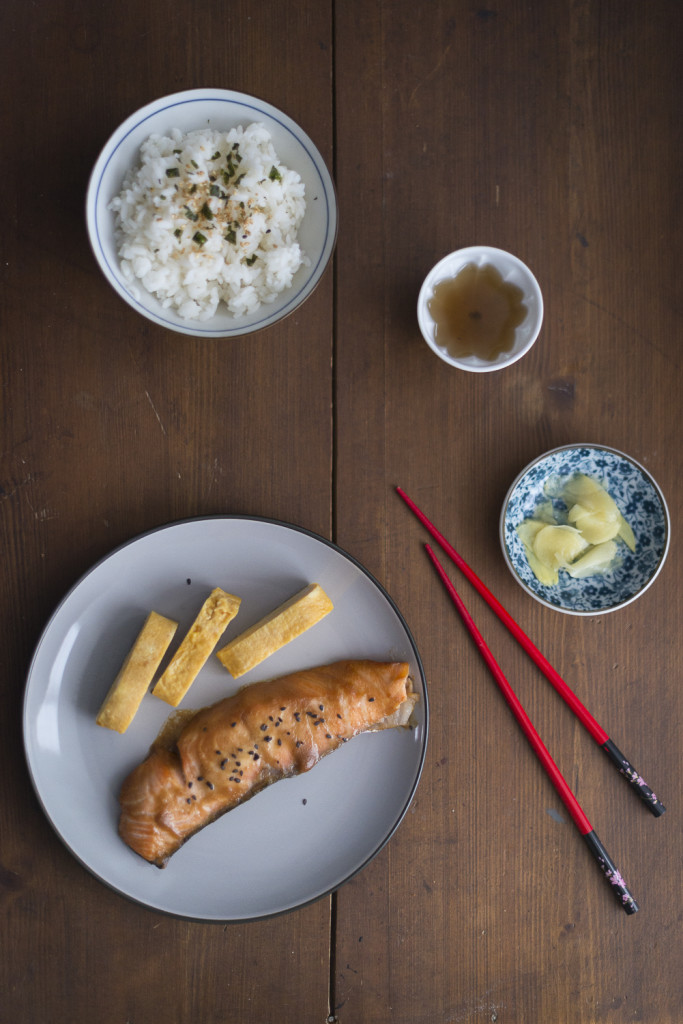
And if the day still just does not turn out to be a good one… indulge in something delicious to eat! Because sometimes it is prepared easier than you might think. The salmon in miso paste almost cooks itself on its own in the oven, the rice cooker takes care of the rice, and you should always have gari at home anyway. To that some creamy eggs and a cup of heart-warming tea and everything looks a little brighter already. Wanna bet?

Miso Salmon

Ingredients for 2 portions

  • 2-3 tbsp white or yellow miso paste
  • 2 tbsp mirin
  • 2 tbsp make
  • 200 g salmon filets with skin, scaled

Mix the miso, mirin, and sake in a dish. Turn the salmon in the marinade, cover the dish and let it rest in the fridge for 60-120 minutes.

Preheat the oven to 200°C. Line a baking tray with baking paper and brush a little oil on it. Put the salmon onto the tray, skin side down, and bake for 12-15 minutes.

Serve with freshly steamed rice and if you’d like some creamy eggs, some gari, and a cup of tea tea.

The Power of Yellow

Orange Mango Kurkuma Smoothie

My Grandmother always used to call me her little witch. I must have been an amiable child. Always full of crazy ideas. Always full of silliness. And mostly laughing. Since then nothing much has changed. Once a joker, always a joker. And after all the awkward puberty was gone… some day I actually could embrace my kind of crazy side.

But every once in a while you need a small push into the right direction to let the slightly crazy trait of yours come out to play again. The wintery world outside is grey and bare-branched after all. Cold. And a little bit uncomfortable. It weighs on the spirit and sometimes even on the circulation.

So we need colours! Bright and lively ones that shine and bring some sort of beautiful light back into our lives. And if they also manage to refresh, reanimate and make our senses work again it is even better.

Maybe this smoothie helps. It is yellow like the sun – or like the stars… you see much more of them these days anyway. And it delightens by merely looking at it. Additionally you get a nice and strong vitamin boost from delicious mango, oranges, apple, turmeric and ginger that help you to shield against a cold. And it also provides you with a wonderful refreshment.

Der Muntermacher

Smoothie with Orange, Mango, Apple, Ginger & Turmeric

Ingredients for about 4 glasses

  • 1/2 mango
  • 2 oranges, filleted
  • 1 sweet apple
  • 1/4 banana
  • 1 peanut-sized piece of ginger
  • 1/2 tsp turmeric powder
  • a hand full of ice cubes

Peel the ginger and chop it into small pieces.

Put all the ingredients into the container of an an electric blender and mix until the drink is smooth.

Good Things Take Time (and Love)

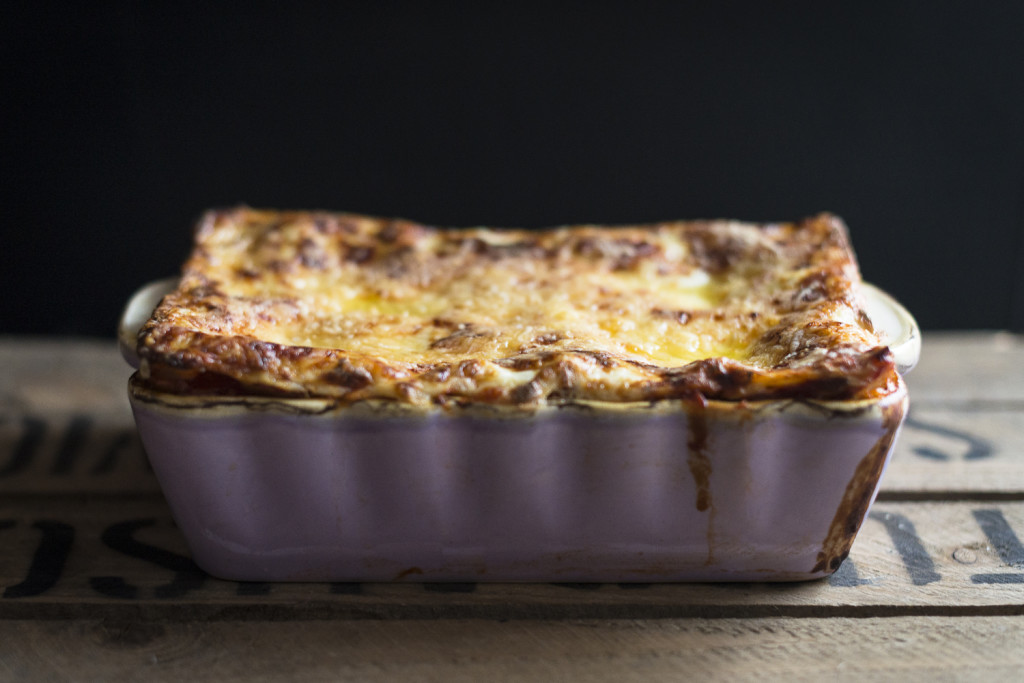
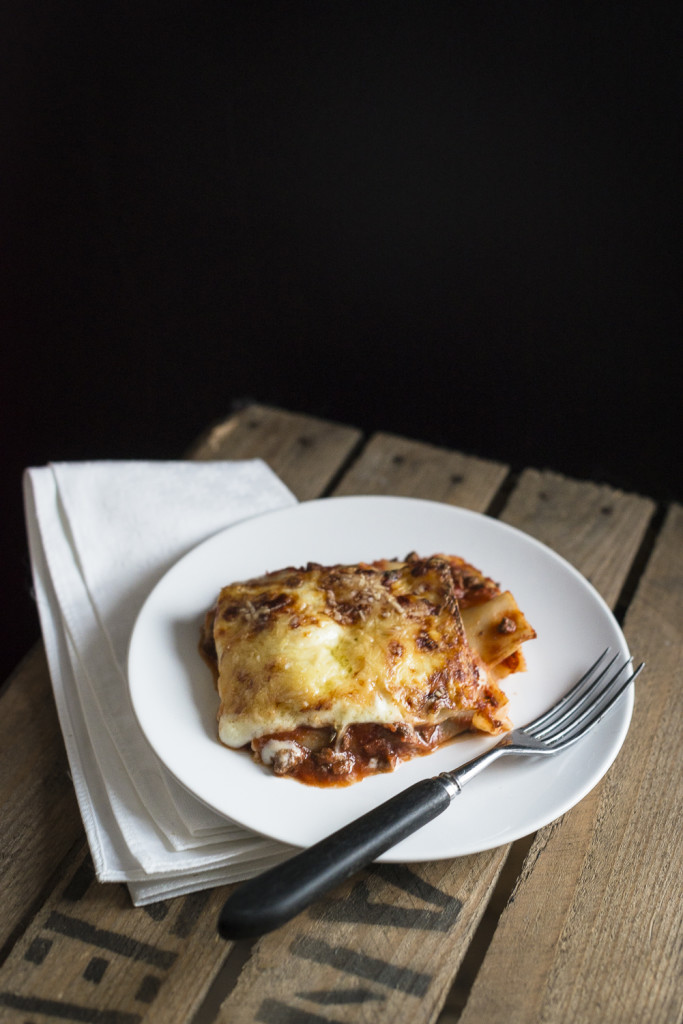
Venison Lasagna

Some caring attention and time is always nice for proper food, and sometimes exactly what makes the meal present itself in the best light. But time is something that likes to lack in this hasty world. Sometimes even almost too much. So you hurry through daily life, trying to find something – anything – to eat. Because eating is something you just have to do. Right?

But when most of the Christmas turbulences are over and the quiet, long desired tranquility between the years settles over the world, you actually could invest some of this preciousness again.

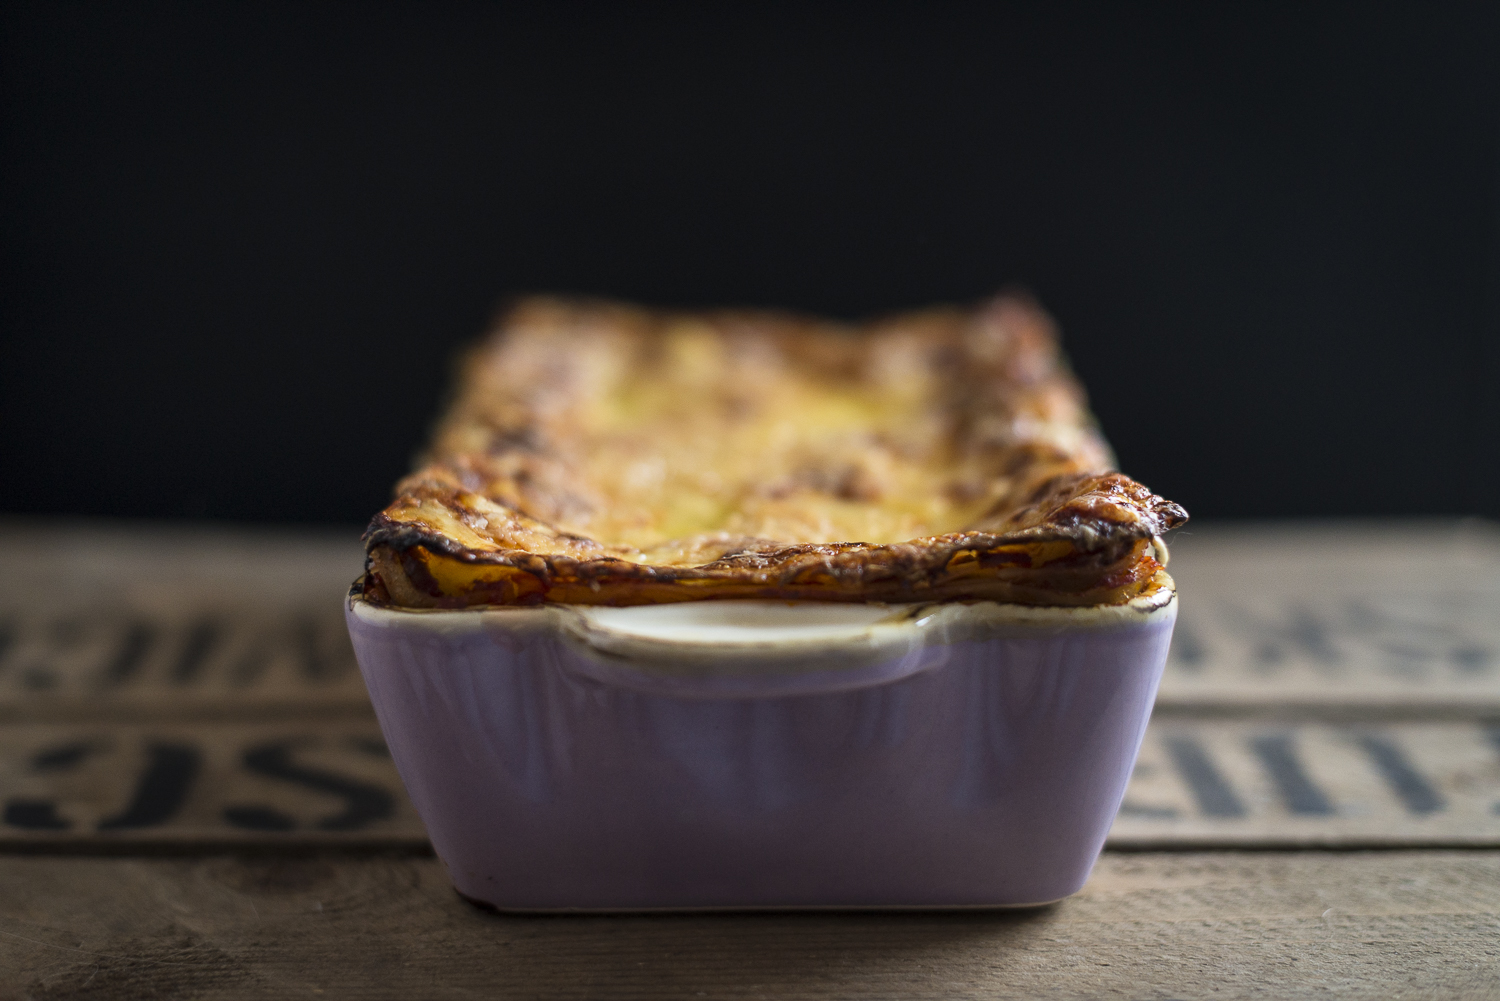
A nice venison ragout for example can taste a lot better if you just let it simmer patiently to let it soak up even more flavour. Also a bechamel sauce brightens up if you give it time with spices, that make it more aromatic. More fascinating. More round. And if you even have the time and the joy to make you own pasta, you will be rewarded with a lasagna that delights your senses with every single layer and that is worth every tiny bit of work. Creamy, spicy, soothing, and full of loving attention you can taste.

And best you share this piece of art with your most favourite person… because food always tastes better when it is shared.

Venison Lasagna

Venison Lasagna

Ingredients for 2-3 portions

For the venison ragout:

  • 1 tbsp butter
  • 250 g minced venison (without bone)
  • 150 ml strong, red wine (for example Shiraz, Primitivo or Pinotage)
  • 200 ml meat broth of your choice
  • 200 g tomato sauce or simply sieved tomatos
  • 2 laurel leaves
  • 2 juniper berries
  • 2 springs of rosemary
  • 2 springs of thyme 
  • salt and pepper for seasoning

For the pasta layers:

  • 250 g wheat flour
  • 125 ml water
  • 1/2 TL salt

For the bechamel sauce:

  • 25 g butter
  • 25 g flour
  • 450 ml milk
  • 1laurel leaf
  • 1 clove

Additionally:

  • 75 g freshly grated parmesan
  • 75 g freshly grated cheddar

To prepare the ragout melt the butter in a pan on medium to high heat, then add the venison to fry it. Deglaze it with the wine and pour in the broth and tomatoes. Put in the laurel, juniper, rosemary, and thyme, put a lid on the pan, and let the ragout simmer for 2 hours on low heat. Remove from the stove and best let it rest overnight. Season with salt and pepper to your taste and remove the laurel leaves, juniper berries and herb stalks.

Knead the ingredients for the pasta until you have a firm and smooth dough, that is neither wet and clingy nor too dry and dusty. Cover it, let it rest for 1 hour and roll it out very thinly (the thinnest adjustment on your pasta machine, if you happen to have any).

Melt the butter for the bechamel sauce in a pot, mix in the flour and after 2 minutes stir in the milk. Let it simmer on low heat for 5 minutes whilst stirring from time to time before adding the laurel and clove and let it rest on very low heat for about 20 minutes. Remove the laurel and clove.

Preheat the oven to 200°C.

Pour a thin layer of ragout into a dish or casserole and cover it with one layer of pasta. Add on thin layer of bechamel sauce and cover that with another layer of pasta. Continue until all the ingredients are used up – the last layer should be a bechamel sauce. Sprinkle it with the cheese and bake for about 40 minutes until the surface of the lasagna is golden brown and bubbly.

Let’s celebrate!

It is time for a party. And we truly need it. The year is almost over, the cosy winter solstice is right ahead and with the brighter days afterwards it just seems likely to dedicate a feast to life itself. To sitting together, to laughing, and – because what would a good party be without it, eh? – a lovely and highly enjoyable meal.

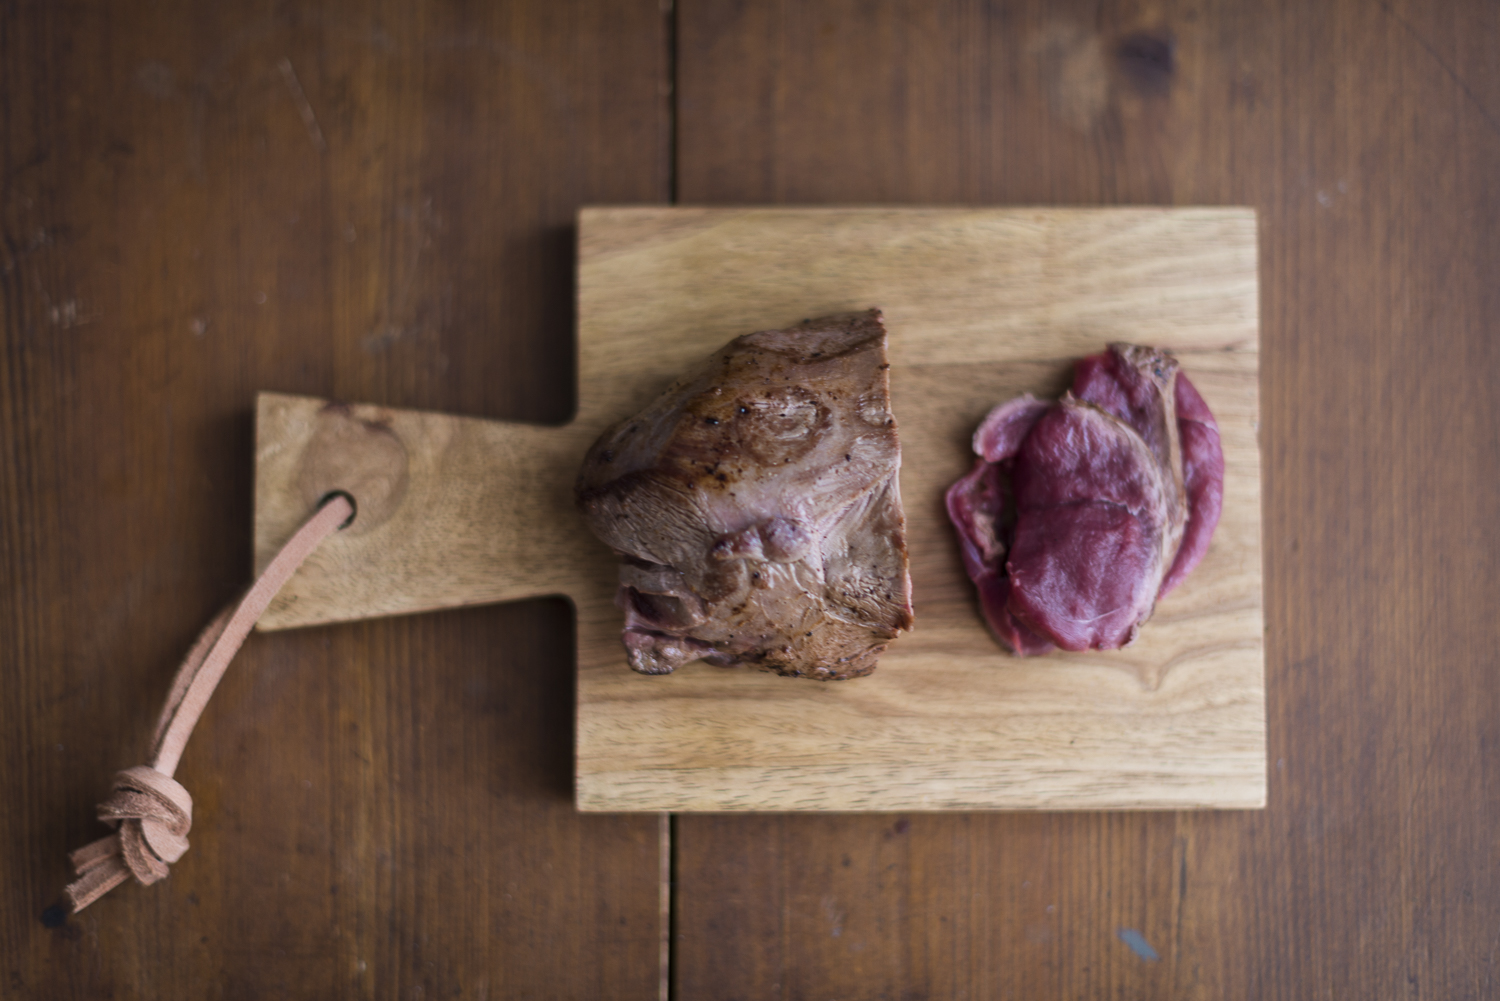
Today a little less traditional and far from goose and Christmas duck; these delicious roasts I want to attend to without traditions implying it to me, even if they may ask for it all so quietly. Let’s just have a look at the rest of the culinary season and discover venison. Beautiful and gorgeous in its dark, and almost purplish-coloured, red tone and spicy in its very own and special way it is quite a good fit for such a feast. And it even goes well with the Southeast Asian flavours, that I adore so much.

Reh Teriyaki

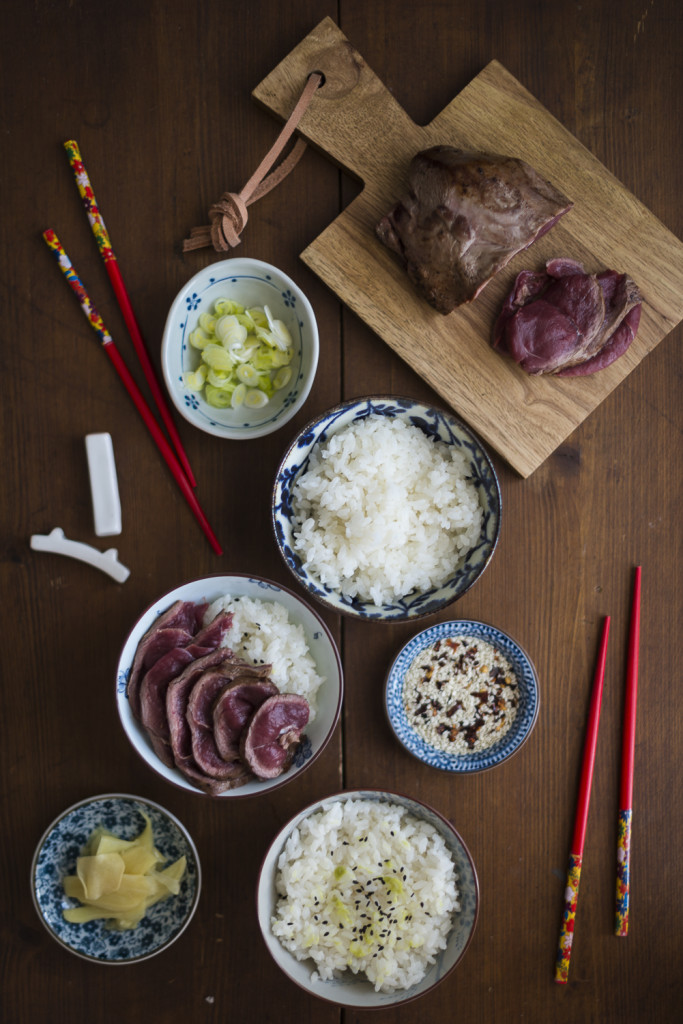
Simply marinated, sizzled in a generous amount of good butter (because especially on Christmas we please do not want to start skimping on that one!) and finally served on perfumy, steaming rice along some gari, spring onions, sesame and a fine sauce it truly is a delight. And it is my contribution to Zorra’s eleventh culinary Advent calendar.

Venison Teriyaki on Rice

Kulinarischer Adventskalender 2015 - Tuerchen 20Ingredients for 2 portions

  • 250 g venison
  • 1 tbsp butter
  • 3 tbsp soy sauce
  • 2 tbsp sake
  • 2 tbsp mirin
  • some wasabi paste
  • 1 additional tbsp butter
  • 1-2 spring onions
  • 2 portions freshly steamed Japanese short grain rice
  • some gari
  • some sesame

Let the venison adapt to room temperature first, then wash it and pat it dry. Heat up the tbsp butter in an pan on medium to high heat. As soon as it foams and starts to turn brown, add the meat and fry it shortly on each side, all the way around. Let it fry for 1-3 more minutes so it still will be at least medium rare in the middle.

Mix soy sauce, sake, mirin and wasabi and pour in into the pan. Switch heat down to medium and let it cook down a bit. Add the rest of the butter and let it melt in the sauce. Turn over the meat in the pan so it will be covered with the sauce, that should have thickened by now, and put the pan off the stove. Get out the meat and let it rest for a minute.

Meanwhile chop the spring onions into rings and divide the freshly steamed rice onto two bowls.

Cut the venison into thin slices and arrange them on the rice, adding the gari, the onions and some sesame for garnish. Pour the sauce over it and enjoy.

Reh Teriyaki