Category Archives: how-to

Chasing Autumn

deer*photo from unsplash

There’s this thing about autumn that keeps on fascinating me more and more with every year. It isn’t only the relief the change of temperature brings. It’s the colours that shimmer golden, orange, red, and green in the warm sunlight. It’s the warmth that rears up again from deep inside. The earthy scents in the air. The rustling of foliage in the woods. The soothing mist. The snuggling into warmer, soft clothing without really needing a thick, constricting jacket yet. The anticipation of coming home after being outside to drink a cup of comforting tea.

And it’s the return of venison dishes. I’m looking forward to them every year, waiting for them to supply my palate with strong flavours and my soul with a good, better, alternative to the usual choices of beef, pork, and poultry.

And since autumn nudges us to return to the homely tasks, to withdraw a bit and tend to our inner self, to prepare for the scarce winter times, to stock up the pantry with precious treasures, and to conserve the last glimpses of warmth and bustling summer life…making sausages is suggested, isn’t it?

Venison Sausages

Homemade Venison Sausages

ingredients for nearly 2 kg 

  • 1,25 kg of red venison* without bone, shoulder or haunch for example
  • 600 g pork belly
  • 10 g salt
  • 8 g pepper, freshly ground
  • 1/2 tsp nutmeg, freshly ground
  • 1/2 tsp porcini powder
  • 5 g fresh thyme leaves
  • 2 juniper berries, freshly ground
  • 3 m sausage casings

*personally, I prefer deer and stag, but you could also use any other red venison meat you can find, like moose or reindeer.

Be sure that your tools are perfectly clean and the ingredients are properly cooled. Best cool your tools as well to obviate the meath going bad during the process. Best would be if you insert breaks after every meat grinding step to properly clean your tools and cool everything down again. For example pack everything into your freezer for half an hour. 

Venison Sausages

Soak the sausage casings in water.

Cut the venison and pork belly into bite-sized chunks and grind it through the coarse plate of your meat grinder.

Mix the meat with all the spices and grind it through the coarse plate a second time.

Mix it all with your hands for at least 2 minutes until it’s nearly emulsifying.

To check if you’ve got the flavour right heat up a pan with a little bit of oil and fry a teaspoon full of your sausage filling until it’s cooked through. Adjust the seasoning to your liking.

Get the casings out of the water and put it onto the horn of the sausage filler. Start to get the meat though the filler and when it is just about to come out of the horn stop the machine and make a knot into the end of the casing. Fill up the casings rather loosely until all the filling is through.

Make a knot in the other end of the casings and start to to twist portions (video). Store the sausages in the fridge for one day and/or pack them into a freezer to store them for hungry times.


Venison Sausages

Searching for the Sun

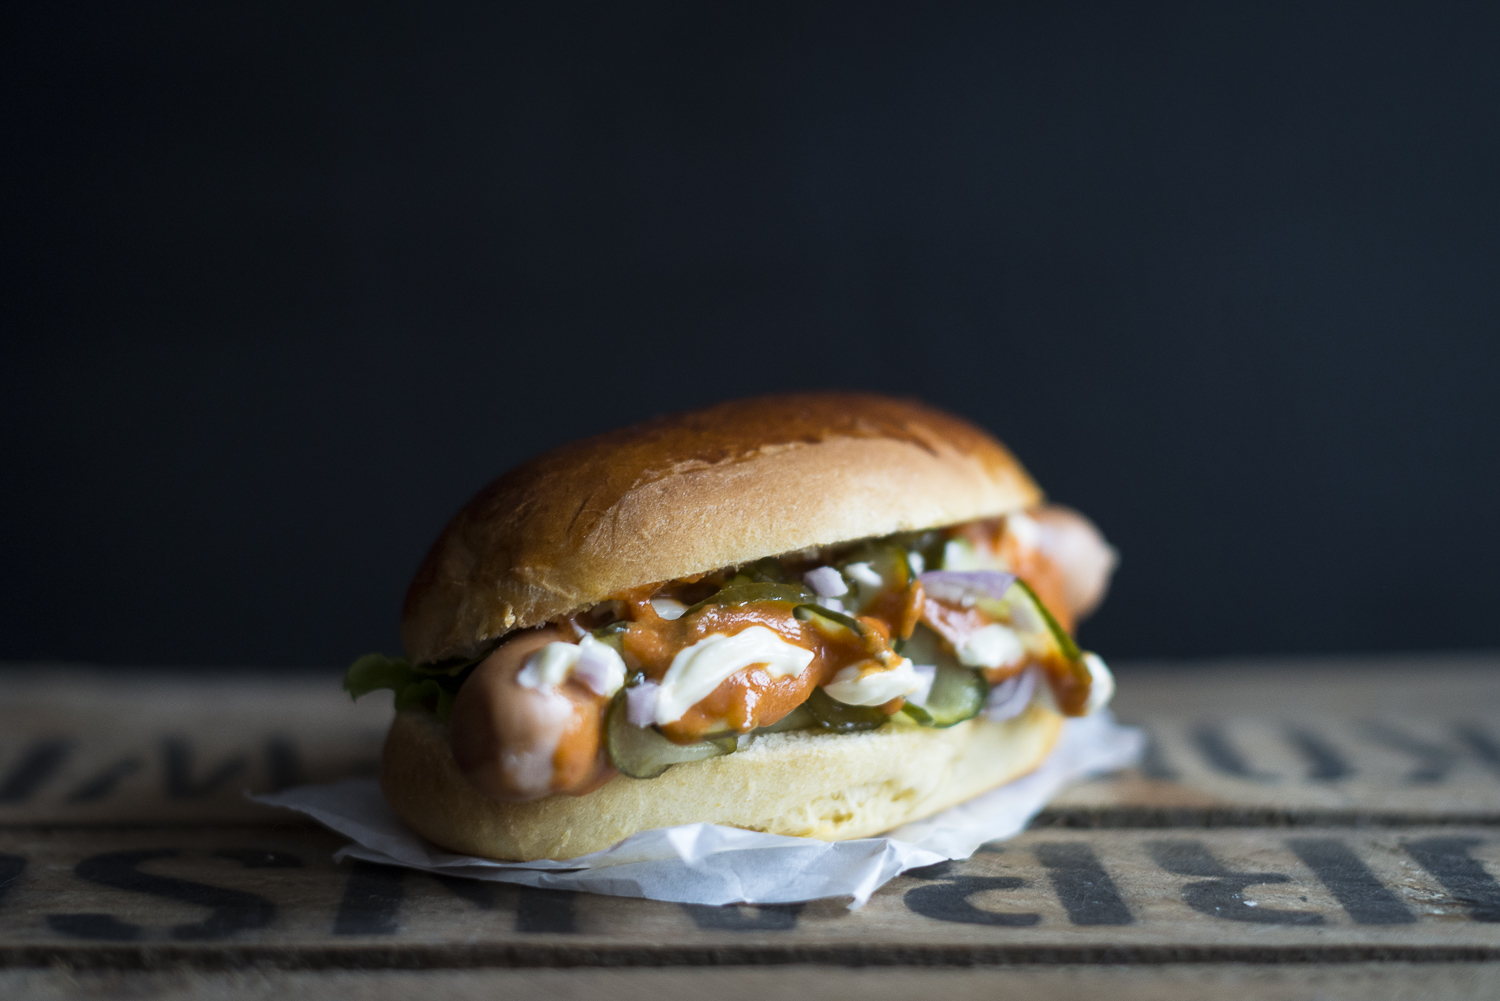
Classic Hot Dog - Birds

Misery is here. It’s creeping through locked windows and doors, sneaking up on us like an unwelcome guest. It is carried by dark, thick clouds that keep denying us a lasting glimpse of the wonderful spring sun.

You almost tend to get hermitical. Not being able to spend your time under a blue sky for weeks when this–spring–usually is the one time of the year that urges you to spend your free time outside. To get yourself some energy. To soak up joy. And sooner or later you are simply displeased with everything. Including (let’s be honest here) with yourself.

So, distraction is what we need from all this shit. A new book. Tying knots into the socks of your most favourite person. A bunch of flower to brighten up the greyness. Tickling each other’s ears (or one’s own). Making plans for a trip. A Sunday, dedicated simply to soul food.

And because the weather outside truly is dreary, we’ll make the hot dog almost completely on our own. It is definitely worth the trouble anyway. And when you bite into that self-baked brioche roll, rejoice in the homemade ketchup, and you can’t even decide on which side of the filled bread you want to stop the dripping content first… you will smile again. I promise.

Classic Hot Dog

Hot Dogs

Ingredients for 6 hot dogs
the brioche rolls are our own, the rest is after a recipe out of Stevan Paul’s „Auf die Hand“

For the ketchup:

  • 100 g onions
  • 2 tbs oil
  • 120 g sugar
  • 2 tbsp tomato mark
  • 1 tsp paprika powder
  • 1 pinch of Pimento powder
  • 500 g canned tomatoes, pureed
  • 100 ml water
  • 50 ml white wine vinegar

For the brioche rolls:

  • 100 ml milk
  • 10 g fresh yeast
  • 1 tbsp sugar
  • 230 g wheat flour + more 
  • 1 tsp salt
  • 40 g unsalted butter at room temperature
  • 1 egg
  • for the coating: 1 egg yolk + 1 tbsp milk

For the cucumbers:

  • 1/2 cucumber
  • 1 tbsp white wine vinegar
  • 1 tbsp oil
  • 1 tbsp sugar
  • 1-2 pinches of salt

For the hot dogs:

  • 6 hotdog sausauges
  • 1 onion
  • 5 tbsp ketchup
  • 1 tbsp mustard
  • 1/2 tbsp grated horseradish
  • 1 hand full of salad leaves, washed
  • mayonnaise
  • the cucumbers from above
  • 6 hot dog rolls

Ketchup: Peel the onions and chop them roughly. Gently sizzle them in oil for 10 minutes, then add the other ingredients and bring to a boil. Reduce the heat to medium, so everything just bubbles, and let it cook openly for 1 hour. Puree everything, put the pot back onto the stove and cook for 15 more minutes. Strain the sauce through a sieve and press everything through with a tablespoon. In the end there should remain only about 1 tbsp of solid ingredients in the sieve. Fill into sterilized jars, store them in the fridge and use them up within 2 months.

Brioche rolls: Combine all ingredients in a bowl and knead for at least 5 minutes. Dust a working surface with additional flour and keep on kneading the dough in it until it just doesn’t stick anymore. It will still be soft and slightly damp. Put the dough back into the bowl, cover it, and let it rest for 2 hours.

Divide into 6 equal portions, knead them shortly, then form them to balls. Roll them between the working surface and your hands until they have a long shape, just like a sausage. Put them onto a baking tray, covered with a sheet of baking paper, cover it with a dry and clean cloth and let it rest for 30 more minutes. Preheat the oven to 200°C. Mix the remaining egg yolk with the milk and brush it onto the rolls. Bake for 15-20 minutes.

Cucumbers: Cut the cucumber into thin slices. Put everything in a pan and heat it up. Cook on medium temperature until the cucumbers are soft.

Hot dogs: Heat up the sausages. Peel the onion and cut it into dices. Mix the ketchup with the mustard and the horseradish. Cut the brioche rolls lengthwise, put in a sausage each and a bit of salad. Garnish with the hot dog sauce, mayonnaise, cucumbers, and onions. Enjoy warm.

The Essence of Things

Kartoffelbrot aus dem Topf

There are only a few things that are as essential as a loaf of bread. For me the last home baked bread, made with my own sourdough, is already too long ago. Fate seemed to be against me, killing first not only my first rye sourdough, but also its successors, and soon after that the wheat starter followed as well. So yes. I needed fresh dough. Because self-made bread is a delight that can hardly be explained.

And so one beautiful day my new sourdough starter was finished, and ready to be to a good use. His name is Eren… let’s see how this one will turn out. My fingers are crossed!

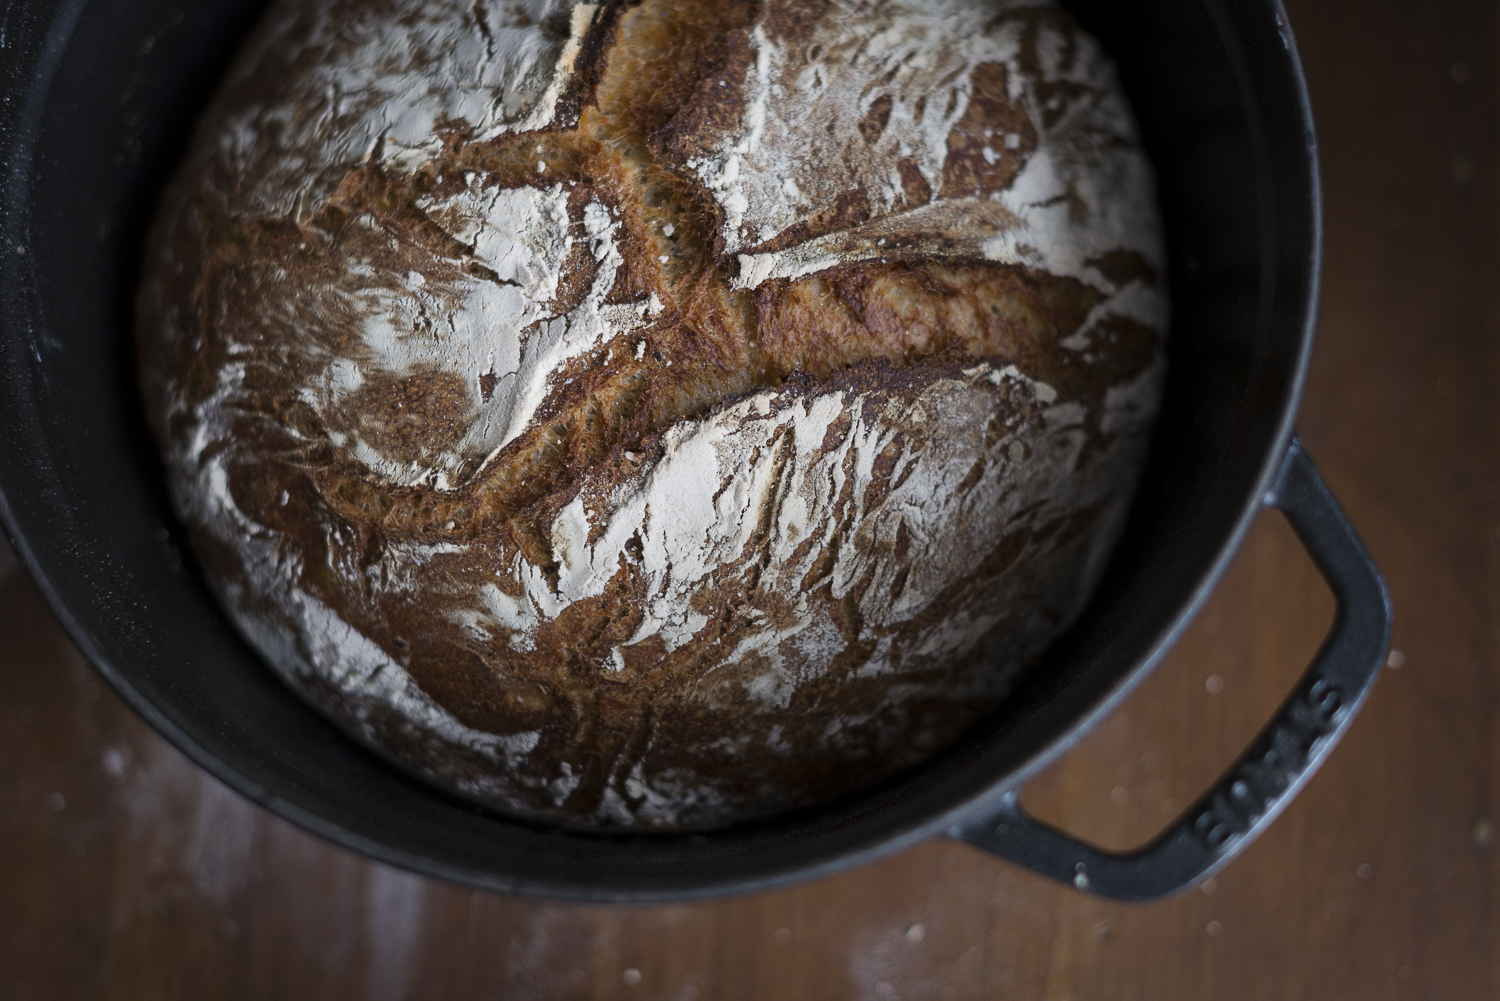
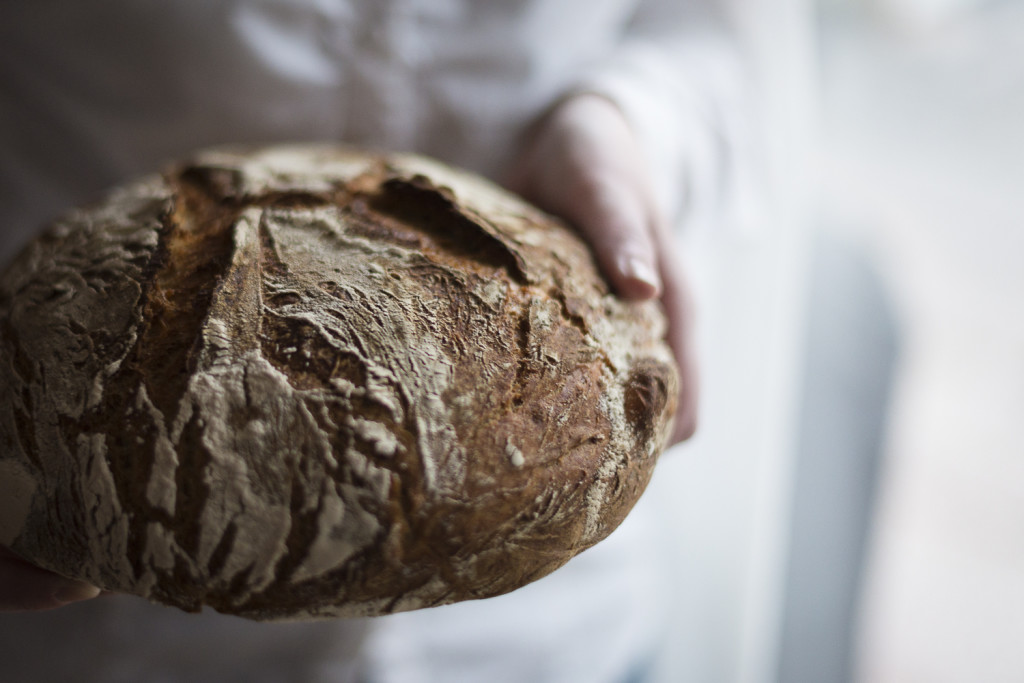
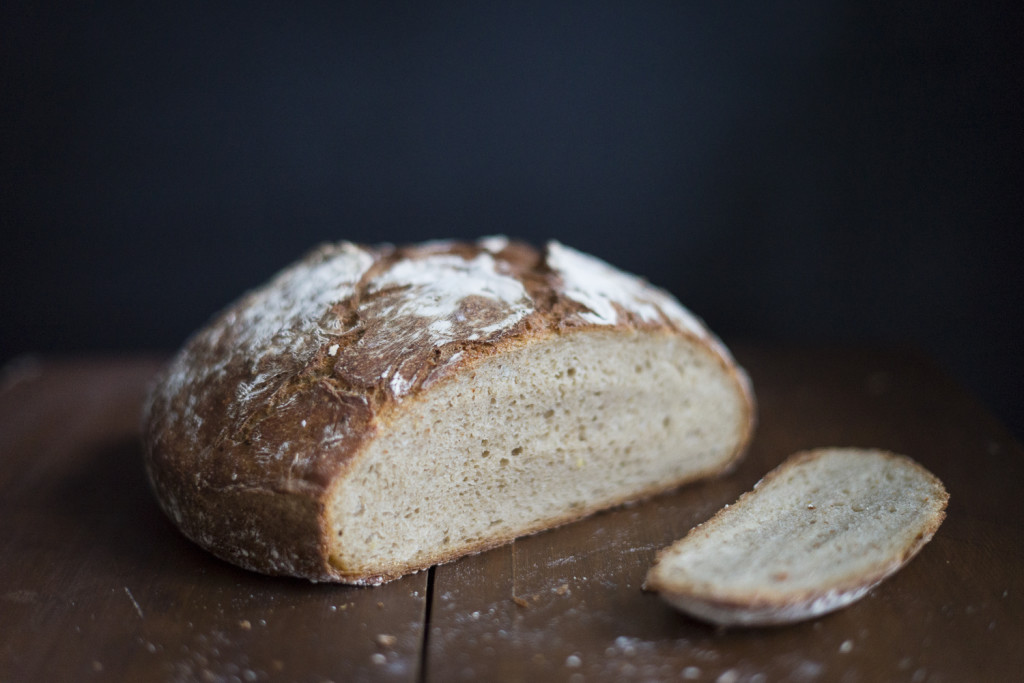
The bread that we are baking for Lena today is a mild one with mainly wheat. The adding of potatoes gives the bread a wonderful juiciness that helps making it stay fresh longer. The crust is not too thick and not to thin and the crumb is amazingly soft and fine pored. A perfect companion for cheese and a new favourite.

Kartoffelbrot aus dem Topf

Sourdough bread with potatoes, baked in a pot

Ingredient for 1 loaf

For the sourdough:

  • 10 g sourdough starter*
  • 100 ml water
  • 100 g rye flour

For the main dough:

  • 2 fist-sized potatoes, cooked on the previous day and completely cooled (about 200-250 g without skin)
  • 400 g wheat flour 1050
  • 100 g spelt flour 630
  • 8 g fresh yeast
  • 275 ml water
  • 1 tbsp honey
  • 14 g salt

Mix the ingredients for the sourdough in a bowl, cover it with a lid or cling foil and let it rest for 20-24 hours at room temperature.

On the next day peel the potatoes and mash them thoroughly. Add the remaining flour, the water, the yeast and the honey and mix it with the kitchen machine for 5 minutes on the lowest setting. Add the salt and mix another 5 minutes. The dough is very soft and will be steadied by the pot during baking anyway. But if it seems to be too runny add 1-2 tablespoons of additional flour with the salt.

Cover the bowl again and let the dough rest for 90 minutes, whilst folding or rather kneading it once to the middle of the bowl after 30, 60 and again 90 minutes. Now get the dough out of the bowl and roll it around in 1-2 additional tablespoons of wheat flour so it it covered generously and put the flour dusted dough back into the bowl. Cover it again and let it rest for 60 to 90 minutes once more.

30 minutes before the resting time is up put an iron cast pot including the lid into the oven and preheat it to 250°C.

Get the pot (caution: very hot!) out of the oven and cautiously let the dough drop into it. Cover the pot again with the lid and bake the bread for 30 minutes at 250°C. After that time switch down the temperature to 200°C and bake the bread for another 30 minutes. For a nicer crust remove the lid during the last 15 minutes of baking. Turn the bread out of the pot and let it cool down on a cooling rack.

Kartoffelbrot aus dem Topf

Time bar

Day 1, evening: 1 day before baking
Preparing the sourdough and letting it rest for 1 day.

Day 2, afternoon and evening: baking day!
Making the main dough and baking.

– – –

*Making your own sourdough starter

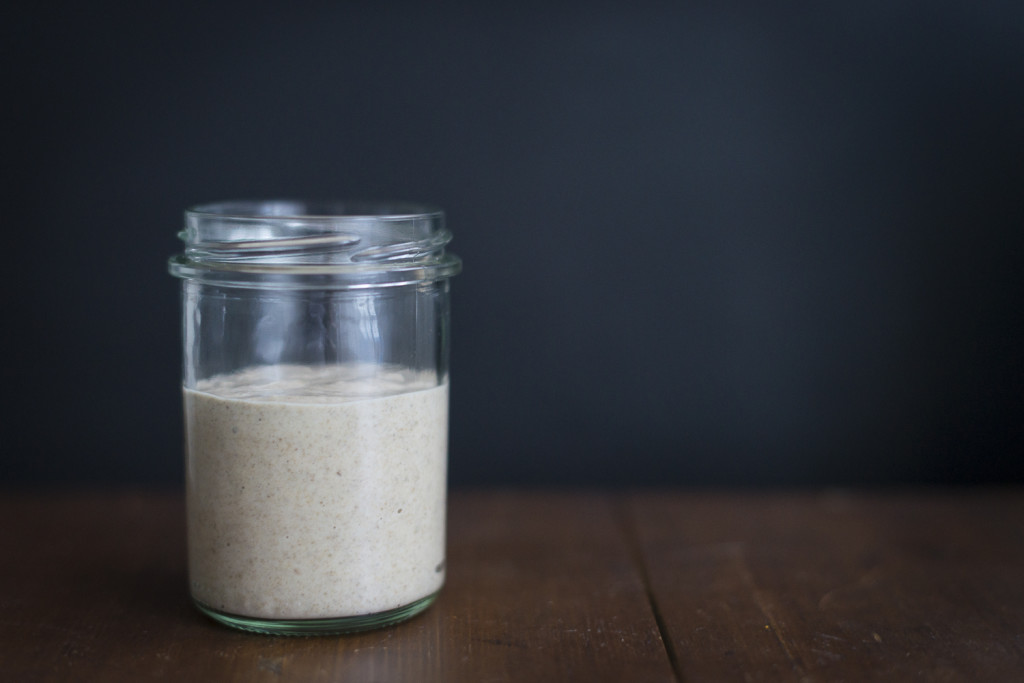
To make yourself your own sourdough starter you only need water, rye flour and a few days in a row in which you will be at the same place at the same time of the day. And an airtight jar, alongside a small place in your fridge for that exact jar. Maybe even a name for your new baby, but that is not too necessary.

Day 1: Mix 10 g rye flour with 20 ml water, cover it airtight and let it rest for roughly 1 day.
Day 2: Add 10 g rye flour and 20 ml water, mix it, cover it airtight and let it rest for roughly 1 day.
Day 3: Add 10 g rye flour and 20 ml water, mix it, cover it airtight and let it rest for roughly 1 day.
Day 4: Add 10 g rye flour and 20 ml water, mix it, cover it airtight and let it rest for roughly 1 day.
Day 5: Add 10 g rye flour, cover it airtight and let it rest for roughly 1 day.
Day 6: Congratulations! You just made your first sourdough starter! Put it into the fridge and use it for baking. For example as followed.

Kartoffelbrot aus dem Topf

Treasure hunting in the woods

20151104-20151104-DSC_9220

Enough with the autumnal melancholy! Enough with cheerless and sad glances through the windows! Enough with the resignation when you realize that this year is beginning to draw to a close! It is Novembre – the month of the last golden sunbeams. The almost-end of the delicious mushroom season and the beginning of the long awaited venison season. The month with beautiful star falls of autumn foliage, warm sunny afternoons and also the first misty and lazy evenings on the couch. It’s this month, when we finally can smile at the long-forgotten staple of book again, with a glass of red wine in one hand und a comfy blanket; a cuddly pillow in our arms, with our favourite person by our side. So many hobbies (left unattended during summer) await me, that I almost find it difficult to choose.

20151104-20151104-DSC_9229

But today the sun is shining so wonderfully… so let’s go into the forest again! To inhale the autumn air and catch those precious spots of light between the trees with our freckles. The wind blows away the spiritlessness and the melancholy and makes us feel alive again. Autumn has come! And maybe we will find one or two of my most favorite mushrooms on our way: The shaggy mane mushroom.

20151021-20151021-DSC_8942

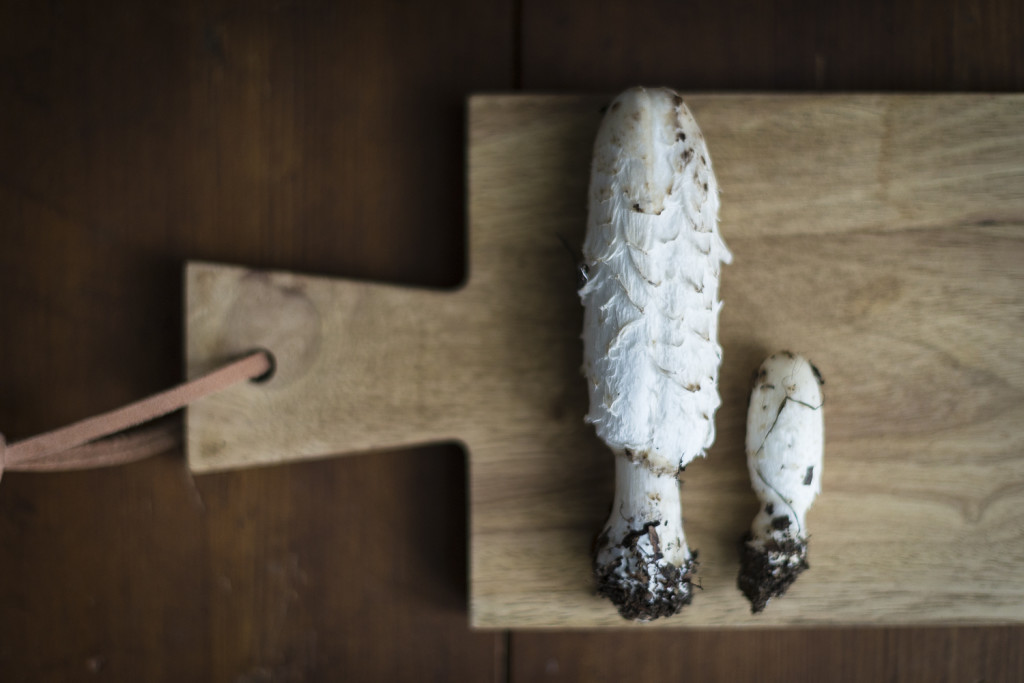
Shaggy mane mushrooms are a delicacy. And sadly very short-lived, why we will never be able to find them on the farmer’s markets or in supermarkets. As soon as they start to show their caps between the fallen leaves, they are ready to be picked up.

20151022-20151022-DSC_9102

If not done so we can almost watch them how they start to compost themselves: The cap will part from the stem and curve outwards until it finally begins to turn into thick inky black liquid that drops down. Not very pretty and the dripping indicates the mushrooms have surpassed their lives as edible fruits of autumn. The three photographs of this single shaggy mane I took within tree days, all about 24 hours apart. But if you are lucky and spot a freshly grown shaggy mane…  gently pick it up with a careful grip and a twist of the hand. Also it is best to immediately remove the stem in the same way so your mushroom will definitely survive the way back home. And there you should directly get a pan, because yes: They really start to decay very quickly! 

20151023-20151023-DSC_9144

Like almost every mushroom the shaggy manes are best when you simply fry them very shortly over high heat and in a generous amount of good butter. A little bit of salt and pepper on top, maybe a little thyme and a slice of roasted bread to that is all you need for a little bit of luxury in your belly.

20151013-20151013-DSC_8778

Shaggy mane mushrooms in butter

  • shaggy mane mushrooms… as much as you can find
  • at least 1 tbsp good, unsalted butter
  • a pinch of salt
  • freshly ground pepper
  • thyme leaves

Carefully clean the mushrooms of dirt and remains of the forest. Do not wash them or they will turn soggy. Just use your fingers or a gentle brush without crushing the mushroom. If you haven’t already removed the stems of the mushrooms gently twist them to separate them from the caps and cut everything in bite-sized pieces or chunks.

Put a big pan on the stove and heat it thouroughly. Add the butter and when it starts to sizzle and almost smokes it is time to add the mushrooms. Do not crowd the mushrooms: They should have space in the pan so they can turn brown and crispy within a minute. Gently flip them over to fry them from the other side, too. Season them with a little bit of salt and pepper and some thyme if you want. Serve quickly and best with a slice of golden roasted bread.

20151013-20151013-DSC_8740

– – – –

Shaggy mane mushrooms taste like a wonderful mixture of porcini and green asparagus. The flavour is very mild and still remains for quite a time. A real delight! You can find them on meadows, all the time between March an Novembre, and even fertilized lawns in residential areas are a likely place for them to grow.

You can recognize them by a tall, slim growth, a reddish or brownish offset tip on the otherwise almost white cap, that is covered with upturned scales.

When you pick mushrooms in the woods always be aware of evil twins! Shaggy mane mushrooms for example have a twin that is edible too but that’s poisonous when eaten with alcohol. Always be sure to pick only those mushrooms you definitely know are edible! Go to mushroom counseling if you are just the slightest bit unsure. Always double-check to be certain or just let it be completely and buy pre-selected mushrooms, if you crave for them! Life is too precious and short to eat a bad mushroom.

Stocking up the pantry: Japanese basic ingredients, part 2

20150531-20150531-DSC_1768

We continue with stocking up our pantry with basic ingredients for Japanese cooking. In the last part we talked about the (at least in my opinion) five most important ingredients and how to make perfectly steamed rice. Today I will list ten more basic ingredients that you will need if you want to cook Japanese. In the next part I will show you different kinds of noodles before going over to fresh groceries, other ingredients, and giving you a few tips about Japanese cooking itself. Continue reading Stocking up the pantry: Japanese basic ingredients, part 2

Stocking up the pantry: Japanese basic ingredients, part 1

20150531-20150531-DSC_1768

„Miss Zuckerwatte, I want to start cooking Japanese. What do I need for that?“. A good question. When I started to work myself into the Japanese kitchen a few years back, I was overwhelmed by all the possibilities –  and simultaneous desperate by the fact that German sources on this kitchen are quite rare.  By now I am surprised over and over how few different ingredients I really cook with, when I am cooking Japanese. Every time I use the same sauces and spices – the variation of the different dishes come from the fresh ingredients and the cooking method I choose. Continue reading Stocking up the pantry: Japanese basic ingredients, part 1